41
System Setting
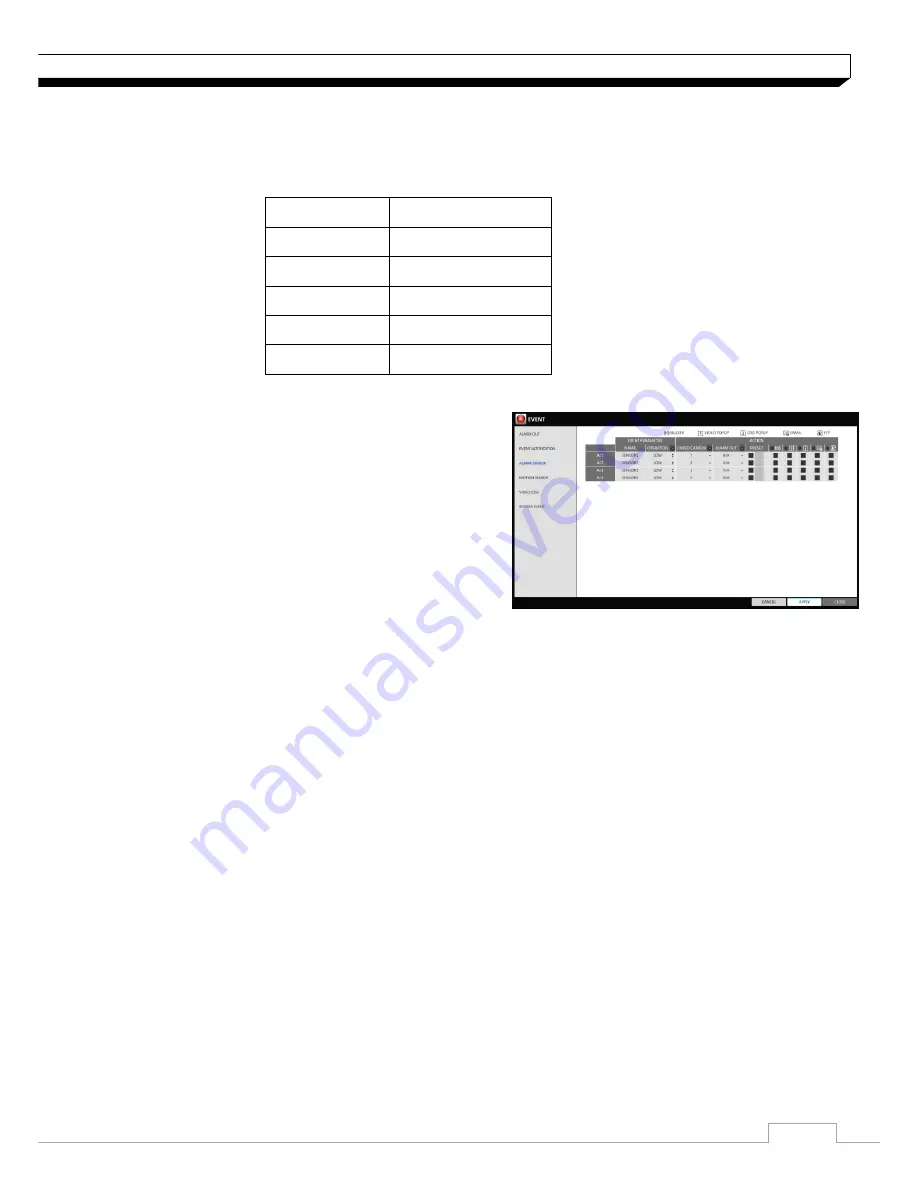
Alarm Sensor
You can configure the settings of the alarm sensor and specify the operation of the sensor if an
event occurs. Number of alarm sensor depends on the model,
Model
# of Alarm Sensor
DR-4FX1
4
DR-8FX2
4
DR-16FX2
4
DR-8FX5
8
DR-16FX5
16
1. From
<SYSTEM SETUP> - <EVENT>
, select
<ALARM SENSOR>
.
2. Use the
[▲▼
◀▶
]
buttons on the remote control or
use the mouse to specify the sensor input method
and operation.
>NAME : You can specify the name of the alarm
sensor.
>OPERATION : You can specify the type of the
alarm sensor.
- N/O (Normal Open) : Normally the sensor is left Open.
If the sensor switches to Close, an event will be triggered.
- N/C (Normal Close) : Normally the sensor is left Close.
If the sensor switches to Open, an event will be triggered.
>LINKED CAMERA : Set the camera to sync with the alarm sensor if it is triggered.
If you have set the alarm recording and the sensor detects the recording, all synchronized
cameras will start alarm recording.
>ALARM OUTPUT : Specify the alarm output channel if it is detected by the alarm sensor.
>BUZZER : Specify the output of the buzzer if an alarm is detected by the alarm sensor.
>VIDEO POPUP : Select to display the video popup if an alarm is detected by the alarm sensor.
If there exist multiple
<LINKED CAMERA>
, the video popup will be displayed in the maximum
split mode.
>OSD POPUP : Select to display the OSD popup message if it is detected by the alarm sensor.
>EMAIL : Select to send an email if detected by the alarm sensor.
>FTP : Select whether to upload event notification onto the FTP upon detected alarm event.
3. To apply the change, click
<APPLY>
in the bottom of the screen.
4. When done, press the
[EXIT]
button on the remote control or click
<CLOSE>
in the lower
screen. The confirmation message appears and you will return to the previous menu.


