13
System Setting
Camera Setting
You can configure the display settings of: camera title, covert option, motion and camera type
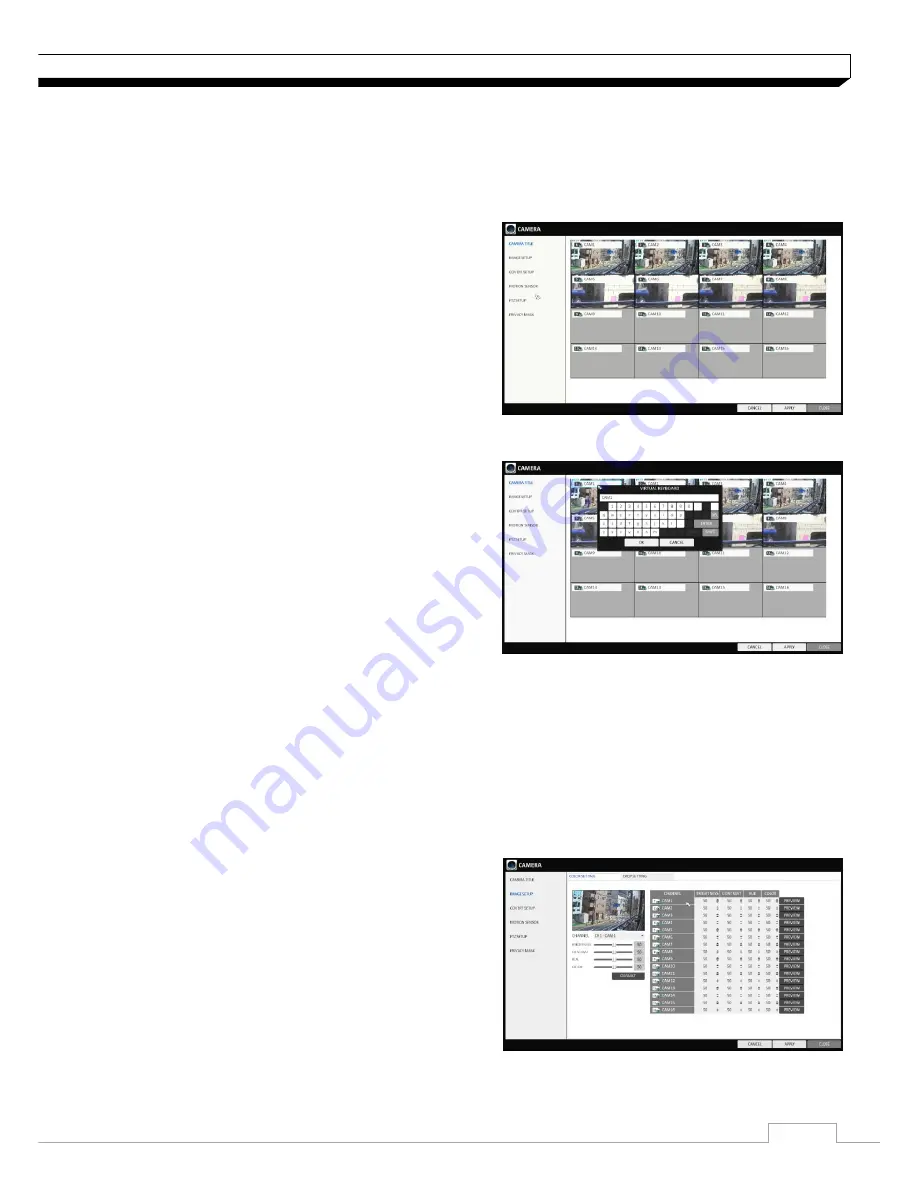
CAMERA TITLE
You can change the camera ID that is displayed on
the screen.
1. From
<SYSTEM SETUP>
-
<CAMERA>,
select
<CAMERA TITLE>.
2. Use the
[▲▼
◀▶
/ENTER]
buttons on the remote
control or use the mouse to select a channel that
you want to rename.
Alternatively, simply double-click the camera to
rename from the top left corner.
3. Once the virtual keyboard appeared, select desired
alphanumeric characters to complete your input,
and press the
<OK>
button.
The
<SHIFT>
key toggles letter case.
4. To apply the change, click
<APPLY>
in the bottom
of the screen.
5. When done, press the
[EXIT]
button on the remote
control or click
<CLOSE>
button.
The confirmation message appears and you will return to the previous menu.
Camera title allows up to 16 letters, combining numbers and upper/lower case alphabets.
Image Setup
You can adjust brightness, contrast, color and quality setting of each channel
’s camera.
1. From
<SYSTEM SETUP>
-
<CAMERA>,
select
<IMAGE SETUP>.
2. Use the
[▲▼
◀▶
/ENTER]
buttons on the remote
control or use the mouse to set each option of the
image menu.
3. To apply your changes, click
<APPLY>
button.
4. Once completed with setup, press
[EXIT]
button of
the remote control or click
<CLOSE>
button on the
bottom of the screen. A confirmation dialog appears
and returns to the previous menu.
Press <PREVIEW> button for adjusting with preview image.


