2. WIRING
2-8
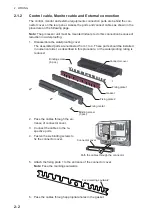
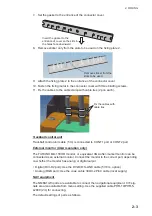
3. Unplug the WAGO connector (TB1) from the transducer port shown below.
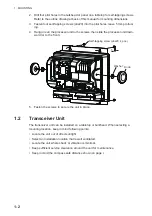
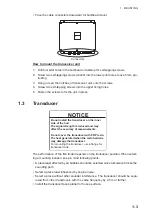
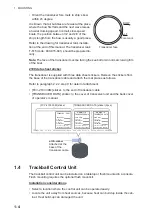
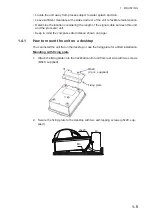
4. Unfasten the seal nut from TRANSDUCER port, and then remove the seal.
5. Run the cable through the seal nut and the seal in order, and then pass the end
of cable into the transceiver through the claw and super gland.
6. Connect the cores to the WAGO connector plug.
The connector opener is attached on the cover. (See figure at step 3)
WAGO
connecter
WAGO
connecter
Terminal opener
Terminal opener
Transducer
Seal
Claw
Seal nut
How to attach wires to the WAGO connector
Push downward
Terminal
opener
WAGO connector
Wire
Twist
Procedure
1. Twist cores
2. Insert terminal opener and push.
3. Insert wire into hole.
4. Release terminal opener.
5. Pull the wire to confirm that it is secure.
Pin #
Color
1
Brown
2
Red
3
Orange
4
Yellow
Pin #
Color
㻡
Green
㻢
Blue
㻣
Purple
㻤
Gray
Core list
CAUTIO
CAUTION
Connect the cores correctly.
Failure to connect the cores as shown in
the table may cause equipment damage or
affect equipment functions.
Summary of Contents for FCV-2100
Page 6: ...EQUIPMENT LISTS iv This page is intentionally left blank...
Page 14: ...1 MOUNTING 1 8 This page is intentionally left blank...
Page 46: ...3 INITIAL SETTINGS 3 18 This page is intentionally left blank...
Page 52: ...16 Nov 2015 H MAKI 16 Nov 2015 H MAKI...
Page 53: ...17 Nov 2015 H MAKI 17 Nov 2015 H MAKI...
Page 54: ...26 Feb 2016 H MAKI 26 Feb 2016 H MAKI...
Page 55: ...17 Nov 2011 Y NISHIYAMA 17 Nov 2011 Y NISHIYAMA...
Page 56: ...17 Nov 2011 Y NISHIYAMA 17 Nov 2011 Y NISHIYAMA...
Page 57: ...17 Nov 2011 Y NISHIYAMA 17 Nov 2011 Y NISHIYAMA...
Page 58: ...8 Mar 2016 H MAKI...

