


12 - 3
OMNIS
CANNER
User Guide
appear in your PC’s driver list.
Windows 98:
When connecting OMNIS
CANNER
2 to a different USB port,
the driver will be automatically installed.
Windows 2000:
When connecting OMNIS
CANNER
2 to a different USB
port, a separate installation of the driver from the Scanlink Tools CD is
required.
Uploading OMNIS
CANNER
2 Test Results to the PC
1. To send test results from OMNIS
CANNER
2(s) to a PC, first turn your PC
on.
2. Connect the PC with OMNIS
CANNER
2 via the high-speed USB cable.
3. Turn on OMNIS
CANNER
2
4. Run the
Scanlink
software and click on the
(Upload) button
in the toolbar, or select Upload in the File menu.
5. In the
Scanner Type
field, select OMNIS
CANNER
.
6. Select the
appropriate port
(USB).
7. Click
Upload
to
establish communi-
cations between
Scanlink
and
OMNIS
CANNER
2 and
upload the
Autotest data that
are stored in the
scanner’s memory.
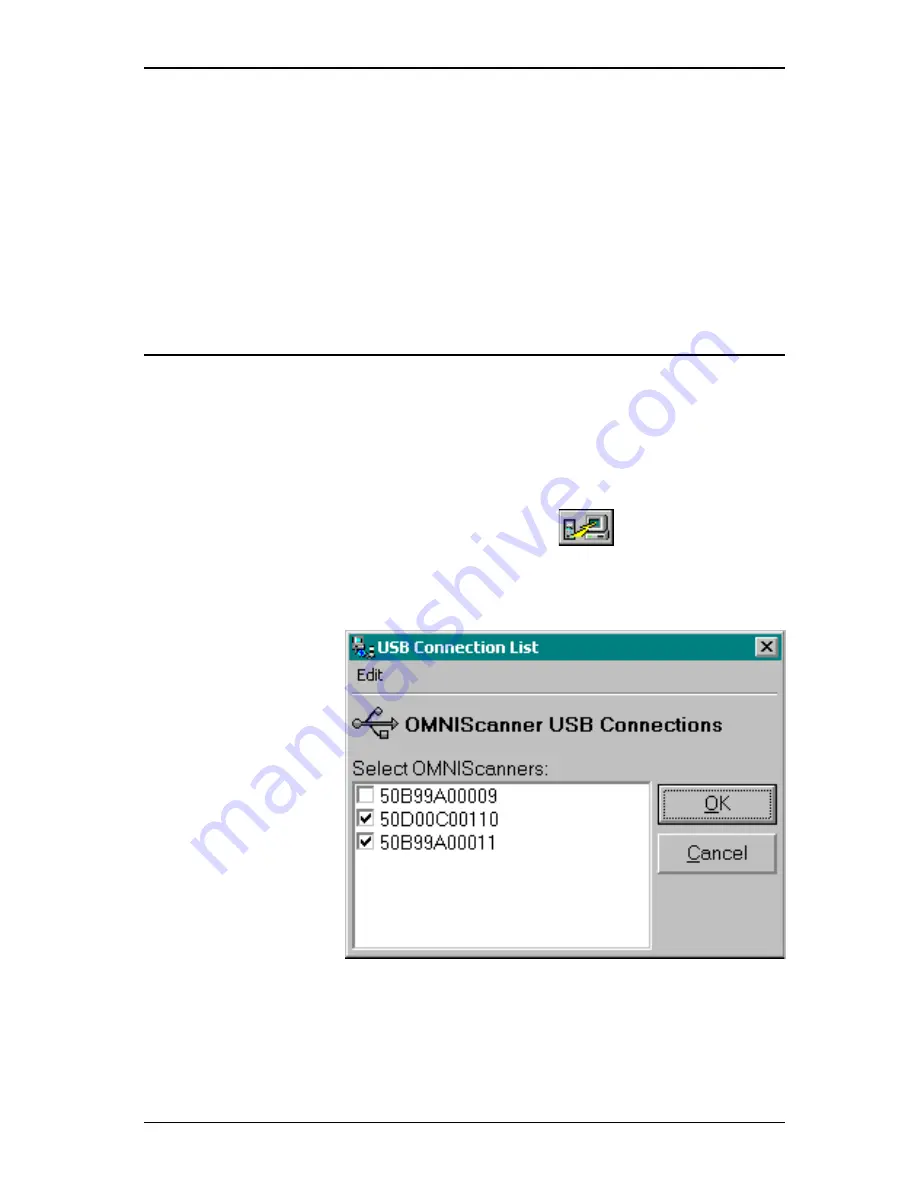
8.
Scanlink
can
upload data from
several scanners at once. If you have more than one scanner connected,
the
USB Connection List
will appear and allow you to select the
scanners you wish to upload from. The OMNIS
CANNER
2s are listed by
serial number. Select the appropriate scanner(s) and click OK to con-
tinue.
Summary of Contents for OMNIFiber
Page 1: ...OMNIScanner 2 OMNIFiber ...
Page 9: ...OMNISCANNER User Guide TOC 6 ...
Page 25: ...OMNISCANNER User Guide 1 16 ...
Page 33: ...OMNISCANNER User Guide 2 8 ...
Page 41: ...OMNISCANNER User Guide 2 16 ...
Page 103: ...OMNISCANNER User Guide 7 6 ...
Page 111: ...OMNISCANNER User Guide 9 2 ...
Page 129: ...OMNISCANNER User Guide A 8 ...
Page 133: ...OMNISCANNER User Guide C 2 ...
Page 136: ......


