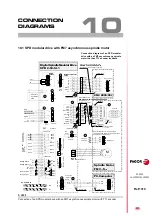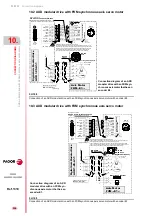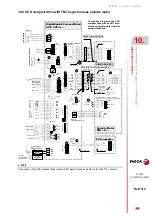
Connection diagrams
354
10.
CON
N
ECTION DIAGRAMS
El
ectri
cal cabin
et. Dia
grams
334
DDS
HARDWARE
Ref.1310
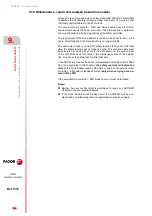
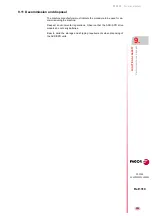
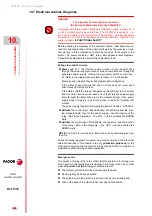
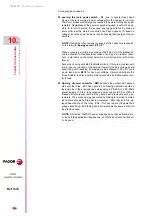
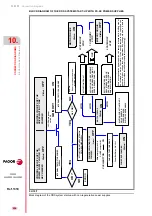
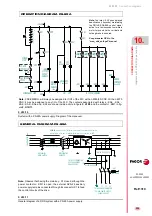
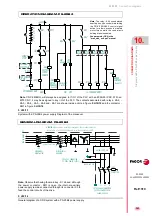
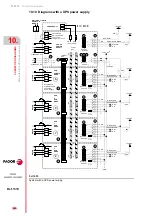
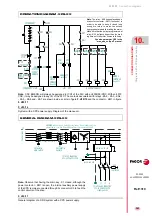
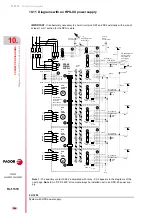
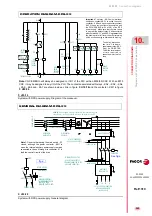
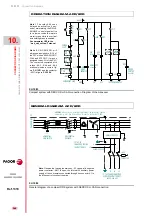
A stop may be caused by:
opening the main power switch - S1
, one or several fuses have
blown or there is simply a power outage while the system is running.
The motor brakes with emergency ramps if they were initially set by pa-
rameters. Regardless of the power supply being used, it will not be pos-
sible to return to mains the excess energy generated by braking
(remember that the mains connection has been opened). It causes a
voltage rise at the power bus as a result of saving that energy at the ca-
pacitors.
When exceeding a certain bus voltage (760-768 V DC) the Ballast cir-
cuit is activated to dissipate that excess of energy in an resistor (inter-
nal or external) and the motor performs a controlled stop (with motor
torque).
Even when having activated the Ballast circuit, if there is a problem with
it (e.g. poor connection of the external resistor) the bus voltage would
keep rising until reaching its maximum value allowed (790 V DC) and
would issue error
E215
for bus over-voltage. It would deactivate the
“Drive Enable” function and the motor would stop by friction without mo-
tor torque.
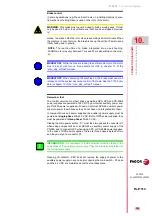
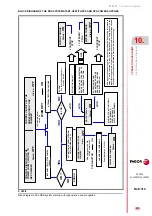
Opening of power contactor - KM1
because the contact KA1 associ-
ated with the relay - KA1 has opened. The braking operation would be
the same as in the previous case when using a PS-65A or a PS-25B4
power supply. If it is a regenerative power supply (XPS or RPS) it
brakes with emergency ramps if they have been previously set by pa-
rameters. The excess energy generated by braking is returned to mains
just a few seconds before opening contactor - KM1 thanks to the de-
layed deactivation of the relay - KA3. If for any reason the power bus
voltage kept rising, the braking operation would be the same as that of
the previous case.
NOTE.
Remember that the energy saved at the capacitors responds
to the formula:
Energy saved = 0.5 C·V²
NOTE.
Remember that RPS power supplies do not have a Ballast cir-
cuit and if the application requires one, an off-the-shelf circuit will have
to be used.
Summary of Contents for DDS
Page 1: ...DRIVE DDS Hardware manual Ref 1310...
Page 6: ...I 6 DDS HARDWARE Ref 1310...
Page 9: ......
Page 10: ......
Page 11: ......
Page 12: ......
Page 16: ...16 Ref 1310 DDS HARDWARE...
Page 30: ...1 DESCRIPTION 30 Description DDS HARDWARE Ref 1310...
Page 94: ...2 POWER SUPPLIES 94 Power supplies DDS HARDWARE Ref 1310...
Page 188: ...3 DRIVE MODULES 188 Drive modules DDS HARDWARE Ref 1310...
Page 204: ...4 AUXILIARY MODULES 204 Auxiliary modules DDS HARDWARE Ref 1310...
Page 232: ...SELECTING CRITERIA 5 232 Selection criteria DDS HARDWARE Ref 1310...
Page 266: ...7 CABLES 266 Cables DDS HARDWARE Ref 1310...
Page 312: ...8 INSTALLATION 312 Installation DDS HARDWARE Ref 1310...
Page 326: ...9 FUNCTIONAL SAFETY 326 Functional safety DDS HARDWARE Ref 1310...
Page 354: ...10 CONNECTION DIAGRAMS 354 Connection diagrams DDS HARDWARE Ref 1310...
Page 378: ...12 SALES REFERENCES 378 Sales references DDS HARDWARE Ref 1310...
Page 384: ...13 COMPATIBILITY 384 Compatibility DDS HARDWARE Ref 1310...
Page 385: ......

