
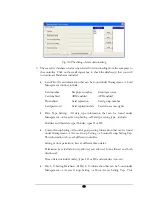
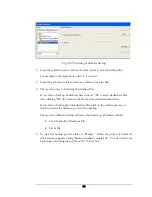

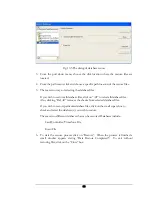


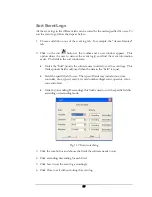
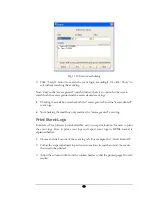


Fig. 10.5 The dialog of database restore
3.
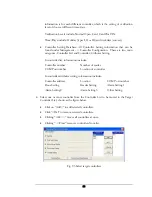
From the pull down menu, choose the disk location where the restore files are
located.
4.
From the path menu, click and choose a specific path location of the restore files.
5.
There are two ways of selecting the database files.
If you wish to restore all database files, click on “All” to select all database files.
Also, clicking “Del All” removes the checks from selected database files.
If you wish to restore particular database files, click on the small square box to
check and select the database(s) you wish to restore.
There are two different databases that can be restored. Databases include:
Card/Controller/TimeZone File
Event File
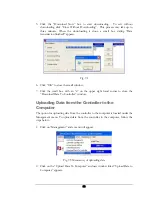
6.
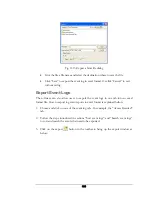
To start the restore process click on “Restore”. When the process is finished a
small window appears stating “Data Restore Completed!”. To exit without
restoring files, click on the “Close” box.
88
Summary of Contents for Flex1.0
Page 14: ...Fig 2 4 Fig 2 5 Click Finish to complete the installation 7 ...
Page 16: ...Fig 2 8 9 ...
Page 54: ...Fig 6 2 Fig 6 3 47 ...
Page 85: ...Figure 8 27 Department data edit window 78 ...
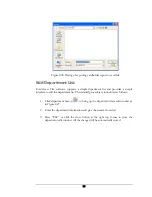
Page 98: ...Fig 10 9 Message of out of date records deleted 91 ...
Page 110: ...Fig 11 15 Event warning message dialog 103 ...
Page 122: ...Notes 115 ...