•
Free hard drive space: 100M bytes free space
•
Screen resolution: 1024x768
•
An available serial port (in the event that the computer does not have a serial
port, a third party USB-to-Serial converter cable may be used.)
•
An available USB port (1.1 or above)
Basic Steps to Setup the System
In this section, the basic steps to setup the system will be addressed. The related chapter
in which detailed descriptions are outlined is given for reference.
To setup a new system, follow the basic steps below. Note that the procedure does not
have to be followed in the future when making system or maintenance changes.
1.
Install the software. (Chapter 2)
2.
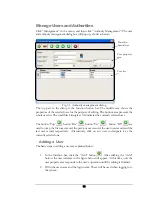
Setup the users who will use the software and set the authority for these users.
(Chapter 3)
3.
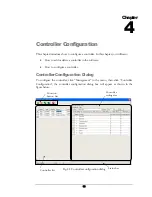
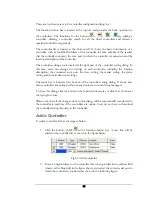
Add the controller(s) into the system. Based on the hardware installation and
wiring, configure the door, reader(s) and alarm(s) in the controller(s). (Chapter 4)
4.
Build a plan of access rules:
a.
Setup the holiday and other date types. (Chapter 5)
b.
Setup the access groups and the access authority for each group.
(Chapter 6)
c.
Setup the door access settings, such as unlock schedule, etc. (Chapter 7)
5.
Setup the cardholder database (Chapter 8):
a.
Enroll the cards
b.
Edit cardholders’ profiles
c.
Set card access attributes, such as access groups and so on.
6.
Make sure the hardware wiring is correct. Now the system is ready to go. Users
can check the real-time event logs (Chapter 11) and remotely control the device
like doors from the main interface. (Chapter 12).
4
Summary of Contents for Flex1.0
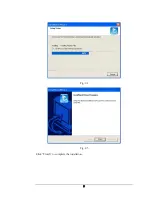
Page 14: ...Fig 2 4 Fig 2 5 Click Finish to complete the installation 7 ...
Page 16: ...Fig 2 8 9 ...
Page 54: ...Fig 6 2 Fig 6 3 47 ...
Page 85: ...Figure 8 27 Department data edit window 78 ...
Page 98: ...Fig 10 9 Message of out of date records deleted 91 ...
Page 110: ...Fig 11 15 Event warning message dialog 103 ...
Page 122: ...Notes 115 ...


