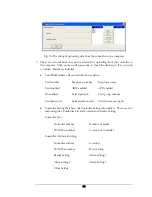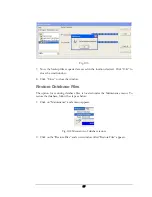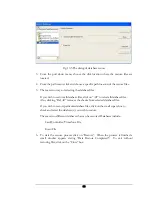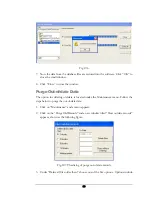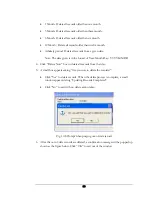
4.
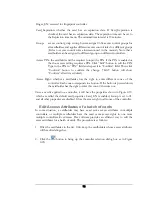
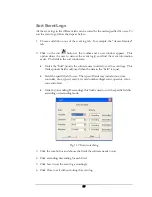
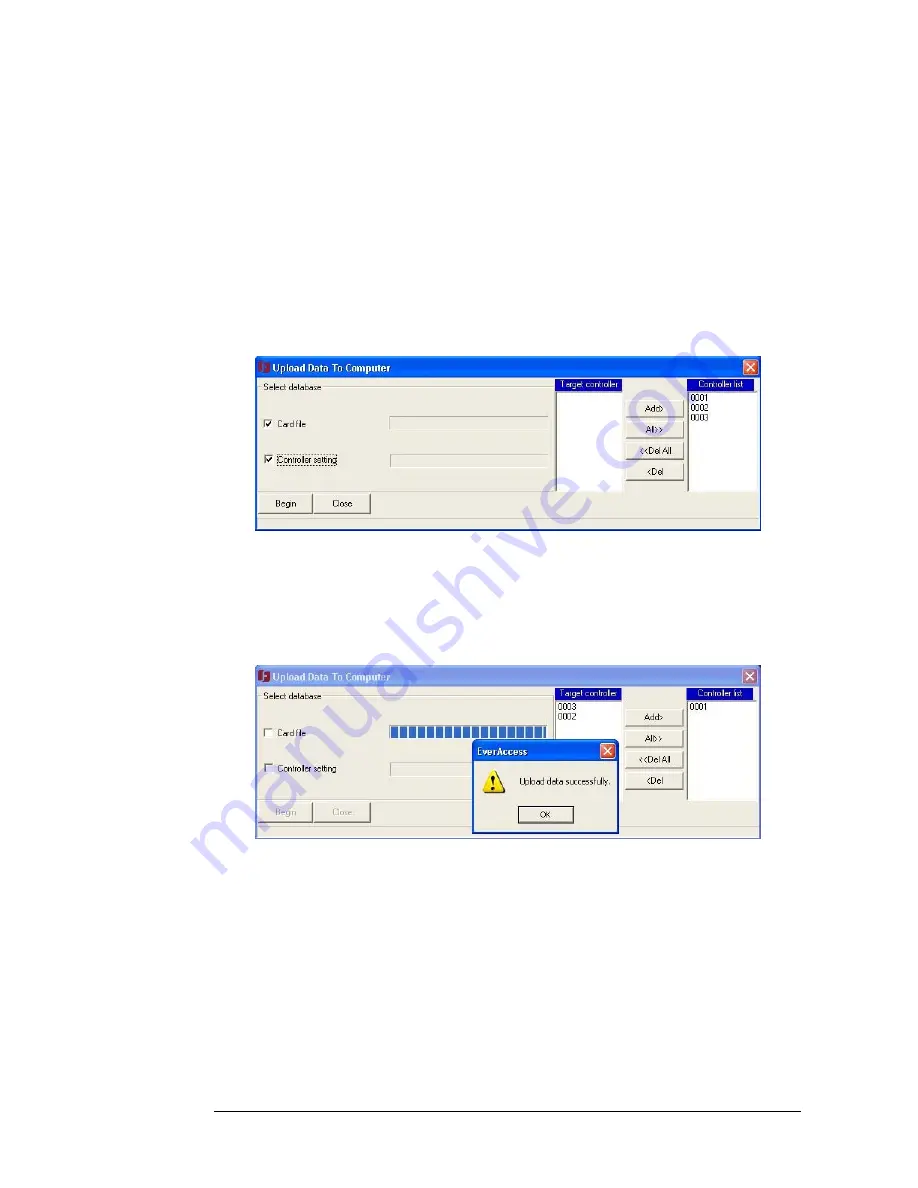
Select one or more controller from the Target Controller to be moved to the
Controller List.
•
Click on “Add>” to add selected controllers.
•
Click “<Del” to remove selected controllers.
•
Clicking “ALL>>” moves all controllers at once.
•
Clicking “<<Clear” removes controllers from list.
Fig. 9.7 Select target controllers
5.
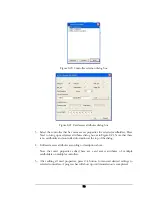
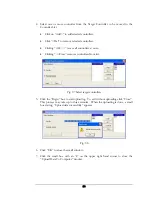
Click the “Begin” box to start uploading. To exit without uploading click “Close”.
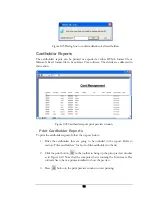
This process may take up to three minutes. When the uploading is done, a small
box stating, “Upload data successfully” appears.
Fig. 9.8
6.
Click “OK” to close the small window.
7.
Click the small box with an “x” on the upper right hand corner to close the
“Upload Data To Computer” window.
84
Summary of Contents for Flex1.0
Page 14: ...Fig 2 4 Fig 2 5 Click Finish to complete the installation 7 ...
Page 16: ...Fig 2 8 9 ...
Page 54: ...Fig 6 2 Fig 6 3 47 ...
Page 85: ...Figure 8 27 Department data edit window 78 ...
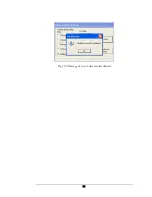
Page 98: ...Fig 10 9 Message of out of date records deleted 91 ...
Page 110: ...Fig 11 15 Event warning message dialog 103 ...
Page 122: ...Notes 115 ...

