


2.
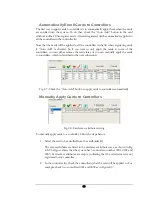
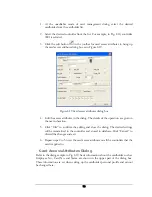
Adding to the “target controller”. Click the “Add” button. The controller is
then shown in the list of “target controller”. Keep doing 1 and 2 till all the
controllers need updating are in the list of “target controller”. Or the user can
easily add all the online controllers to the “target list” by clicking the button of
“All”.
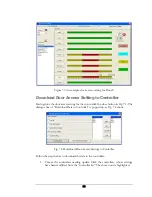
3.
Select the databases. The boxes of databases needed for the door access setting
update are automatically checked already,
i.e.
control group setting and day I/O
setting. If any other databases require update, please check the corresponding
boxes. For details, please refer to the chapter of “Data Communication with
Controllers”
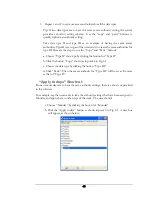
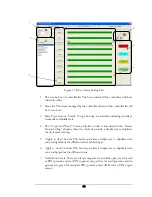
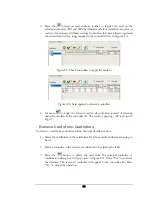
4.
Download data to controller. By clicking the button of “Download Now”
, a progress bar of data transmission appears on the screen.
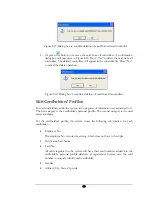
After the complement of the data transmission, a popup dialogue box,
indicating the finish of the transmission, is shown on the screen. Close it and
the dialogue of “Download Data to Controller”
5.
Return to the main menu of system. Having finished the group setting and data
download, the system will return to the main menu of monitoring.
56
Summary of Contents for Flex1.0
Page 14: ...Fig 2 4 Fig 2 5 Click Finish to complete the installation 7 ...
Page 16: ...Fig 2 8 9 ...
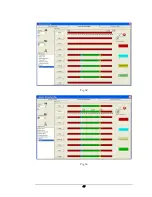
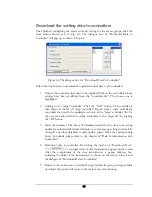
Page 54: ...Fig 6 2 Fig 6 3 47 ...
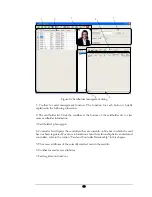
Page 85: ...Figure 8 27 Department data edit window 78 ...
Page 98: ...Fig 10 9 Message of out of date records deleted 91 ...
Page 110: ...Fig 11 15 Event warning message dialog 103 ...
Page 122: ...Notes 115 ...