Jobs that are finished printing are automatically
moved to the Printed Job list.
See the Epson Edge Print help for details on
how to use the Printed Job list.
Use the Job Setting menu to enlarge or reduce jobs, to
print only a portion of an image, or to print an image
that is wider than the media.
For details, see the Epson Edge Print help.
Stopping printing
Use the following procedure if you want to stop
printing while a job is printing.
A
Select the job to stop printing from the Job List,
and click
(Cancel) in the Job toolbar.
Or, open the right click menu on the name of
the job to stop printing and select
Cancel
.
B
When the confirmation screen appears, click
Yes
.
Dividing a large image into
parts to print it (tiling)
This section explains the typical features of Epson
Edge Print.
When printing a large image that is wider than the
media on which you are printing, you can divide the
large image into several parts and print it on the media.
You can also add overlaps for pasting so that after
printing the image can be pasted together into one
image.
The procedure for dividing an image is explained below.
How to divide an image
A
Select a job to divide from the Job List.
B
Click
(Tiling) in the Job Setting menu.
The setting area changes to Tiling settings.
C
Select
Enable Setting
.
The settings items are enabled.
D
Set the size of the divisions in
Tiling Setting
.
Each of the divided images are called “tiles”.
To set the number of pieces in which to divide
the image, select
Specify by Number of Tiles
.
To set the size of tiles and then divide the
image, select
Specify by Tile Size
.
To set the number of tiles, advance to step 5.
To set the size of tiles, advance to step 7.
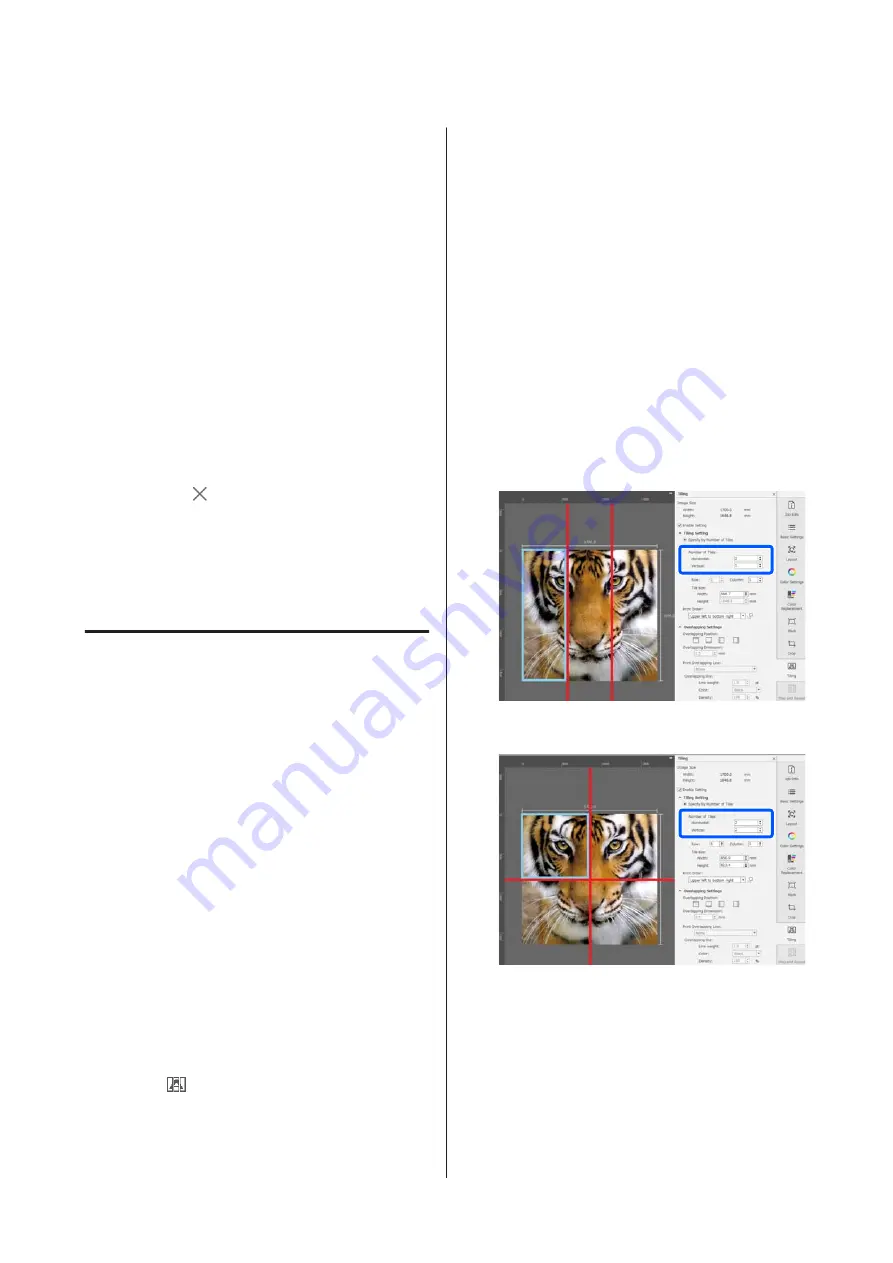
E
Set how many divisions to make in
Number of
Tiles
.
Example: 3 divisions in Horizontal
Example: 2 divisions in Horizontal and Vertical
F
You can make fine adjustments to the size of
tiles that you are dividing.
If you want to avoid generating a pasted edge in
any position, such as where the eye is located in
the example of 3 divisions in Horizontal in step
5, use the following procedure to select the
upper left tile and adjust the tile size.
SC-R5000 Series/SC-R5000L Series User's Guide
Introduction
40


