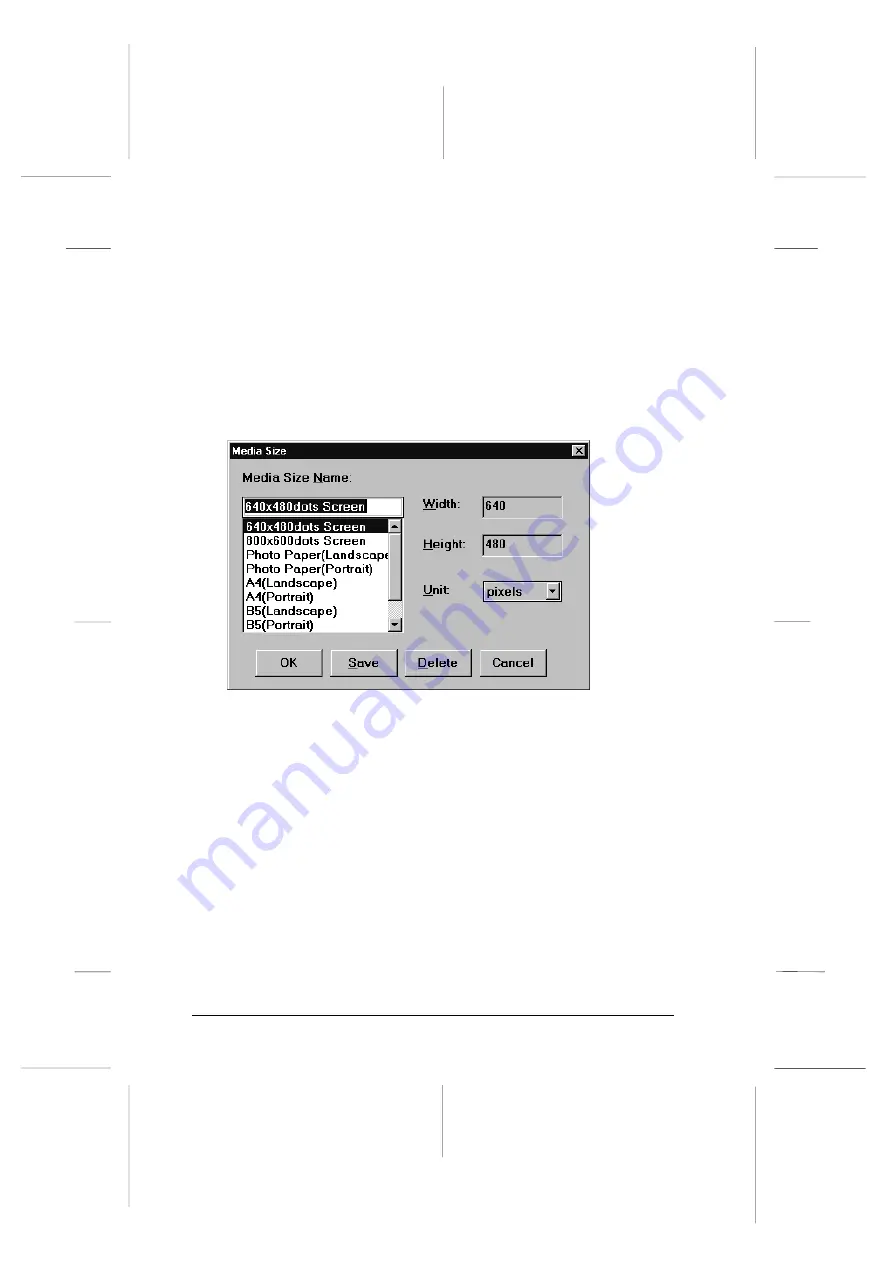
Adding Media Size settings
Use the Media Size dialog box to add a new output size or to
make detailed adjustments to a predefined setting. Media Size
settings determine the output size of scanned images. EPSON
TWAIN includes many predefined Media Size settings that
match certain paper sizes. See the table on page 6-7 for details.
To access this dialog box, click the
Media
Size
button in the
EPSON TWAIN window.
To add a new output size, enter the name of the new output
size in the Media Size Name box by highlighting and then
overwriting the name of a similar setting. To make the Width
or Height settings, highlight the previous value and overwrite
it with your custom setting. To make the Unit setting, click the
arrow on the right of the setting and select your setting (you
may have to scroll through the list). Click
Save
when you have
finished making settings for your custom output size.
To modify an existing output size, select that setting from the
Media Size Name list and make the Width, Height, and Unit
settings as necessary.
Media
L
Onion Ref. Guide
Rev.c
A5 size
Chapter 6
02-07-97
DR, pass 0
6-6
Getting to Know More About EPSON TWAIN
Summary of Contents for FILMSCAN 200
Page 1: ......
Page 8: ...L Onion Ref Guide Rev c A5 size Front 02 07 97 DR pass 1 vi ...
Page 21: ...L Onion Ref Guide Rev c A5 size Chapter 1 02 07 97 DR pass 0 1 10 Getting Started ...
Page 69: ...L Onion Ref Guide Rev c A5 size Chapter 4 02 07 97 DR pass 1 4 22 Scanning 35 mm Film Images ...
Page 145: ...L Onion Ref Guide Rev c A5 size Glossary 02 07 97 DR pass 1 4 Glossary ...
Page 151: ......


