Note:
If you choose
Actual Size
from the Media Size pop-up list, the
scanner determines the size of the scanned image according to
the actual film size.
10. Select the image(s) you want to scan by clicking the
appropriate check box(es). An image is selected if a check
appears in the check box.
11. Click the
Scan
button.
c
Caution:
Do not touch the cartridge holder or move the scanner
while the scanner is operating; otherwise it may be
damaged.
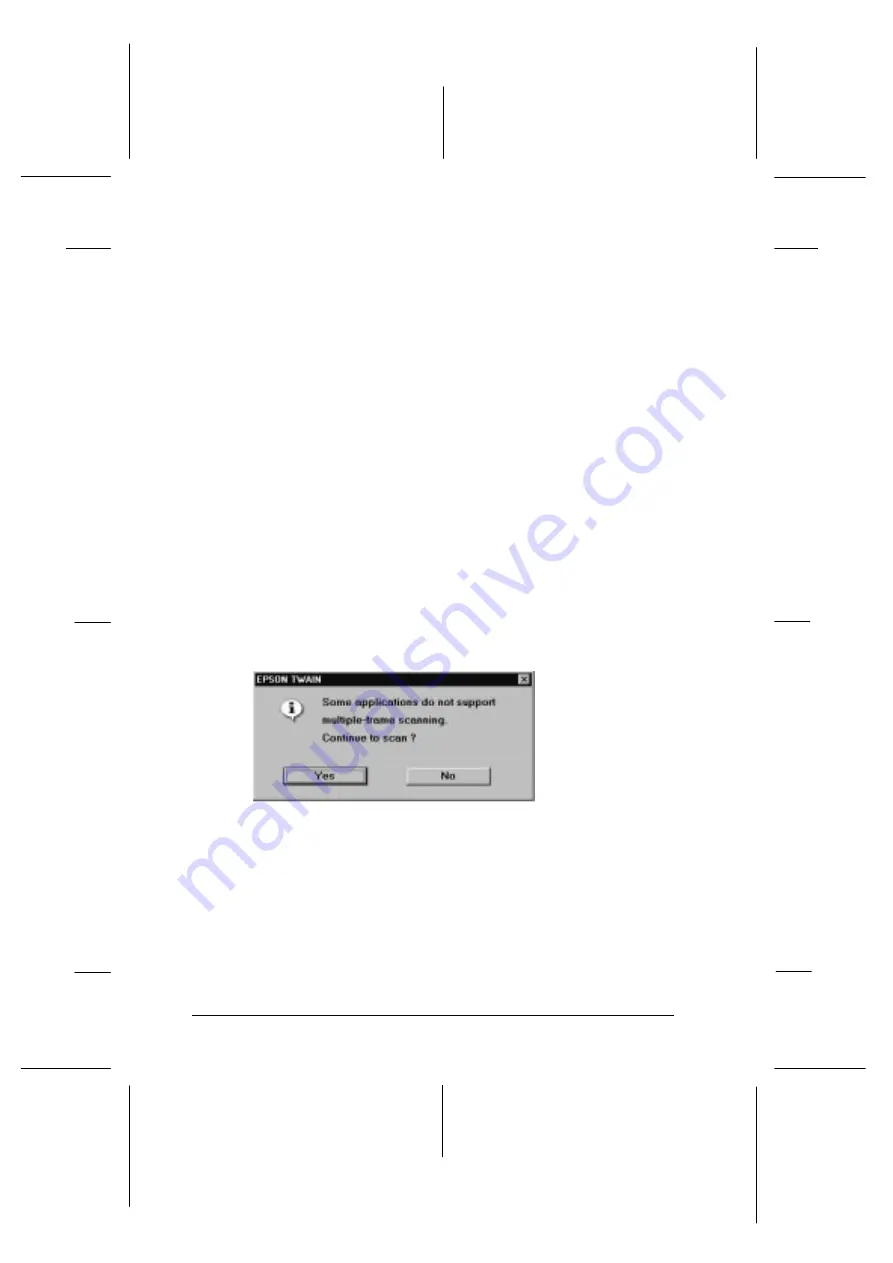
If you have selected more than one image for scanning, the
following dialog box appears. If your application software
does not support simultaneous scanning of multiple
images, click
No
, and scan one image at a time. If your
application supports multiple-image scanning, click
Yes
.
The scanned image(s) is displayed as a new file behind
the EPSON TWAIN window. (You may need to move the
EPSON TWAIN window to view the scanned image.)
12. To remove the cartridge holder, always follow the
instructions described below.
message
L
Onion Ref. Guide
Rev.c
A5 size
Chapter 5
02-07-97
DR, pass 1
5-16
Scanning Images From Your Film Cartridge
Summary of Contents for FILMSCAN 200
Page 1: ......
Page 8: ...L Onion Ref Guide Rev c A5 size Front 02 07 97 DR pass 1 vi ...
Page 21: ...L Onion Ref Guide Rev c A5 size Chapter 1 02 07 97 DR pass 0 1 10 Getting Started ...
Page 69: ...L Onion Ref Guide Rev c A5 size Chapter 4 02 07 97 DR pass 1 4 22 Scanning 35 mm Film Images ...
Page 145: ...L Onion Ref Guide Rev c A5 size Glossary 02 07 97 DR pass 1 4 Glossary ...
Page 151: ......


