Connecting the Printer to Your Computer
If you want to share the printer, skip the section on choosing
an
interface. You must first add memory to your computer’s main
board as described in the section on installing memory chip sets in
Appendix A. Next, follow the instructions in Connecting the
Parallel Interface and Connecting the Serial Interface to connect
each interface; then see Chapter 3 for details
on
using SelecType to
configure each channel.
Choosing an interface
When connecting the printer to your computer, first determine
whether you should use a parallel or serial connection. Many
computers provide only
one
type of connection for a printer. If
both types of connections are available, it is usually better to use
the parallel interface for the printer, leaving the serial port of your
computer free for other devices such as modems. If you are in
any
doubt about which type of connection to make, consult your
dealer.
The printer is set up for parallel communication at the factory. If
your computer has a parallel interface, you should be able to
connect it to the printer with a properly shielded cable and
not
change any factory settings.
If, however, you find
that
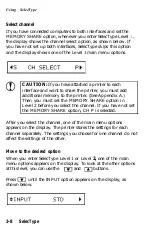
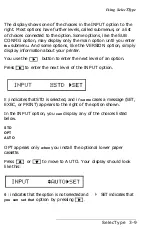
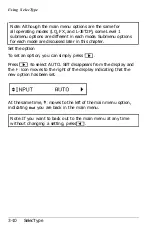
you need a serial interface, you must set
up Channel S with SelecType. You may also need to use SelecType
to change some of the serial settings, such as baud rate or parity,
to suit your needs. See Chapter
3
for instructions
on
using
SelecType to change printer settings.
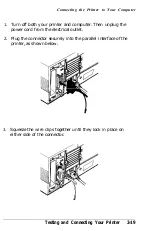
Connecting the parallel interface cable
If you want to use the printer’s standard parallel interface, make
sure you
have
a shielded cable suitable for a Centronics-compatible
interface.
2-18
Testing and Connecting Your Printer
Summary of Contents for EPL-7000
Page 1: ......
Page 2: ......
Page 280: ...HP Emulation Mode PcMultilingual Appendix B B 5 ...
Page 281: ...HP Emulation Mode ECMA94 Latin 1 Set B 6 Appendix B ...
Page 286: ...HP Emulation Mode HP IBM US Set Symbol Set ID 10U IBM US IBM DN Appendix B B 11 ...
Page 328: ......
Page 329: ......


