12
MEDEA Programming Manual
How to program the MEDEA system
1.1
Programming via computer
The mode of programming is via a computer, tablet or smartphone connected to the built-in MEDEA
Control web server in the MEDEA control panel. There are different ways to connect to the control panel:
through a direct USB connection (standard), through a LAN network (Ethernet, standard) or through a
WLAN connection (WiFi, optional).
If the network to which the control panel is connected has internet access and the control panel has been
associated, via the UID on the MEDEA CPU label, to an installer registered in the Elkron Cloud with access
to the Cloud services enabled, programming can also be carried out remotely.
1.1.1
Web server
The control panel is equipped with a web server that manages the programming and configuration pages
of the control panel. By using the web server, it is not necessary to install any program on the device used
for programming. It is sufficient to use any compatible browser and you are completely free from the
operating system used by the device.
1.1.2
Connecting to the control panel via USB
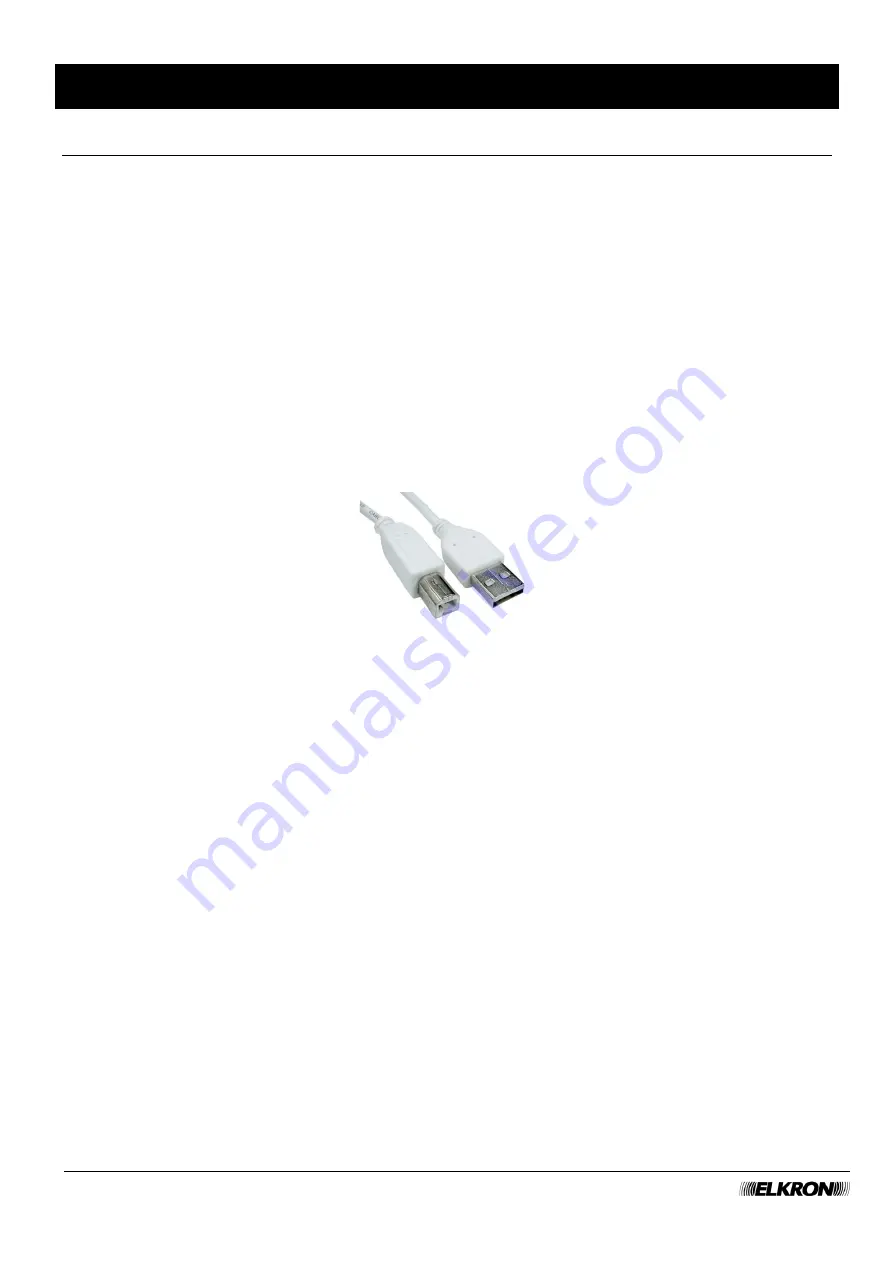
Connect your computer to the MEDEA control panel using a USB Type-A - USB Type-B cable.
See the
Installation Manual
for the location of the USB Type-B connector on the CPU of the control panel.
The USB port works as a virtual network connection, the operating system recognises the control panel
and automatically installs the driver. For some operating systems, you may need to manually install the
driver on your computer.
Type in the browser the address
https://192.168.82.83
to access the control panel web server (see
paragraph 3.1
).
1.1.3
Connecting to the control panel via LAN (and/or Ethernet cable)
Connect the computer directly to the control panel via an Ethernet network cable or to the LAN to which
the control panel is connected.
See the
Installation Manual
for the identification of the Ethernet port on the CPU of the control panel and
for the different connection modes.
You can choose to keep the default configuration (DHCP client enabled and IP address) or change it or
disable the DHCP client if there is a DHCP server in the network.
Changes to the connectivity parameters can be made via web server connected via USB (Connectivity
menu) or from the keypad (after having acquired it correctly).
To use the keypad:
1. Enter the installer code (default
00000
) on the keypad and press the
MENU
button on the keypad.
2. Use the
▼ button to scroll through the menu until
CONNECTIVITY
appears and press the
OK
button.
3. Use the
▼ button to scroll through the menu until
LAN PORT
appears and press the
OK
button.
4. If
LAN PORT
appears:
OFF
press the
► button which changes the message to
LAN PORT
:
ON
.


