Pag
e 56
1. Insert the battery and wait for the
start-up sequence.
If the battery has been inserted for a
long time, it will need to be removed
from the holder and reinserted.
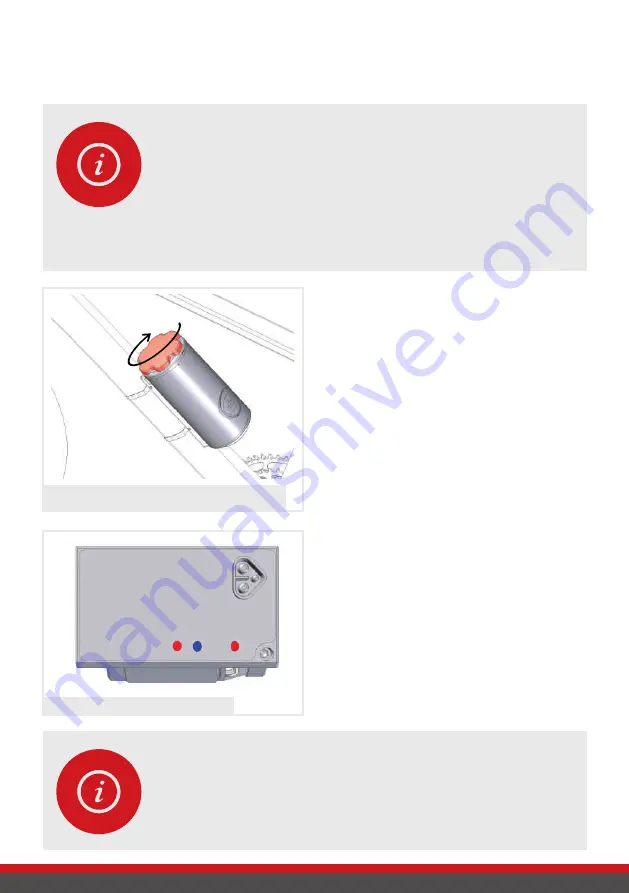
2. Rotate the power setting knob on
the battery to level 5 and back to
level 0/Off.
Repeat this a total of 3 times
until
you hear a long beep.
Rotate the power setting knob clockwise to
level 5 and back to 0/off 3 times
3. The blue and red LEDs on the drive
unit
flash alternately
and a short
sequence of tones indicate the unit
has entered the Pairing Mode.
Red LED 4 and blue LED 3 flash
PLEASE NOTE!
For
completi ng
the pairing process approx. 1 minute is available. If
nothing happens during this ti me or if one of the sensors is not de-
tected properly, a sequence of error tones is emitt ed, and the pairing
has to be restarted.
You can
initi ate
Pairing Mode only within 30 seconds of the start-up
sequence.
4.3 Pairing the sensors
Pairing is the process of teaching the add-e NE
X
T sensors on the drive unit. This may
be necessary if a sensor gets lost or after it has been replaced.
PLEASE NOTE!
Aft er the drive unit has entered the Pairing Mode, you have a ma-
ximum of 30 seconds to pair both sensors. What is more, no other
acti ve sensor should be moved in the vicinity, otherwise the wrong
sensor may be paired.


