Controlling Your System at the Analog Ports
55
2
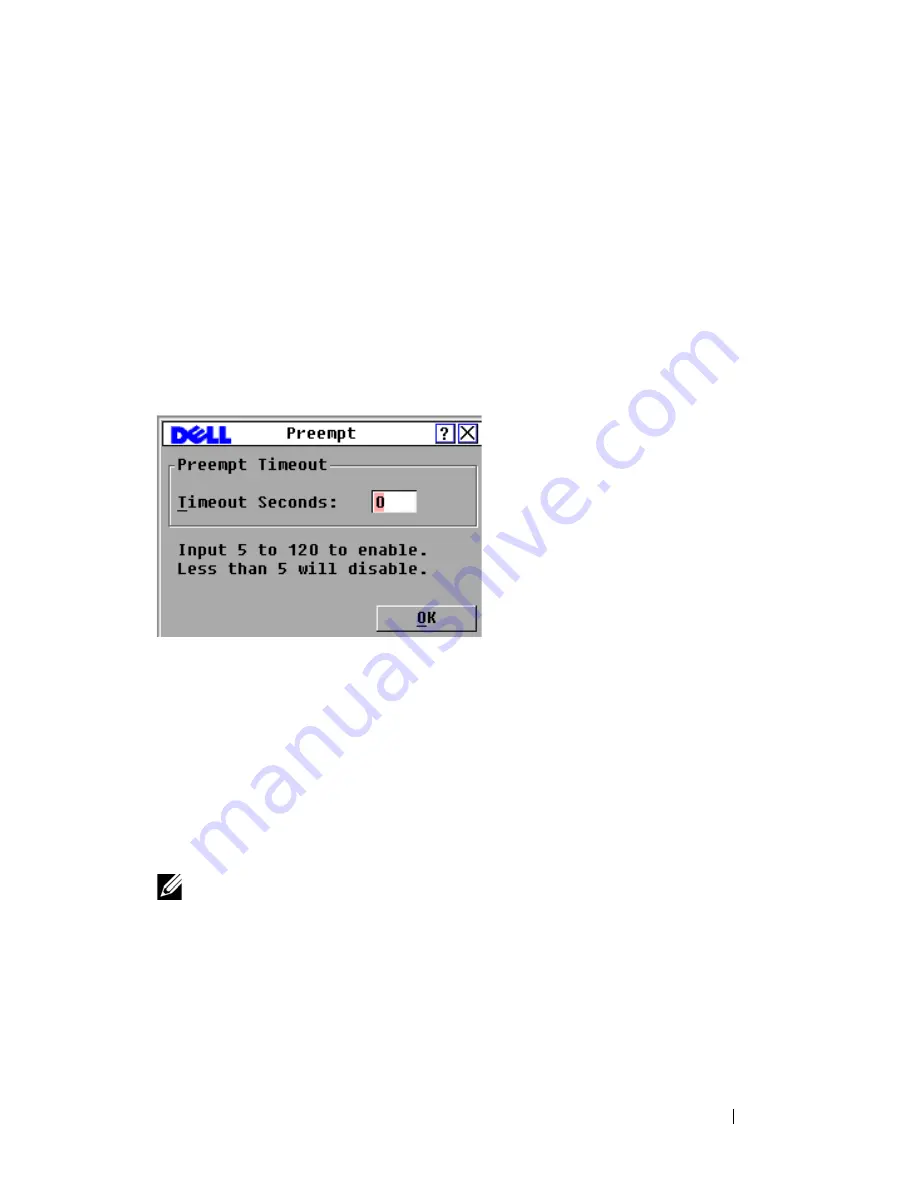
Click
Setup > Preempt
.
3
Enter a number of seconds in the
Timeout Seconds
field.
• If you enter a value of 0 to 4 seconds, the first user will not be warned
before the session is preempted.
• If you enter a value of 5 to 120 seconds, the first user will be warned
and will be allowed to continue using the target device for up to the
amount of time in the
Timeout Seconds
field. The session will be
preempted when the user clicks
OK
, or when the specified time
elapses.
Figure 3-13. Preempt Dialog Box
4
Click
OK
to save the settings.
Displaying Configuration Information
You can view the configuration of your Remote Console Switch from the
Configuration
dialog box. This dialog box provides you with quick access to
the settings you have entered and allows you to add additional features by
clicking the
License Key
button and typing the license key for any additional
features.
NOTE:
If there are no features that require a license in the firmware, the button is
grayed out.
To view system configuration:
1
Press <Print Screen>
to launch the OSCAR interface. The
Main
dialog
box appears.
2
Click
Configuration
. The
Configuration
dialog box is displayed.
Summary of Contents for PowerEdge KVM 1081AD
Page 4: ......
Page 24: ...8 Product Overview ...
Page 50: ...34 Installation ...
Page 80: ...64 Controlling Your System at the Analog Ports ...
Page 104: ...88 Using the Viewer ...
Page 116: ...100 Virtual Media ...
Page 148: ...132 Managing Your Remote Console Switch Using the On board Web Interface ...
Page 154: ...138 Migrating Your Remote Console Switch ...
Page 190: ...174 LDAP Feature for the Remote Console Switch ...
Page 194: ...178 Appendix A Remote Console Switch Software Keyboard and Mouse Shortcuts ...
Page 196: ...180 Appendix B TCP Ports ...
Page 238: ...222 Appendix F Technical Support ...


