Managing Your Remote Console Switch Using the On-board Web Interface
107
3
Type the username and password you wish to assign to the user and then
verify the password by typing it in the
Verify Password
field. The password
must be 5-16 characters and contain alphabetical characters of mixed case
and at least one number.
4
Select the appropriate access level you wish for this user from the drop-
down list. If you select the
User
option, the
Set User Access Rights
button
becomes active.
a
Click the
Set User Access Rights
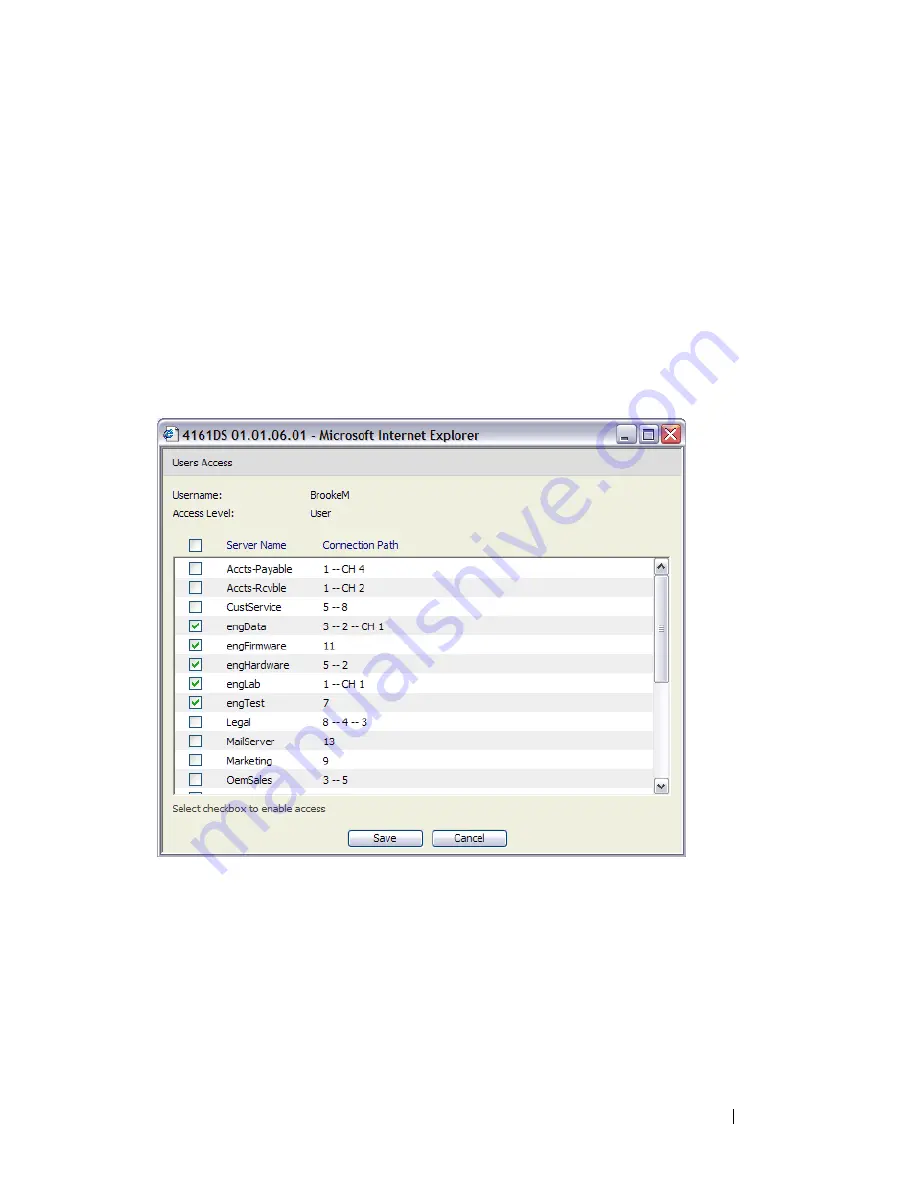
button to select individual servers for
that user. The
User Access Rights
window appears.
Figure 6-4. User Access Rights Window
b
To allow the user access to a server, select the check box next to the
server name. Alternatively, you may select the first check box to enable
access on all servers.
c
To prevent the user from accessing a server, clear the check box next to
the server name.
d
Click
Save
.
Summary of Contents for PowerEdge KVM 1081AD
Page 4: ......
Page 24: ...8 Product Overview ...
Page 50: ...34 Installation ...
Page 80: ...64 Controlling Your System at the Analog Ports ...
Page 104: ...88 Using the Viewer ...
Page 116: ...100 Virtual Media ...
Page 148: ...132 Managing Your Remote Console Switch Using the On board Web Interface ...
Page 154: ...138 Migrating Your Remote Console Switch ...
Page 190: ...174 LDAP Feature for the Remote Console Switch ...
Page 194: ...178 Appendix A Remote Console Switch Software Keyboard and Mouse Shortcuts ...
Page 196: ...180 Appendix B TCP Ports ...
Page 238: ...222 Appendix F Technical Support ...


