


72
Chapter 5
Basic Operation
The switcher’s control panel is the main control interface for the user to select video
sources and take them to air during live production. On the control panel, the user will be
allowed to select the transition style, enable/disable various keyers, and add logos to the
program view.
The OSD menu allows the user to adjust transition settings, configure chroma keyers and PIP
windows, assign inputs and outputs and modify audio parameters.
This section describes how you can switch video sources on the control panel using simple
operations.
5.1 Video Switching
First let’s learn the basics of video switching.
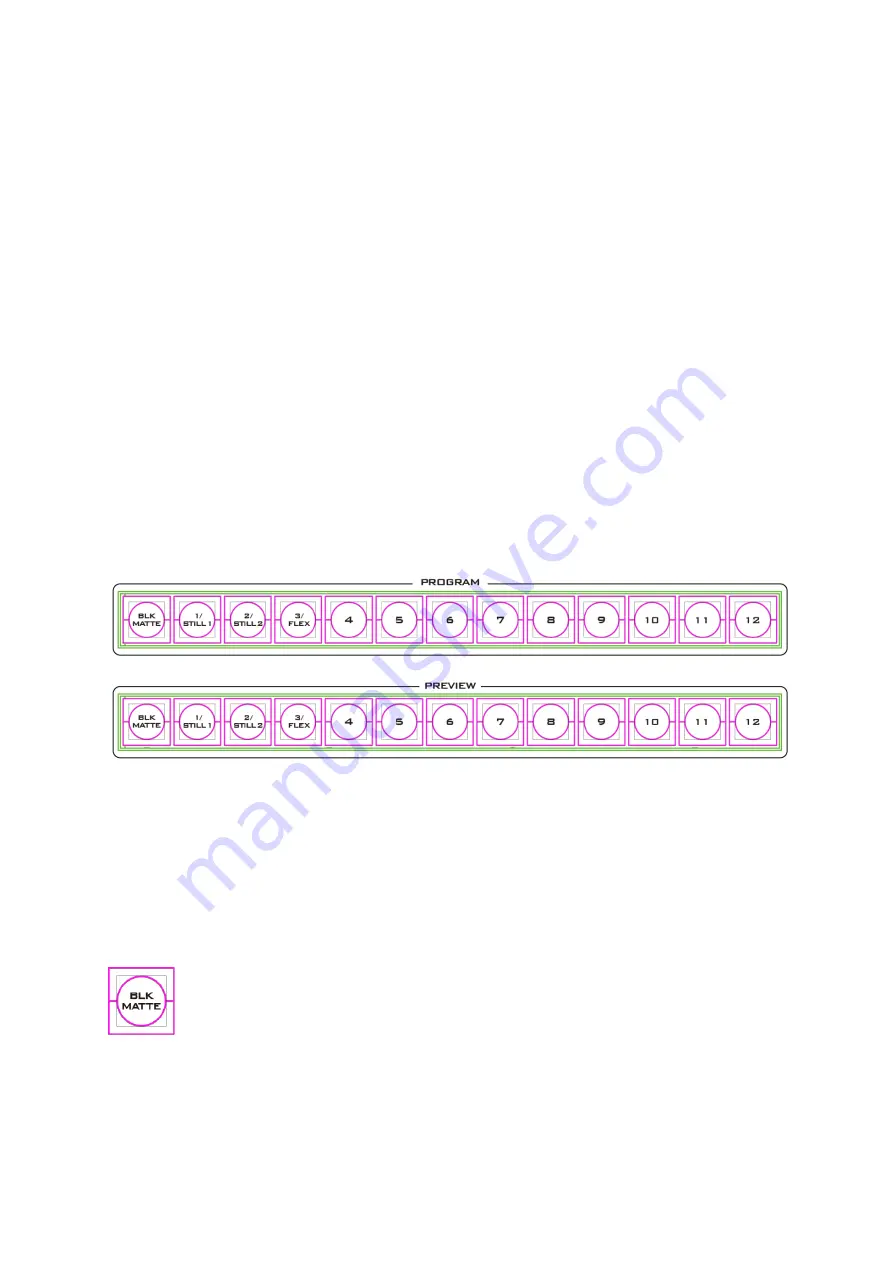
Program and Preset rows
This row of buttons is typically used to select the switcher’s main Program output image.
The selected source sent to the Program outputs will be
backlit Red
on this row. Simple cuts
between sources can be performed on this row by pressing on the source number required
for the next shot.
This row of buttons is typically used to select the switcher’s Preview or Next source output
image. The selected source will be
backlit Green
on this row. You can transition between
Preview and Program using the
T-Bar
, the
CUT
button or the
AUTO
button.
Note: The keys on the Program and Preview rows will still be active while the T-Bar is
moving.
Black and MATTE View
The
BLK/MATTE
button allows the user to switch between a black background, a
matte colour and color bars on Program and Preview screens.
The MATTE color can be configured in the OSD menu. Simply go to ‘
Start
’
‘
Matte
’ and then adjust
Luma
,
Saturation
and
Hue
.
For
Hue
value,
Red
is 0,
Green
is approximately 120 and
Blue
is approximately 240. For
secondary colors,
Yellow
is approximately 60,
Cyan
is approximately 180 and
Violet
is
approximately 300.
Summary of Contents for HS-3200
Page 1: ...HD 12 Channel Portable HS 3200 Video Streaming Studio Instruction Manual...
Page 13: ...13 1 1 System Architecture...
Page 20: ...20 Mode 1 Mode 2 Mode 3...
Page 84: ...84 2 The Render Queue will be displayed in the bottom pane...
Page 87: ...87 3 Click the Format dropdown list and then select PNG...
Page 134: ...134...
Page 156: ...156...
Page 167: ...167 Notes...


