


107
Flex Src
Flex Src Bgnd
Black
P-in-P 1 Src
Black
Enable
On
P-in-P 2 Src
Black
Enable
On
P-in-P 3 Src
Black
Enable
On
P-in-P 4 Src
Black
Enable
On
Keyer
Input 1
Input 2
Enable
On
Flex Preset
Preset 1
Preset 2
Preset 3
Preset 4
Preset 5
Preset 6
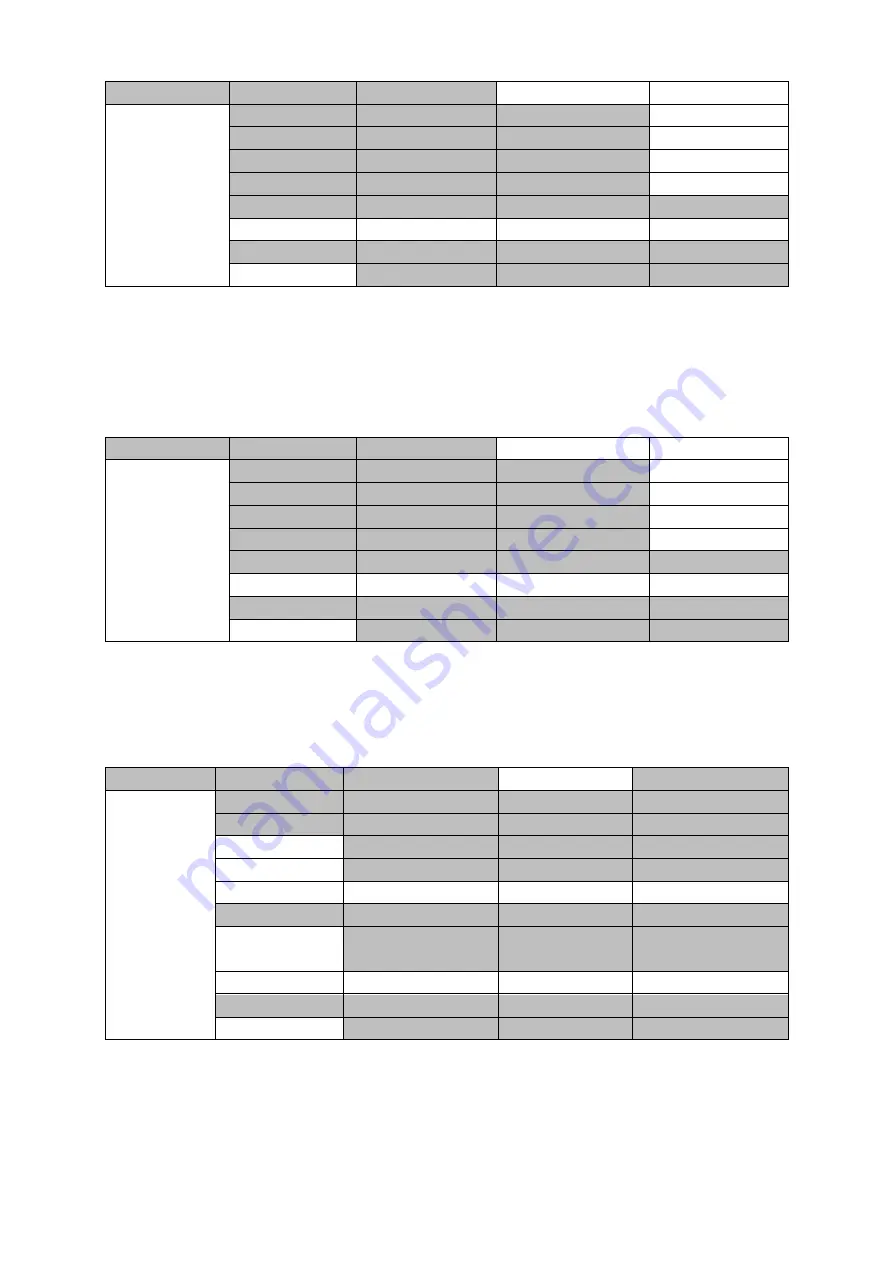
3. The
Flex™
output consists of one background image and four smaller source images
overlapped on the background image in four separate individual PIP windows. The options
above the
Keyer
row allow you to select a source for the background (
FLEX Src Bgnd
) and
then assign an input source to the respective
Flex™
output windows (
P-in-P 1 Src
to
P-in-P 4
Src
).
Flex Src
Flex Src Bgnd
Input 4
P-in-P 1 Src
Input 6
Enable
On
P-in-P 2 Src
Input 7
Enable
On
P-in-P 3 Src
Input 11
Enable
On
P-in-P 4 Src
Input 12
Enable
On
Keyer
Input 1
Input 2
Enable
On
Flex Preset
Preset 1
Preset 2
Preset 3
Preset 4
Preset 5
Preset 6
4. In order to configure the corresponding FLEX window’s size, position, border style, border
color, border width and the crop settings, open the P-in-P sub menu and in the
Keyer
option,
you will be able to find options
Flex PinP 1 to 4
. Select one of them and adjust the
Flex™ P-
in-P
windows accordingly.
P-in-P
Keyer
Flex PinP 1
Fine
Normal
Position
X
20%
Y
10%
Size
40%
Border
Normal
Luma
100%
Sat
80%
Hue
0
Width
2%
Soft
0%
Opac
100%
Shade Matte
Luma
100%
Sat
80%
Hue
60
Shade Soft
2%
Shade
Pos
50
Direction
35
Crop
Left
0%
Right
0%
Size
0%
Top
0%
Bot
0%
Soft
0%
5. Once configured, save the
Flex™
settings in User Memories for easy access.
Summary of Contents for HS-3200
Page 1: ...HD 12 Channel Portable HS 3200 Video Streaming Studio Instruction Manual...
Page 13: ...13 1 1 System Architecture...
Page 20: ...20 Mode 1 Mode 2 Mode 3...
Page 84: ...84 2 The Render Queue will be displayed in the bottom pane...
Page 87: ...87 3 Click the Format dropdown list and then select PNG...
Page 134: ...134...
Page 156: ...156...
Page 167: ...167 Notes...


