User’s Manual
300
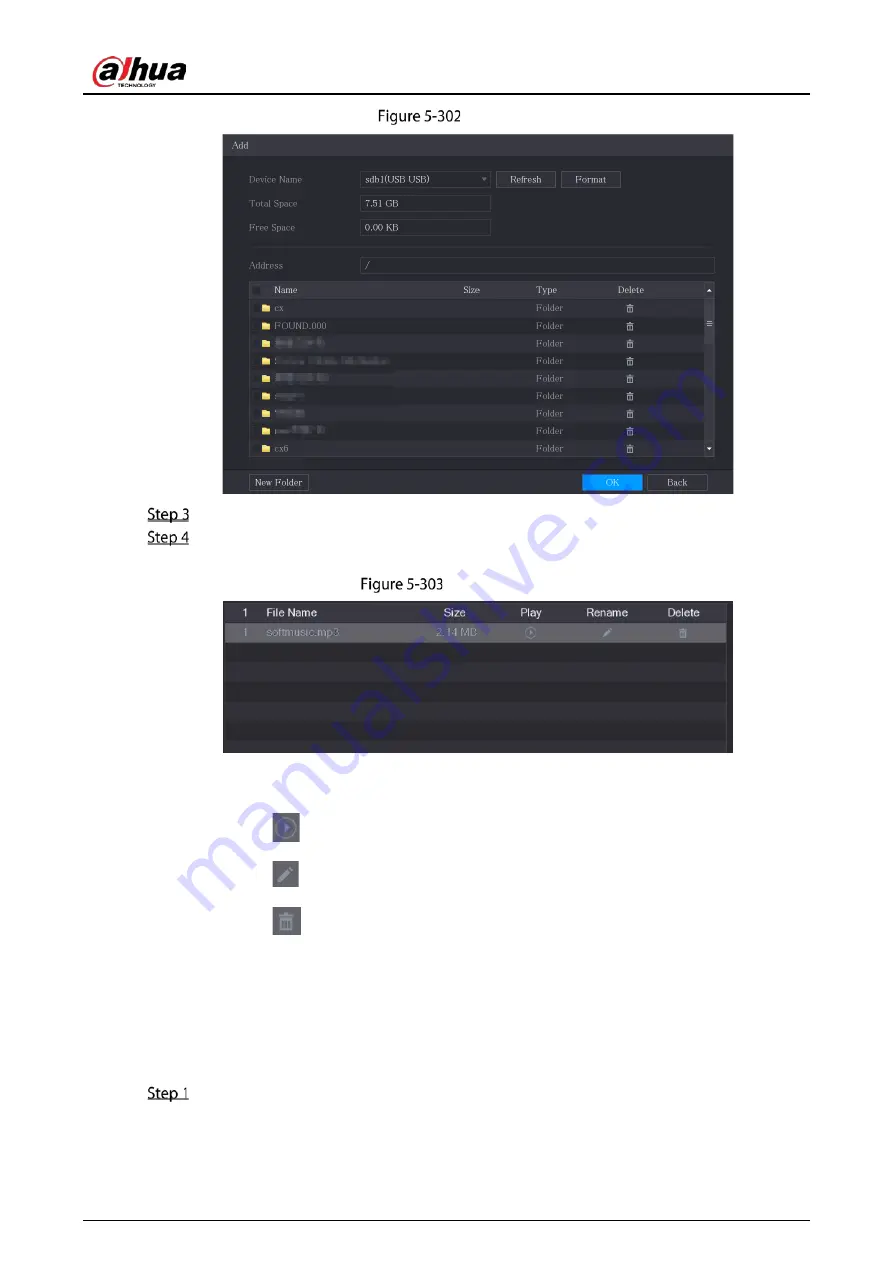
Add file
Select the audio files that you want to import.
Click OK to start importing audio files from the USB storage device.
If the importing is successful, the audio files will display in the File Management page.
Imported file
The imported audio files are automatically saved into the HDD, so you do not need to connect
to the USB storage device to get the file next time.
Click
to play the audio file.
Click
to rename the audio file.
Click
to delete the audio file.
To decrease or increase the playing volume, move the slider to the left or to the right.
5.17.2
Configuring Playing Schedule for Audio Files
You can configure the settings to play the audio files during the defined time period.
Select Main Menu > AUDIO > Audio Play.
Summary of Contents for DH-XVR71 H-4K-I2 Series
Page 24: ...User s Manual 15 Fasten screws...
Page 67: ...User s Manual 58 TCP IP Configure the settings for network parameters...
Page 103: ...User s Manual 94 Main menu...
Page 189: ...User s Manual 180 Details Click Register ID Register ID Click to add a face picture...
Page 212: ...User s Manual 203 Search results Click the picture that you want to play back Playback...
Page 239: ...User s Manual 230 Details Click Register ID Register ID Click to add a face picture...
Page 314: ...User s Manual 305 Main stream Sub stream...
Page 347: ...User s Manual 338 Update Click Update Browse Click the file that you want to upgrade Click OK...
Page 362: ...User s Manual 353 Legal information...
Page 388: ...User s Manual 379 Appendix Figure 7 7 Check neutral cable connection...
Page 394: ...User s Manual...


