


2 8
AC INPUT
90-240 VAC, 47- 63 Hz
1 AMP FAST BLOW
250 VAC
AVAILABLE SLOTS FOR OPERATION MODULES
AVAILABLE SLOTS FOR OPERATION MODULES
LCI MODULE (FRONT ACCESS MODEL ONLY)
LCI MODULE (FRONT ACCESS MODEL ONLY)
Keyboard Translation Options
When using a PC keyboard to operate a Mac computer, the F11 key maps to the
Macintosh POWER key when Scroll Lock is on. By default, the F12 key maps
to the COMMAND key and the ALT key maps to the OPTION key. To use the
F12 key as the OPTION key and the ALT key as the COMMAND key, set switch
5 as shown below. With Scroll Lock off, F11, F12 and ALT function normally.
Note: Once your XPAC/XPAB module has been installed, you can change the
DIP switch setting at any time through a simple hot-key sequence. See Chapter
9, Advanced Operations, for more information.
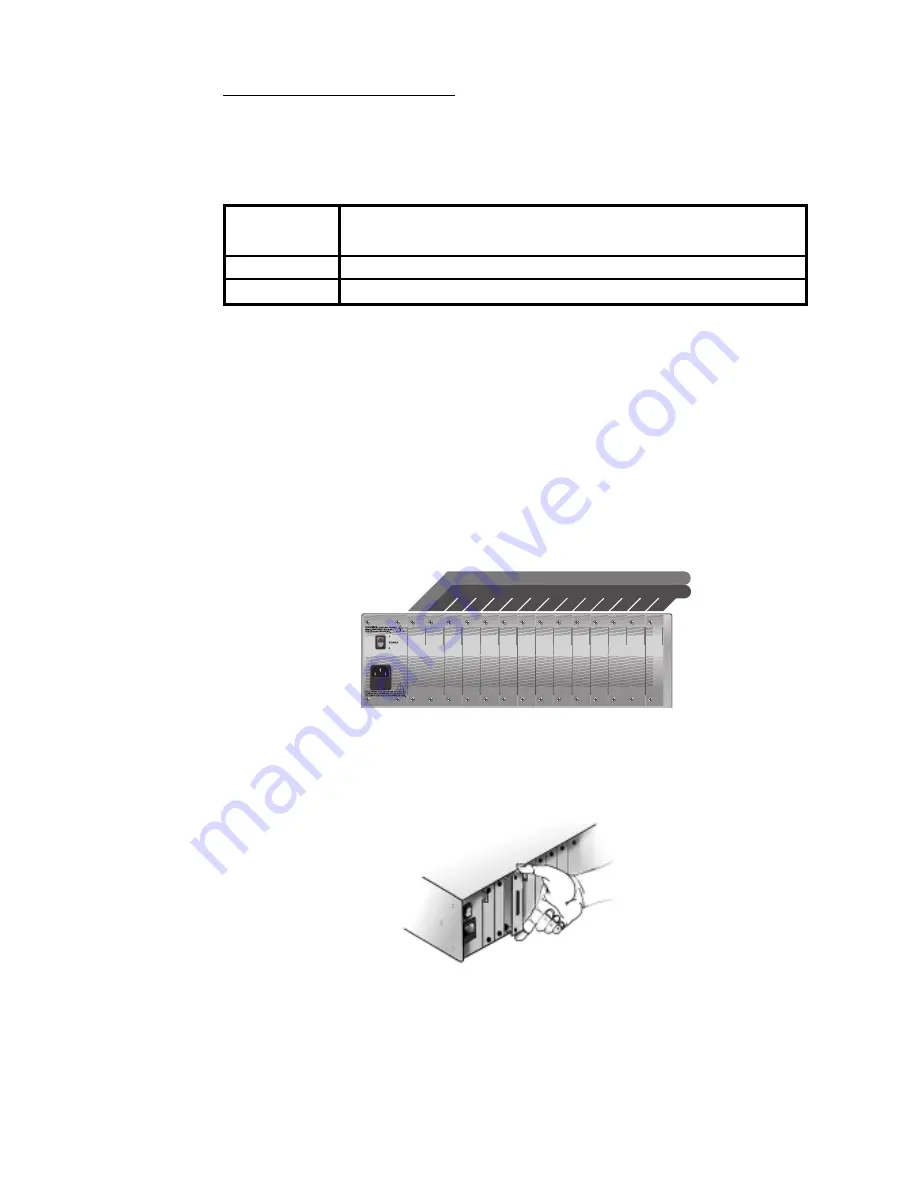
Installing the XPAC/XPAB modules
1.
Position the XP4000 Series unit so that the rear panel is facing you.
Choose an available slot. An available slot will have a solid panel
covering the opening, with no connectors showing through it.
NOTE:
For Front Access models, the LCI module, at the far left of the
unit (viewed from rear), is covered by a solid panel but
IS NOT
an
available slot.
2.
Remove the panel covering the available slot by unscrewing the two
Phillips-head screws on the rear of the unit that hold the panel in place.
3.
Slide the new computer interface module gently into the open slot
until the 44-pin connector lines up flush with the back of the unit.
4.
Retighten the holding screws completely. DO NOT overtighten.
5.
Fill out the XPAC/XPAB Configuration Chart in Appendix A for each
module as you install it.
Follow this procedure for every computer interface module in your system.
Translation Option
Switch 5
Setting
Off
F12 maps to COMMAND, ALT maps to OPTION (default)
On
F12 maps to OPTION, ALT maps to COMMAND


