Redundant Controller
10-27
current setting will be displayed on the screen. If this controller has never
been set as a redundant controller before, the default setting is "Disabled."
The message "Redundant Controller - Disabled" will be displayed on the
screen. Press
[ENTER]
to proceed.)
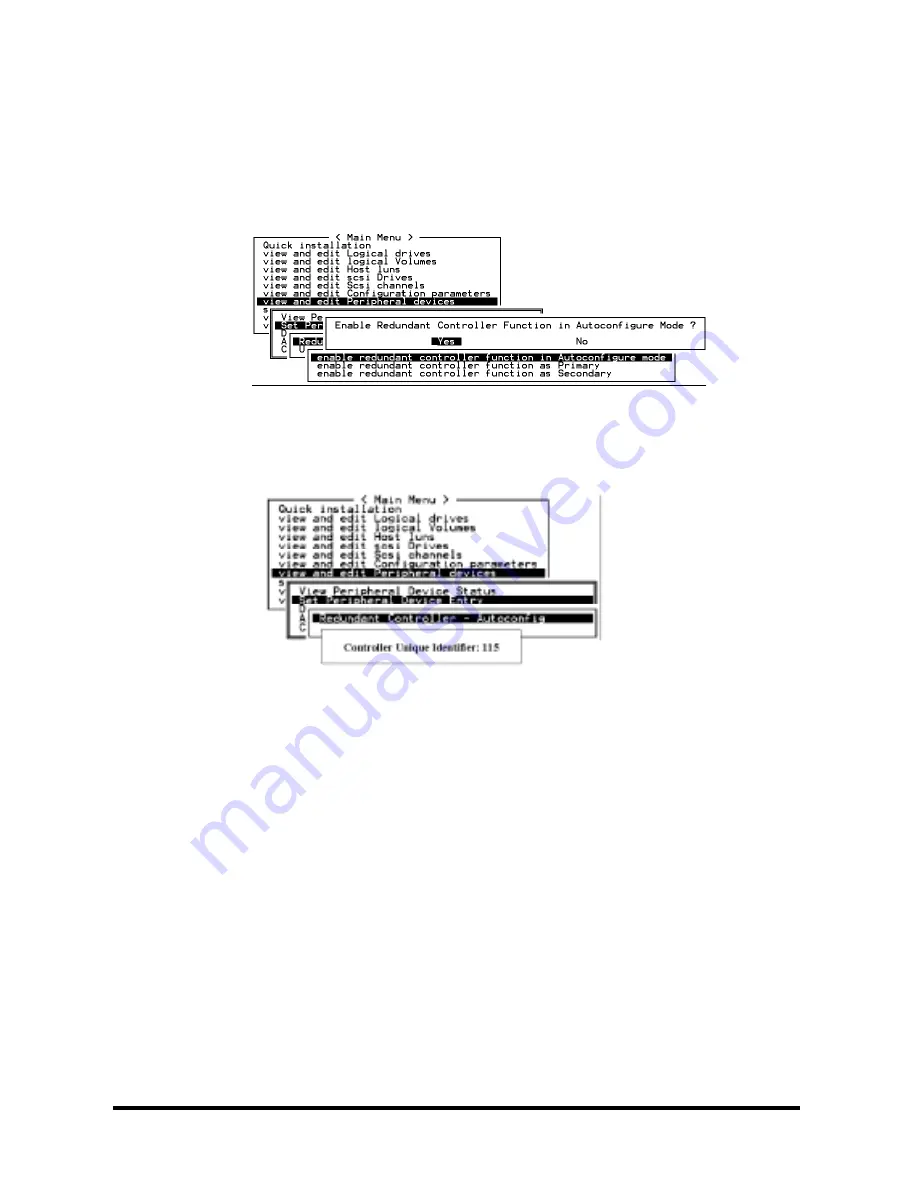
The message "Enable Redundant Controller in
Autoconfigure
Mode" will
appear.
Use the arrow keys to scroll through the available options ("Primary,"
"Secondary," or "Autoconfigure"), then press
[ENTER]
to select
"
Autoconfigure
." When prompted by “enable redundant controller function
in Autoconfigure mode?,” choose
Yes.
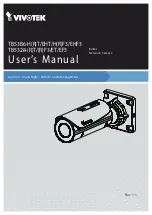
A “Controller Unique Identifier” box will appear. Enter a hex number from
0 to FFFFF, then press
[ENTER]
to proceed. The value you enter for
controller unique ID should be different for each controller.
Power off controller 1, and then power on controller 2. Set controller 2 to
"Autoconfigure" as described in the steps mentioned above. Power off
controller 2.
When the redundant controller function is set to the "Automatic" setting, the
controllers will decide between themselves which will be the Primary
controller. If you need to specify a particular controller as Primary or
Secondary, do not set it as "autocfg;" choose "Primary" or "Secondary"
instead.
Redundant Configuration Using Manual Setting
Power on controller 1. Make sure controller 2 is powered-off.
Enter the main menu. Use the arrow keys to navigate through the menus.
Choose "View and Edit Peripheral Devices," then press
[ENTER]
.
Choose "Set Peripheral Device Entry," then press
[ENTER]
.


