


Installation-Related Menu Settings
157
Inst
alla
tio
n
an
d Main
te
nan
ce
Inst
allation
5
Select [Start position] and use the remote’s [ ] [ ] buttons to move the
markers to the right edge where the images overlap.
6
Select [Width], and use the remote’s [ ] [ ] buttons to move the markers
to the overlapping area.
The area between the starting and ending markers is called the blending area.
Brightness of this area is automatically adjusted to match the brightness of
other image areas. After you complete settings for the left image, do the same
thing for the right image, to specify the blending area along the left edge. Adjust
the area so that the blending area for the left and right images is the same.
7
Set [Marker] to [Off].
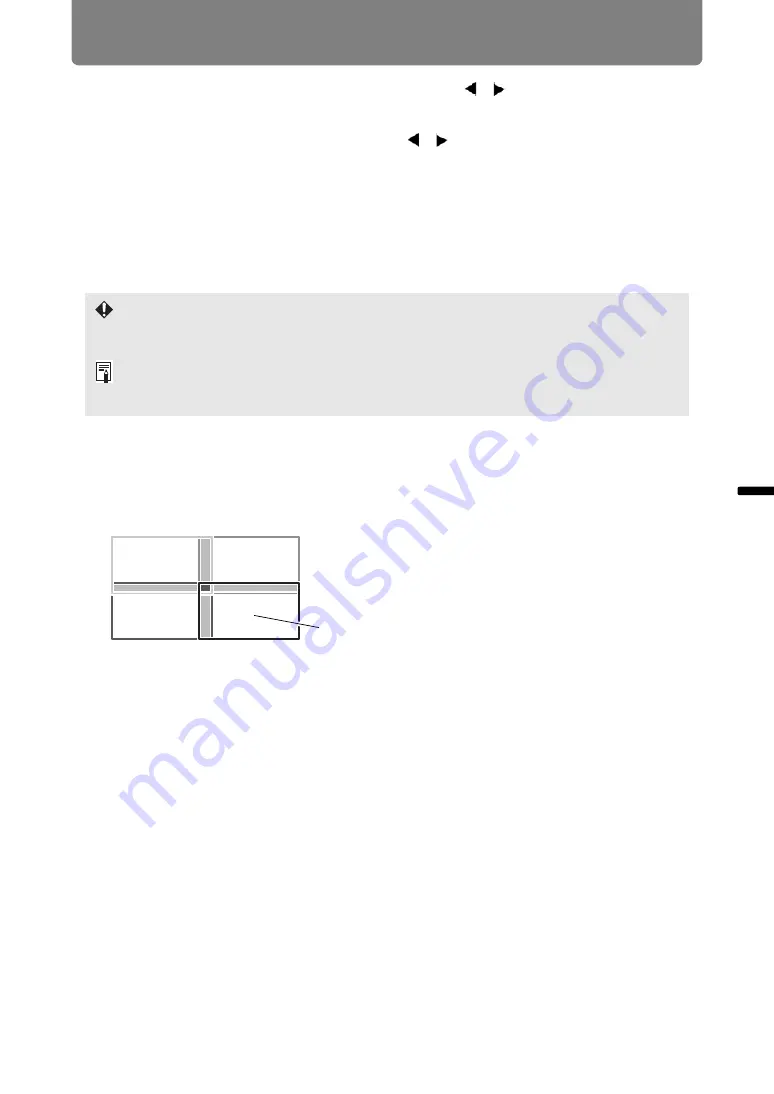
Edge Blending with Four Projectors
Specifying a large blending area may cause dialog boxes for input signal selection or
status to be covered by the blending area. In this case, momentarily switch edge blending
from [Adjust] to [Off], check the display, and then return the setting to [Adjust].
Although the starting marker is normally aligned with the image edge, it can also be
aligned more toward the center of the image. In this case, the black blending area will lie
outside of the starting marker.
Example: When specifying the blending area for the
lower-right image, configure the settings for
blending areas along the top and left image
edges.
Complete the settings for the other three
images the same way for the edges that
overlap.
Images from four projectors can also be blended, as
shown at left.
Specify the blending area where each image overlaps
with others.
Summary of Contents for WUX450
Page 30: ...30 ...
Page 46: ...46 ...
Page 47: ...47 MULTIMEDIA PROJECTOR Operation ...
Page 48: ...48 ...
Page 72: ...72 ...
Page 122: ...122 ...
Page 162: ...162 ...
Page 201: ...201 MULTIMEDIA PROJECTOR Networked Multi Projection NMPJ ...
Page 202: ...202 ...
Page 216: ...216 ...
Page 250: ...250 ...
Page 264: ...Using Layout Functions 264 Meeting Mode window Classroom Mode window starting a session ...
Page 273: ...273 MULTIMEDIA PROJECTOR Appendix ...
Page 274: ...274 ...


