


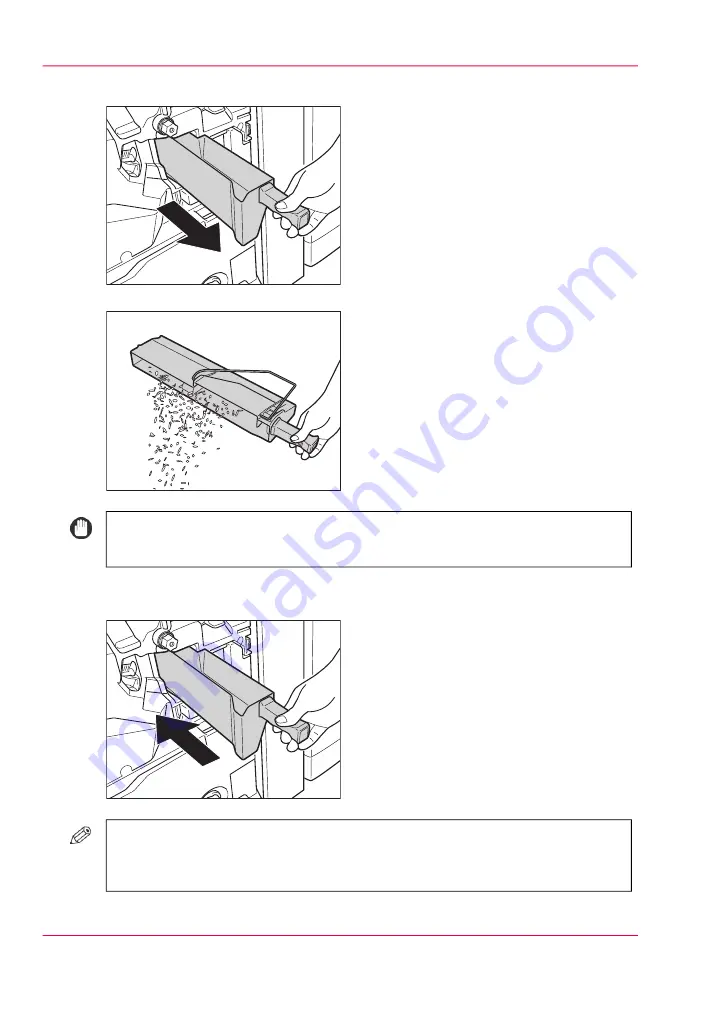
2.
Pull out the punch waste tray.
3.
Discard the punch waste into a receptacle.
#
IMPORTANT
Make sure that the punch waste tray is completely emptied.
4.
Return the punch waste tray to its original position.
Always make sure to insert the punch waste tray as far as it can go.
#
NOTE
If the punch waste tray is not securely in place, you cannot make copies or prints in
the Hole Punch mode.
Chapter 9 - Paper, toner, and staples
294
Remove the punch waste of the punch unit
Summary of Contents for imageRUNNER ADVANCE C9065S PRO
Page 1: ...Please read this guide before operating this product Operating Information ENG ...
Page 7: ...Chapter 1 Preface ...
Page 15: ...Chapter 2 Main parts ...
Page 51: ... Overview of the machine configuration on page 16 Chapter 2 Main parts 51 Inserter ...
Page 58: ...Chapter 2 Main parts 58 Folder ...
Page 59: ...Chapter 3 Operating concept ...
Page 82: ...Chapter 3 Operating concept 82 Manage production printing ...
Page 83: ...Chapter 4 Operator panel views ...
Page 92: ...Chapter 4 Operator panel views 92 The System view ...
Page 93: ...Chapter 5 Power information ...
Page 100: ...Chapter 5 Power information 100 Use the Sleep mode ...
Page 101: ...Chapter 6 Print jobs ...
Page 123: ... Delete print jobs on page 128 Chapter 6 Print jobs 123 Reprint a job ...
Page 169: ...Chapter 7 Copy jobs ...
Page 213: ...Chapter 8 Scan jobs ...
Page 233: ...Chapter 9 Paper toner and staples ...
Page 317: ...Chapter 10 Adapt printer settings to your needs ...
Page 343: ...Chapter 11 Maintenance and calibra tion ...
Page 369: ...Chapter 12 Specifications ...
Page 390: ...Chapter 12 Specifications 390 Specifications ...
Page 391: ...Chapter 13 Third party software ...


