Clearing Paper Jams
7-3
T
rou
b
les
ho
ot
ing
7
Clearing Paper Jams
Clearing Paper Jams with On-Screen Instructions
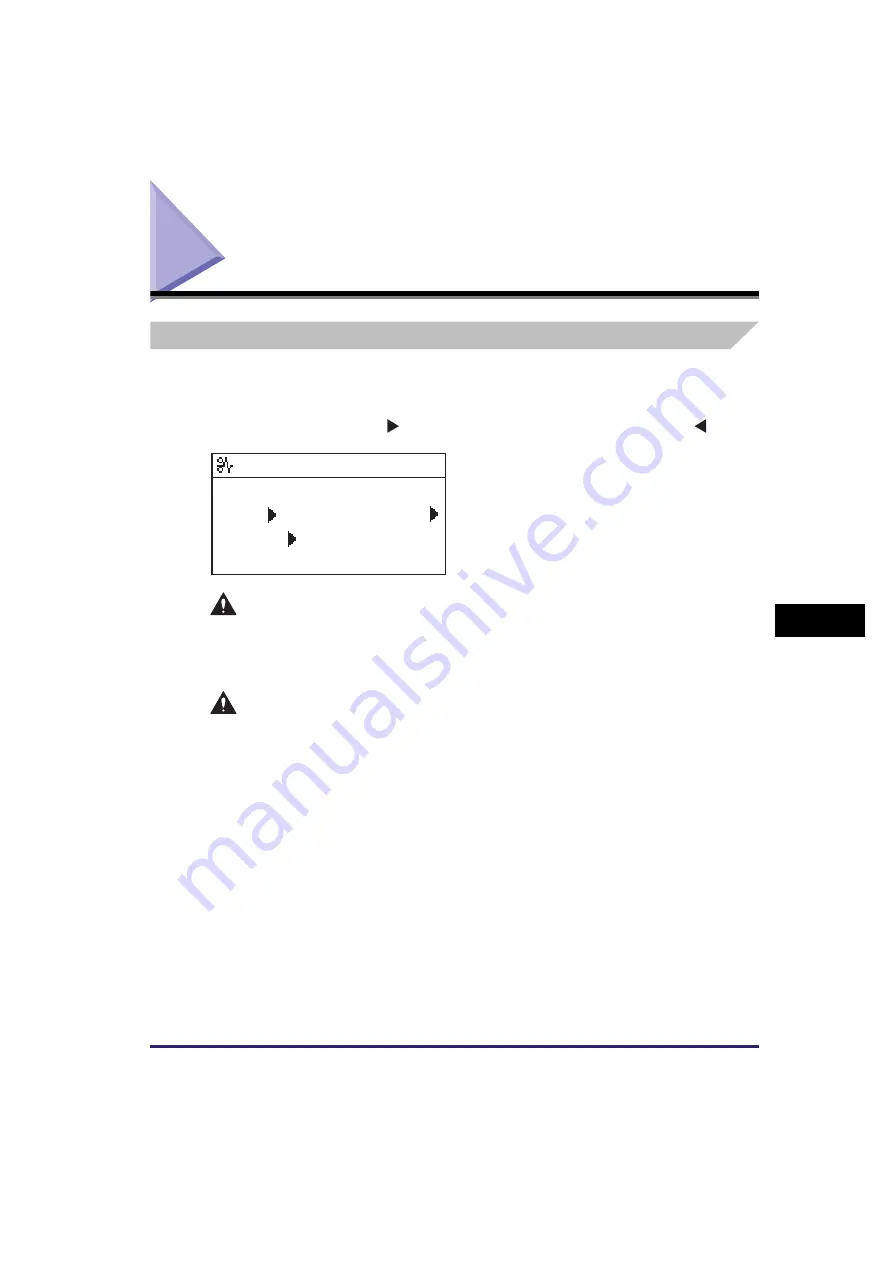
If a paper jam occurs, the display below appears. It is the first page of the
On-Screen Instructions that help you clear the paper jam. The On-Screen
Instructions show you how to clear the paper jam step by step. You can proceed to
the next step by pressing [
] or return to the previous step by pressing [
].
WARNING
There are some areas inside the machine which are subject to high-voltages.
When removing jammed paper or when inspecting the inside of the machine, do
not allow necklaces, bracelets, or other metal objects to touch the inside of the
machine, as this may result in burns or electrical shock.
CAUTION
•
When removing jammed originals or paper, take care not to cut your hands on
the edges of the original or paper.
•
When removing paper which has become jammed inside the machine, take care
not to cut your hands or injure yourself on the parts on the inside of the
machine. If you cannot remove the paper, please contact your local authorized
Canon dealer.
•
When removing paper which has become jammed inside the machine, take care
not to allow the toner on the jammed paper to come into contact with your
hands or clothing, as this will dirty your hands or clothing. If they become dirty,
wash them immediately with cold water. Washing with warm water may set the
toner and make it impossible to remove the toner stains.
•
When removing paper which has become jammed inside the machine, remove
the jammed paper gently to prevent the toner on the paper from scattering and
getting into your eyes or mouth. If the toner gets into your eyes or mouth, wash
them immediately with cold water and immediately consult a physician.
When is shown
press [ ] to
display steps
Paper jam
Summary of Contents for imageRUNNER 2320
Page 2: ......
Page 3: ...imageRUNNER 2320 2318 Reference Guide ...
Page 32: ...xxx ...
Page 52: ...System Settings 1 20 Before You Start Using This Machine 1 ...
Page 138: ...Printing the User s Data List 3 44 Useful Functions and Settings 3 ...
Page 176: ...Accepting Jobs through the USB Interface Port 4 38 System Manager Settings 4 ...
Page 188: ...Cassette Feeding Module J1 K1 5 12 Optional Equipment 5 ...
Page 228: ...Consumables 6 40 Routine Maintenance 6 ...
Page 273: ...Sample Reports 8 7 Appendix 8 Sample Reports Department ID List User s Data List ...
Page 290: ...Index 8 24 Appendix 8 ...
Page 291: ......


