4- 28
Replacing the Cutter Blade
TOP
Chapter 3
Printing by Objective
Chapter 4
Maintenance
Chapter 5
Using the Printer
in a Network
Environment
Chapter 6
Troubleshooting
Chapter 7
Operating the
Function Menu
Index
Contents
Chapter 2
Using Various Media
Chapter 1
Basic Use
5
Press [
] or [
] to select
Yes
, then press
OK
button.
Carriage Moving
appears in the bottom line of the
display and the carriage moves to the center of the
platen.
Open UpperCover
is then displayed.
Note
z
If no further actions are performed within two minutes
after executing the
Change Cutter
function, the cutter
replacement procedure will be cancelled, and the
printer will automatically return online. If this happens,
start again from step 2.
6
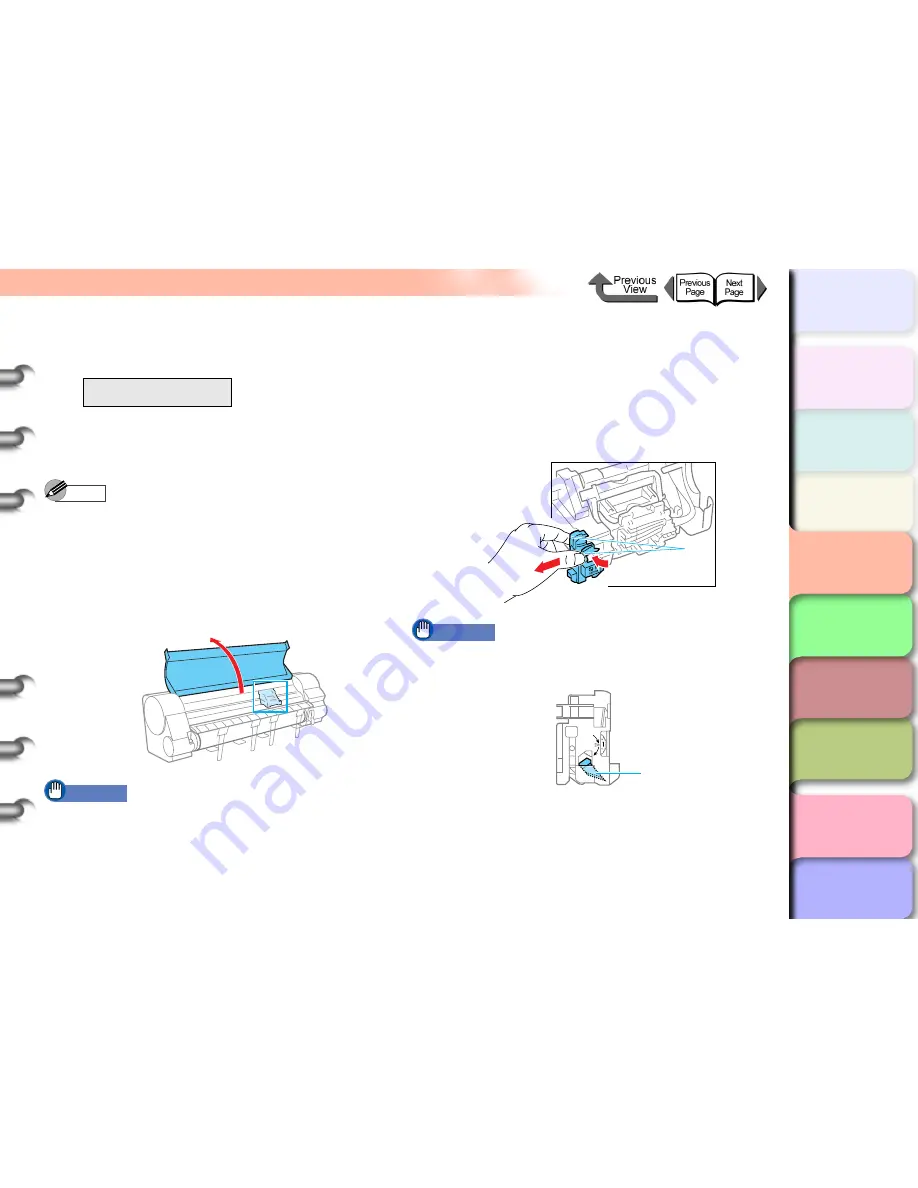
Open the top cover.
Important
z
Do not touch any areas other than as directed. Doing
so may stain your hands or cause the printer to
malfunction.
z
If the cutter blade or the carriage is dirty, wring out a
damp, clean cloth and use it to clean the cutter blade
and the carriage before you begin the procedure to
adjust the operation of the cutter blade.
7
Grasp the cutter blade (a) by the grips then
remove it from the carriage.
Important
z
After removing the cutter blade, never touch the
cutting edge (b). This could cause personal injury.
Change Cutter
Yes
a
b


