Sending Documents
4-10
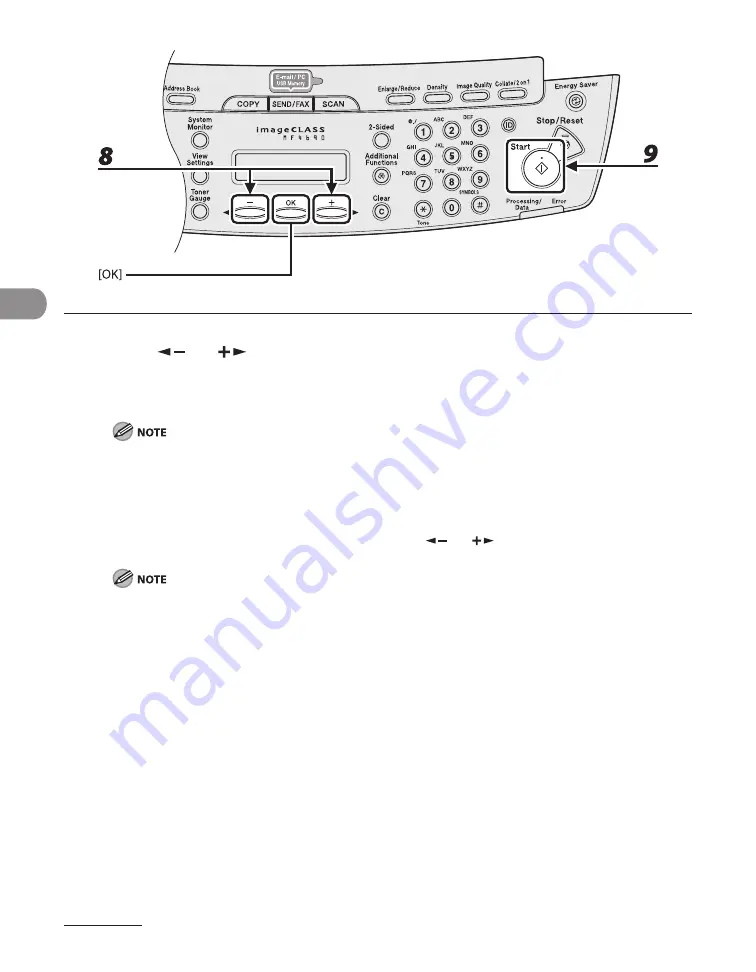
8
Press [
] or [
] to select the original type, then press [OK].
<TEXT/PHOTO>: For documents that contain text and photos.
<TEXT>: For text documents.
<PHOTO>: For documents that contain fine text or photos.
If you have selected <PDF (COMPACT)> as the file format in step 5, the original type is automatically set
to <TEXT/PHOTO>. Skip to step 9.
9
Press [Start].
When you set the documents on the platen glass, press [
] or [
] to select the document size, then
press [Start] for each document. When scanning is complete, press [OK] to start sending.
When <TIME OUT> is set to <ON> in <TX SETTINGS> in <FAX SETTINGS> in <TX/RX SETTINGS>, and if
you have specified the destination by any other method than using numeric keys, the machine starts
scanning automatically without pressing [Start], after the preset time for this setting is elapsed.
You can set the document’s name, a subject line, message body text, and reply-to address, and e-mail
priority common to all sending jobs. For instructions, see Chapter 4, “Sending and Receiving,” in the
Reference Guide.
–
–
Summary of Contents for ImageCLASS MF4690
Page 35: ...What Can I Do with This Machine xxxiv ...
Page 59: ...Before Using the Machine 1 24 ...
Page 77: ...Document and Paper 2 18 ...
Page 165: ...Receiving Documents 5 12 3 Press Stop Reset to return to the standby mode ...
Page 173: ...Printing 6 6 ...
Page 189: ...Scanning 7 16 ...
Page 190: ...PC Faxing 8 PC Faxing PC Faxing 8 2 ...
Page 193: ...PC Faxing 8 4 ...
Page 194: ...Remote UI 9 Remote UI Remote UI 9 2 ...
Page 197: ...Remote UI 9 4 ...


