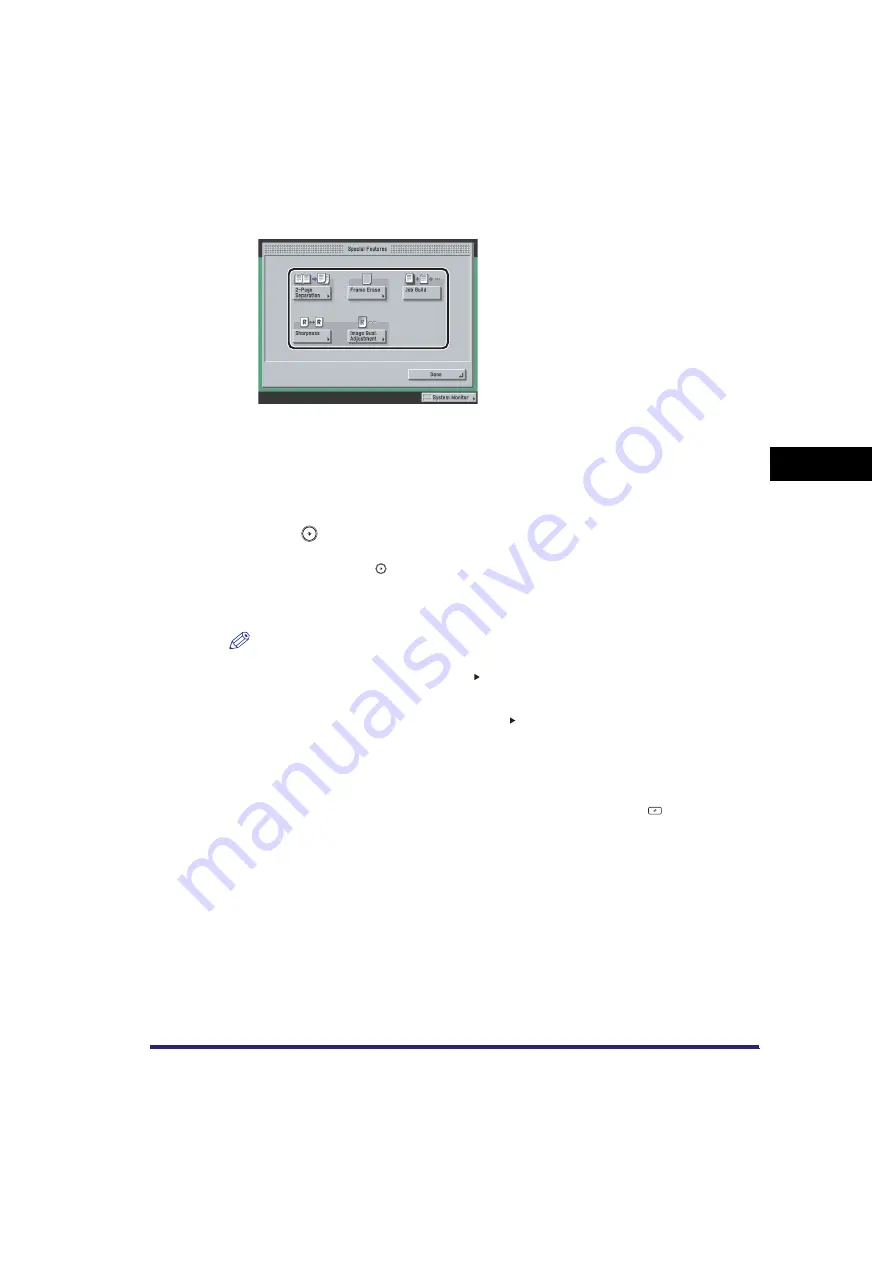
What are Special Features?
4-3
4
Sp
ec
ial Sca
n
n
in
g
F
e
at
ur
es
4
Select the desired mode from the Special Features screen.
5
Set the desired mode.
For more information on setting each mode, see the corresponding section.
To set other modes at the same time, repeat steps 4 and 5.
6
Press .
If the original is placed on the platen glass, follow the instructions that appear on the touch
panel display
➞
press
once for each original. When scanning is complete, press [Done].
Scanning starts.
The scanned data is sent to the specified destination when scanning is complete.
NOTE
•
To cancel this setting, follow the procedure below.
- For modes which have a right triangle ( ) on the bottom right of their key:
Example: Frame Erase
Press [Special Features]
➞
[Frame Erase]
➞
[Cancel].
- For modes which do not have a right triangle ( ) on the bottom right of their key:
Example: Job Build
Press [Special Features]
➞
[Job Build].
•
To cancel the scan settings, press the Scan Settings drop-down list
➞
press [Option]
➞
[Cancel].
•
If [Preview] on the Send Settings screen is set, you can verify the images from the Preview
screen before sending your document. (See "Previewing Originals," on p. 5-21.)
•
To cancel all settings and return the machine to the Standard mode, press
.
Summary of Contents for CLC5151
Page 2: ......
Page 3: ...CLC5151 CLC4040 iR C4580i iR C4080i Sending and Facsimile Guide 0 Frontmatter...
Page 20: ...xviii...
Page 286: ...ECM Reception 9 48 9 Customizing Communications Settings...
Page 404: ...Printing Lists 12 14 12 Printing Communication Reports...
Page 474: ...Index 14 30 14 Appendix...
Page 475: ......


