54
PANEL PRO
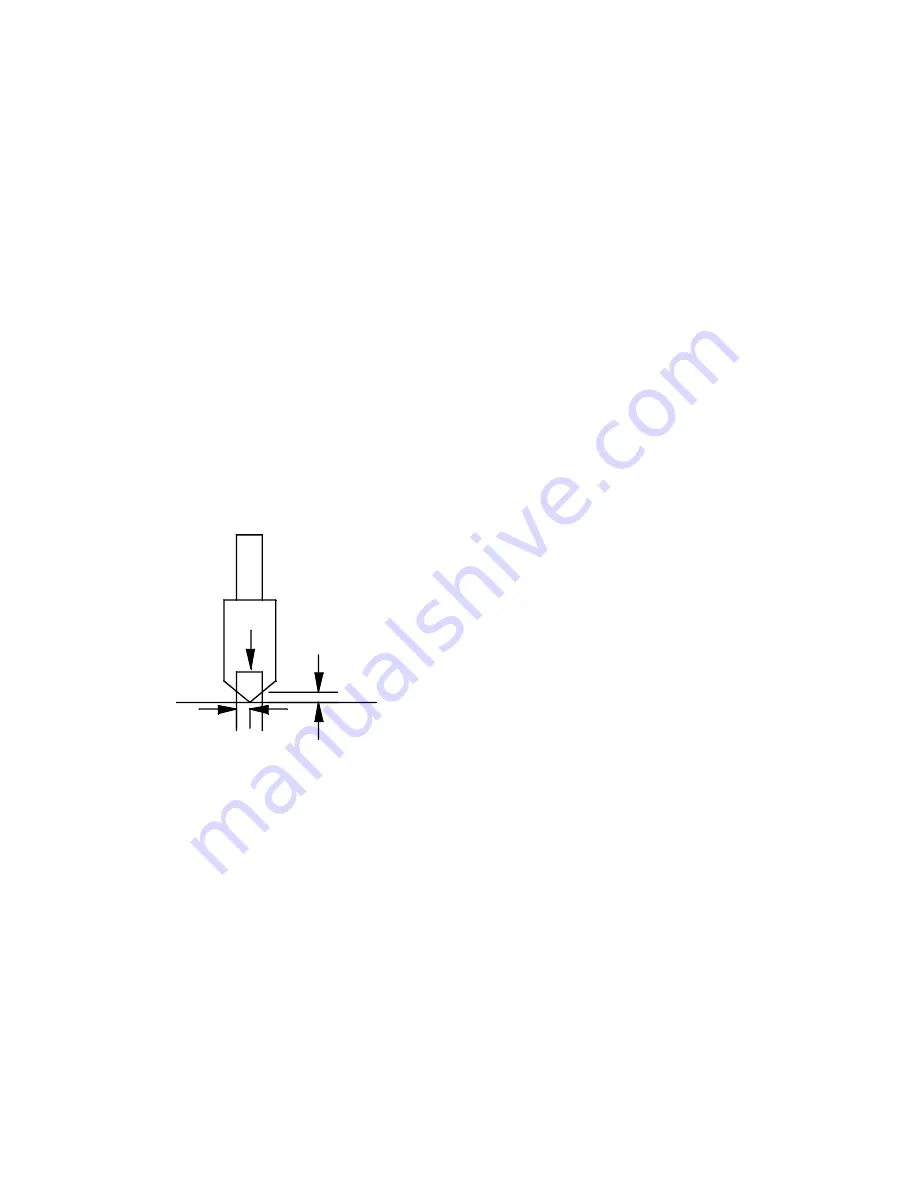
The countersink supplied with the Panel Pro is a 100 degree included angle, ½”
diameter countersink with a ¼” shank. It has a single cutting edge and the cutting edge
extends all the way to the point.
Having a sharp point helps to determine how deep we want to cut. The sharp point
gives us a way to measure the depth we need to achieve a certain countersink
diameter. If the end mill has a blunt point we have to measure or estimate how much it
is cut off. Also a blunt point makes it impossible to pierce down into the metal unless
there is already a hole there. While it is possible to pierce down into the metal with a
sharp point, it is still preferable to have a pre-existing hole.
There are a couple of techniques to accomplish countersinking. First of all in your cad
file, you need to have a separate layer for your countersink tool. Call it something
imaginative like “countersink”.
Countersinks are normally specified by the diameter of the widest part. A number 8
countersunk screw may have a head diameter of .3”, however the actual countersink
has to be larger than that to make the screw head flush because the edges of the head
are rounded off.
0.1049
0.1250
imaginary 1/4" end mill
The technique is this.
Draw your countersinks the diameter you want in your countersink layer.
In the AvCAM cut dialog, select the auto tool path mode, and enter a ¼” end mill
diameter.
Set the z zero to between the tip of the countersink and the material.
Set the cutting depth to -.105
Cut the file. Using this technique, the smallest countersink you can make is .250.
Using the auto tool path mode, and ¼” end mill diameter, any circle equal to or less
than the stated end mill diameter will proceed to the center of the circle, plunge to the
cut depth and raise back up. Any circle larger than .25 will cut the chamfered edge or
countersink.


