6
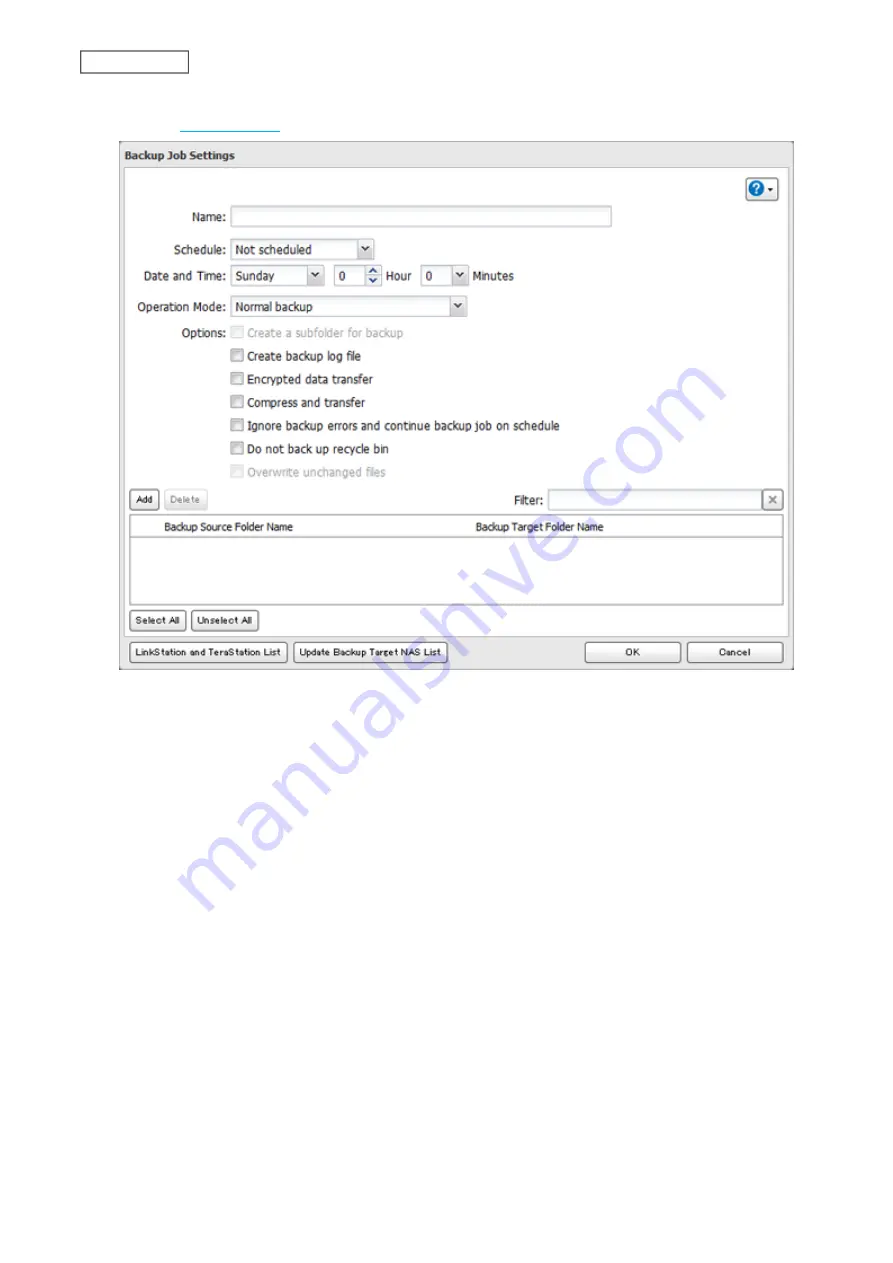
Select backup settings such as date and time to run. Refer to the differences between the backup modes in the
following
section.
Note:
If you want to back up to a Buffalo NAS device on another network, follow the procedure below to add
the Buffalo NAS device on another network before selecting the backup folders.
a. Click
LinkStation and TeraStation List
.
b. Click
Add
; enter the IP address or hostname/FQDN of the destination Buffalo NAS device and click
OK
.
c. Click
Close
when completed.
d. Click
Refresh
and make sure the desired Buffalo NAS device has been added to the list.
7
Click
Add
.
8
Click
Browse
under “Backup Source Folder Name”.
60
Chapter 6 Backup
Summary of Contents for LinkStation 200B
Page 24: ...3 Click Add Group 23 Chapter 3 File Sharing...
Page 60: ...4 Enter the backup password and click OK 5 Click Create New Job 59 Chapter 6 Backup...
Page 67: ...6 Click Time Machine 66 Chapter 6 Backup...
Page 68: ...7 Click Select Backup Disk 8 Select the shared folder then click Use Disk 67 Chapter 6 Backup...
Page 85: ...4 Select the desired Ethernet frame size and click OK 84 Chapter 8 Advanced Features...
Page 89: ...2 Tap Create User 88 Chapter 9 Configuring from Mobile Devices...
Page 100: ...3 Tap NAS Setup 99 Chapter 9 Configuring from Mobile Devices...
Page 104: ...6 Enter the BuffaloNAS com name and tap Set 103 Chapter 9 Configuring from Mobile Devices...


