Name
Description
Menu
Map Share
*
Assigns the Buffalo NAS device’s shared folder as a network
drive.
Disconnect Share
*
Unmaps the network drive.
Map All Remote Shares to
Drive Letters
Assigns all Buffalo NAS devices’ shared folders as network
drives. This is available only when a shared folder has been
created.
Create Desktop Shortcut
*
Creates a desktop shortcut to the Buffalo NAS device’s
shared folders.
Launch NAS Navigator2
on Startup
Launches NAS Navigator2 in the system tray when Windows
boots.
Display Errors
If an error occurs, an error message will appear from the
NAS Navigator2 icon in the system tray.
Properties
*
Opens the properties page that lets you configure the
Buffalo NAS device’s IP address or open Settings.
Close
Closes NAS Navigator2.
View
View
Icons
: Displays icons.
Details
: Displays the hostname, product name, workgroup,
IP address, subnet mask, and default gateway.
Sort by
If you have multiple Buffalo NAS devices on the network,
you may choose to display them in order of hostname,
product name, workgroup, IP address, subnet mask, or
default gateway.
Browse
*
Opens the Buffalo NAS device’s shared folders.
Refresh
Searches for the Buffalo NAS devices on the network again.
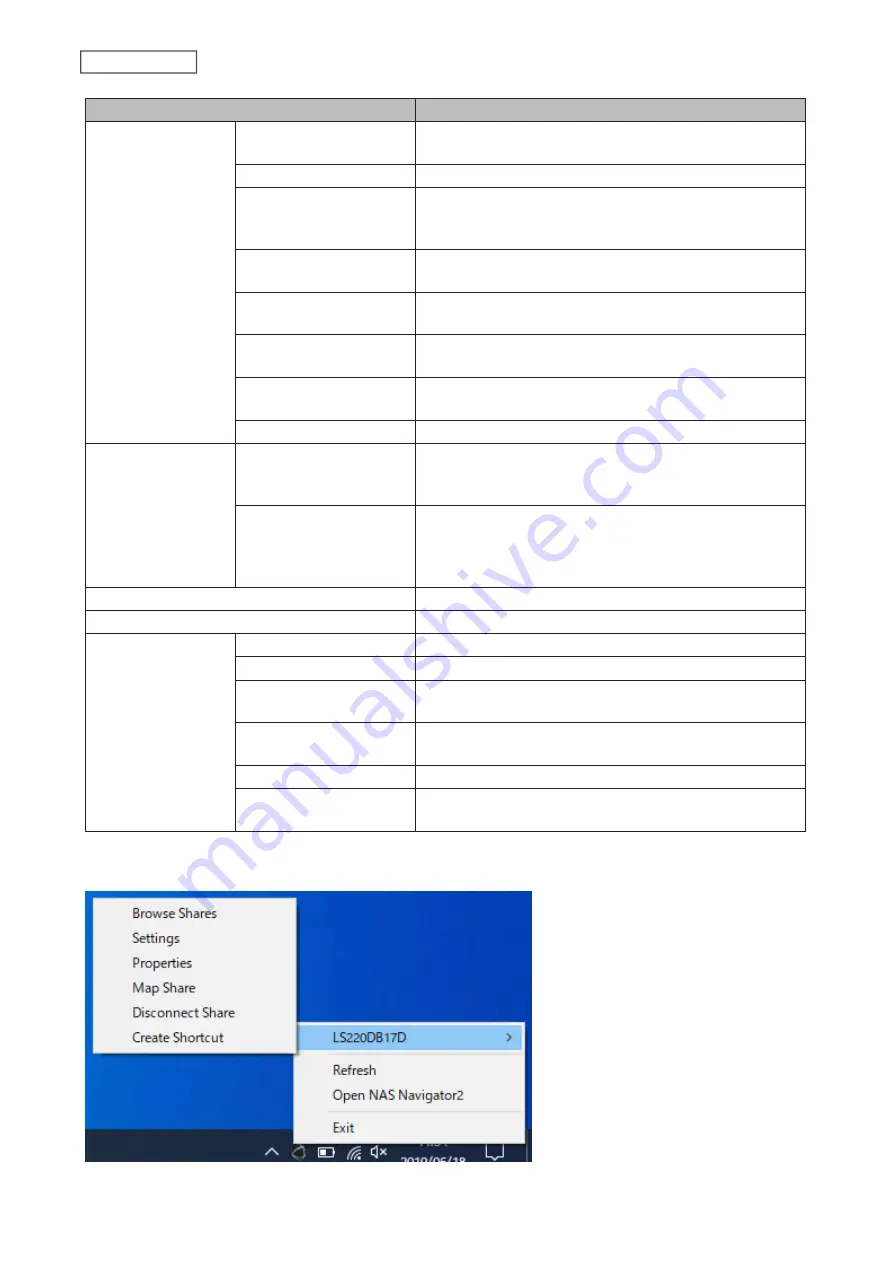
Right-click your
device’s icon to show
these menus.
Browse Shares
Opens the Buffalo NAS device’s shared folders.
Settings
Opens Settings for the Buffalo NAS device.
Properties
Opens the properties page that lets you configure the
Buffalo NAS device’s IP address or open Settings.
Map Share
Assigns the Buffalo NAS device’s shared folder as a network
drive.
Disconnect Share
Unmaps the network drive.
Create Desktop Shortcut
Creates a desktop shortcut to the Buffalo NAS device’s
shared folders.
*Click on the Buffalo NAS device’s icon to display these options.
When NAS Navigator2 is closed, right-click the NAS Navigator2 icon in the system tray for the following options.
112
Chapter 10 Utilities
Summary of Contents for LinkStation 200B
Page 24: ...3 Click Add Group 23 Chapter 3 File Sharing...
Page 60: ...4 Enter the backup password and click OK 5 Click Create New Job 59 Chapter 6 Backup...
Page 67: ...6 Click Time Machine 66 Chapter 6 Backup...
Page 68: ...7 Click Select Backup Disk 8 Select the shared folder then click Use Disk 67 Chapter 6 Backup...
Page 85: ...4 Select the desired Ethernet frame size and click OK 84 Chapter 8 Advanced Features...
Page 89: ...2 Tap Create User 88 Chapter 9 Configuring from Mobile Devices...
Page 100: ...3 Tap NAS Setup 99 Chapter 9 Configuring from Mobile Devices...
Page 104: ...6 Enter the BuffaloNAS com name and tap Set 103 Chapter 9 Configuring from Mobile Devices...


