• Backup data, such as “.DS_Store” files, from macOS may include characters that cannot be read on FAT32-
formatted drives in its filename. For best results, reformat the drive before using it as a backup target.
Backup Modes
The following types of backup jobs may be selected:
Type
Files included
Normal backup
All files in the source will be backed up to the destination. Whenever the
backup job runs, the folder with the name as the date when the backup job
runs will be created automatically and the backed up data will be stored
here.
Overwrite (differential)
The first backup job runs like a normal backup. The backed up data will be
stored under the automatically-created folder of the job name. As each
additional backup job runs, files are added to and deleted from the backup
folder. The backup destination folder will always be the same size as the
backup source folder.
Overwrite (incremental)
The first backup job runs like a normal backup. The backed up data will
be stored under the automatically-created folder of the job name. In
subsequent backups, files added to the source as well as files deleted from
the source are kept in the backup folder.
Backing Up Your Mac with Time Machine
Time Machine is a backup program included with macOS. Configure your LinkStation as shown below to use Time
Machine.
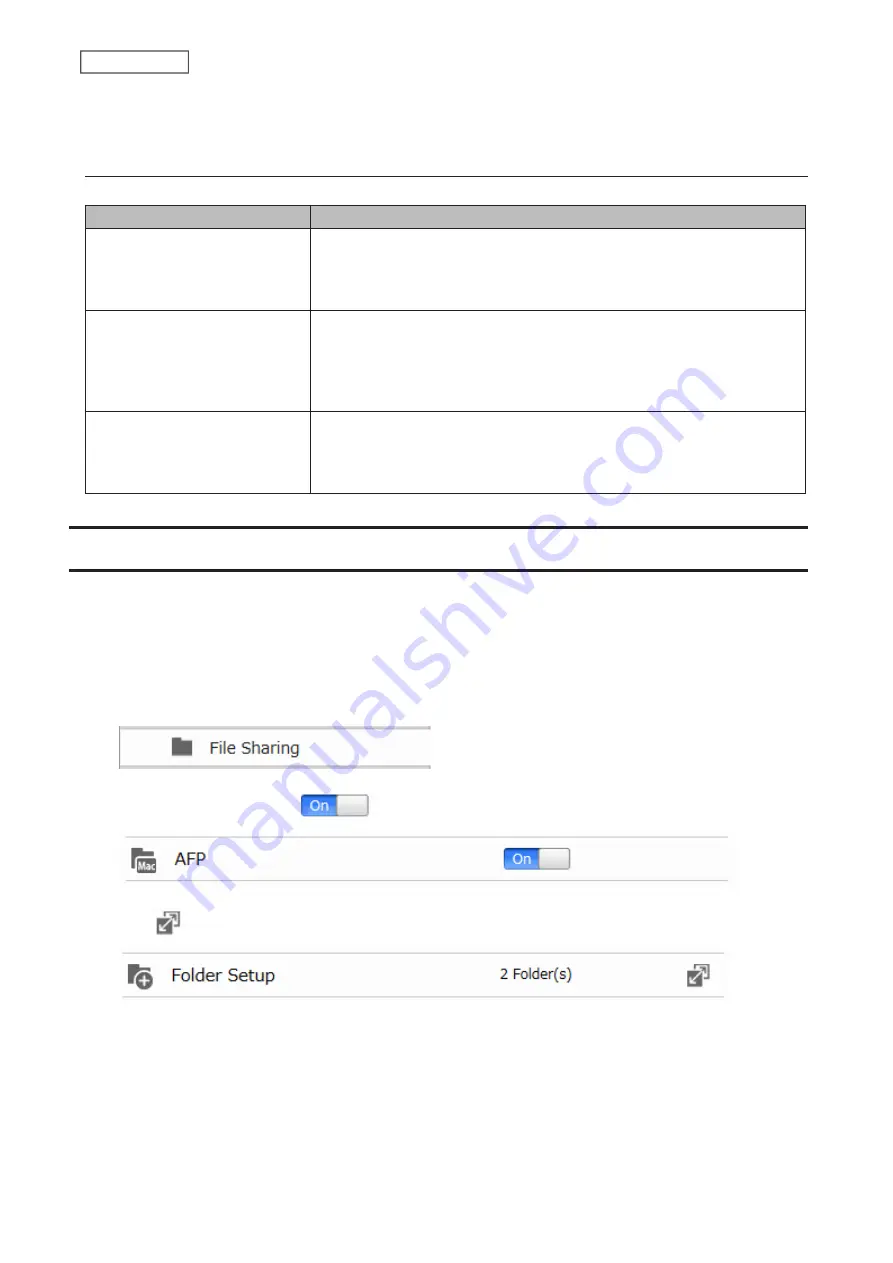
1. Preparing a Shared Folder for Time Machine
1
From Advanced Settings, click
File Sharing
.
2
Move the AFP switch to the
position to enable AFP.
3
Click
to the right of “Folder Setup”.
4
Choose a shared folder as your backup destination for Time Machine.
5
Click
Edit
.
6
Under “LAN Protocol Support”, select the “AFP (Mac)” checkbox and click
OK
.
7
Click
OK
, then click
Close
.
62
Chapter 6 Backup
Summary of Contents for LinkStation 200B
Page 24: ...3 Click Add Group 23 Chapter 3 File Sharing...
Page 60: ...4 Enter the backup password and click OK 5 Click Create New Job 59 Chapter 6 Backup...
Page 67: ...6 Click Time Machine 66 Chapter 6 Backup...
Page 68: ...7 Click Select Backup Disk 8 Select the shared folder then click Use Disk 67 Chapter 6 Backup...
Page 85: ...4 Select the desired Ethernet frame size and click OK 84 Chapter 8 Advanced Features...
Page 89: ...2 Tap Create User 88 Chapter 9 Configuring from Mobile Devices...
Page 100: ...3 Tap NAS Setup 99 Chapter 9 Configuring from Mobile Devices...
Page 104: ...6 Enter the BuffaloNAS com name and tap Set 103 Chapter 9 Configuring from Mobile Devices...


