Operation
SMART 200 MTC
-3.17 -
Single Sensor Numbering
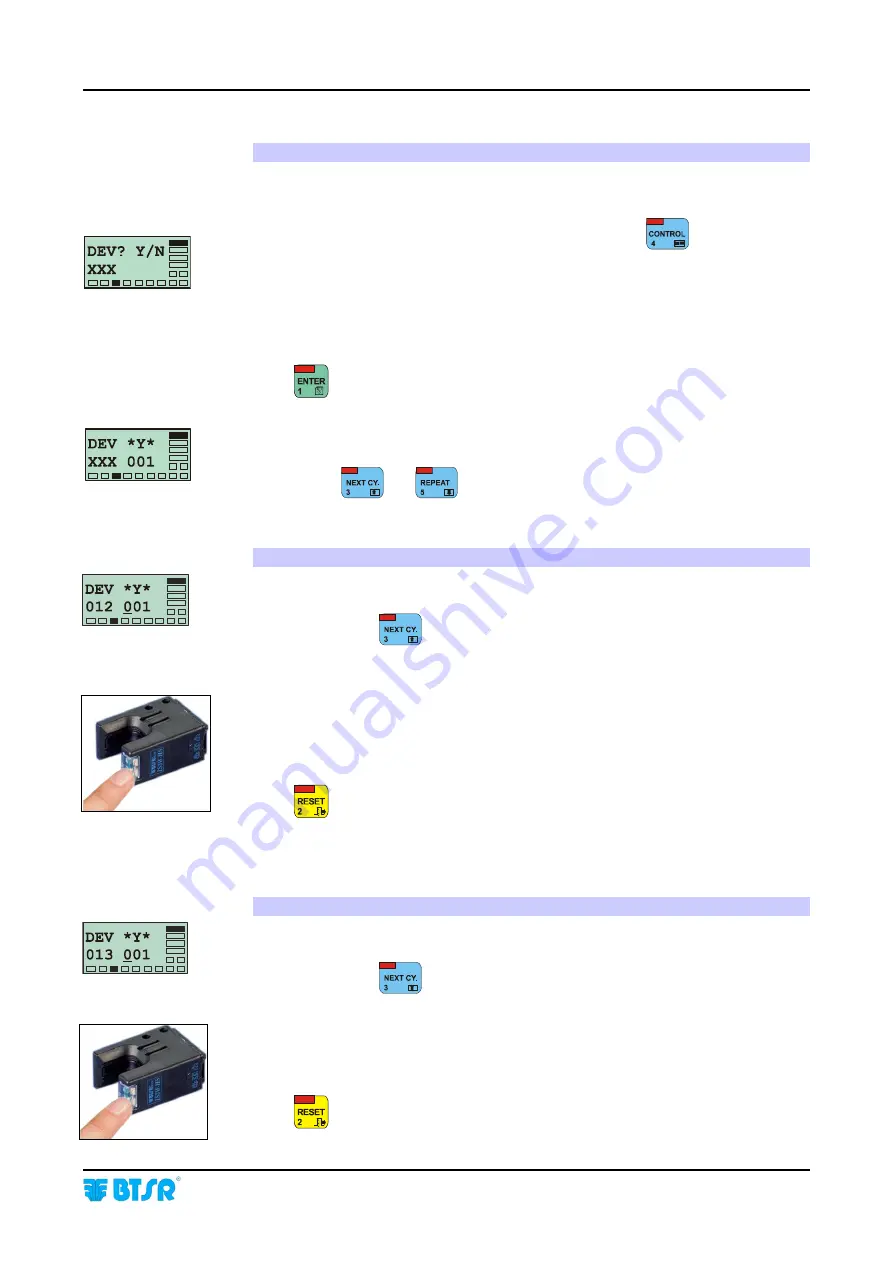
If you need to either replace a single sensor or add a new sensor, the system gives
you the possibility to operate only on the involved sensor, without having to repeat
the global numbering procedure.
When the display shows the DEVICES XXX screen, press
to start the single
sensor numbering.
Update
(if necessary)
the XXX number, for instance.:
-
If you
replace
a sensor, the XXX number does not change
-
If you
add
a sensor, the XXX number must be increased by 1.
Press
to continue.
The display will show the information here indicated and all the connected sensors
will have the green Led flashing; at this point, instead of performing the sensor
numbering from the beginning, you may selectively choose the replaced or added
sensor using
and
.
Replacing a Sensor
Example 1: If the machine has 12 sensors and the sensor No. 8 has been replaced,
the display will show this data.
Press
until the right field
(where the cursor is positioned)
shows 008.
With a finger skim the “Touch Light” area of the sensor No. 8 and check that the
sensor LED changes from flashing green to red.
The replaced sensor will now be identified as sensor No. 8.
Press
once to return to the CONFIG menu, or press it twice to return to the
Main Menu.
Adding a New Sensor
Example 2: If the machine previously had 12 sensors and a 13
th
sensor is now
added, the display will show this data.
Press
until the right field
(where the cursor is positioned)
shows 013.
With a finger skim the “Touch Light” area of the added sensor and check that the
sensor LED changes from flashing green to red.
The added sensor will now be identified as sensor No. 013.
Press
once to return to the CONFIG menu, or press it twice to return to the
Main Menu.
Summary of Contents for IS3W/MTC
Page 1: ...SMART 200 MTC IS3W MTC METER CONTROL SYSTEM Operating Manual Rev 2 0 September 2003 ENGLISH ...
Page 14: ...Technical Data and Installation 2 6 SMART 200 MTC Page intentionally left blank ...
Page 26: ...Operation 3 12 SMART 200 MTC Enabling the SETUP Menu Functions ...
Page 28: ...Operation 3 14 SMART 200 MTC Enabling the GRAPH Menu Functions ...
Page 69: ...Operation SMART 200 MTC 3 55 Production Report Example ...
Page 70: ...Operation 3 56 SMART 200 MTC Page intentionally left blank ...
Page 78: ...Appendix A Quick Reference Symbols Key A 2 SMART 200 MTC ...
Page 79: ...Appendix A Quick Reference Symbols Key SMART 200 MTC A 3 ...
Page 80: ...Appendix A Quick Reference Symbols Key A 4 SMART 200 MTC NO NC ...
Page 81: ...Appendix A Quick Reference Symbols Key SMART 200 MTC A 5 ...
Page 82: ...Appendix A Quick Reference Symbols Key A 6 SMART 200 MTC ...
Page 83: ...Appendix A Quick Reference Symbols Key SMART 200 MTC A 7 ...
Page 84: ...Appendix A Quick Reference Symbols Key A 8 SMART 200 MTC ...
Page 85: ...Appendix A Quick Reference Symbols Key SMART 200 MTC A 9 ...
Page 86: ...Appendix A Quick Reference Symbols Key A 10 SMART 200 MTC ...
Page 87: ...Appendix A Quick Reference SMART 200 MTC A 11 Notes ...
Page 88: ...Appendix A Quick Reference A 12 SMART 200 MTC Page intentionally left blank ...


