Print Photos Directly from a USB Flash Drive
Flash Drive on the Brother Machine
> Print Photos with Auto Cropping
Print Photos with Auto Cropping
Related Models
: MFC-T920DW/MFC-T925DW
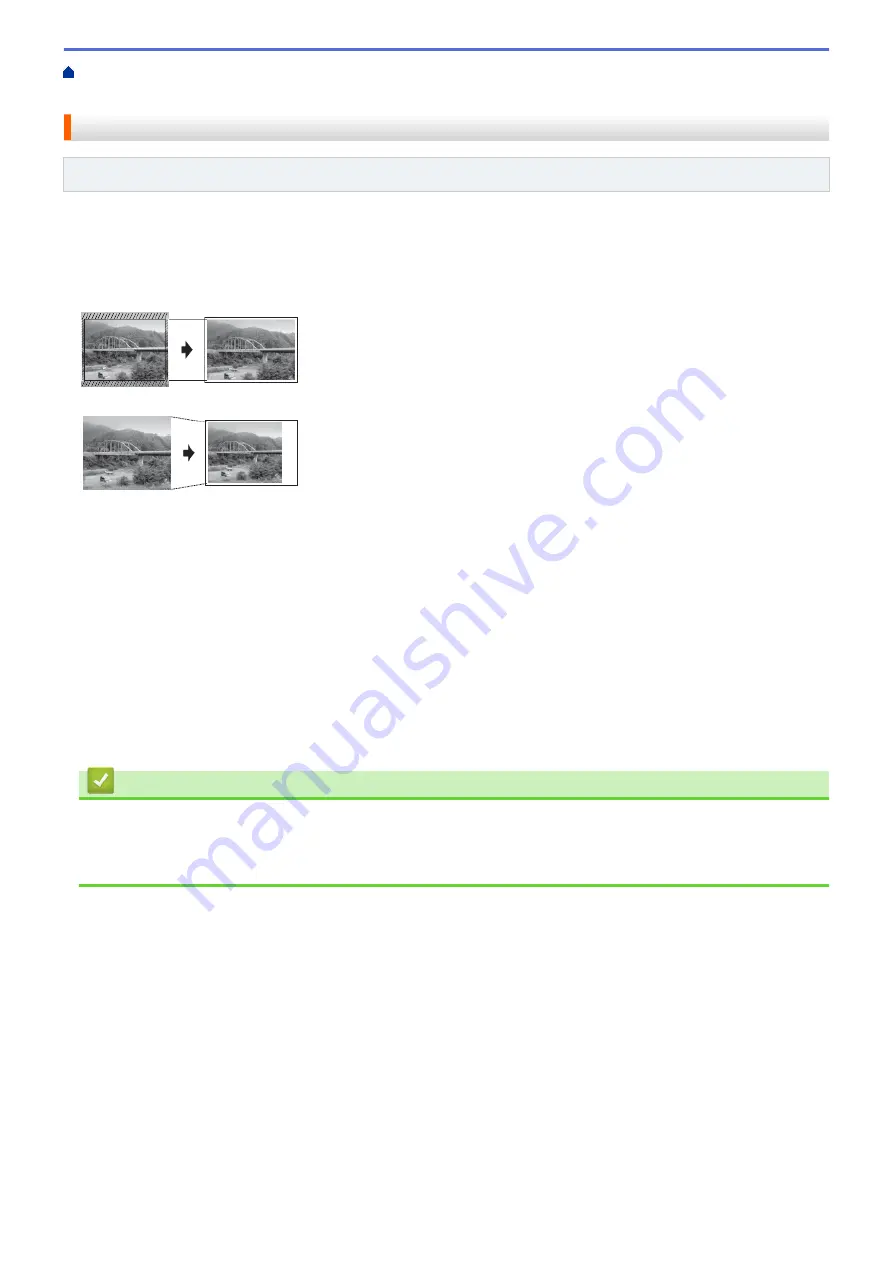
If your photo is too long or too wide to fit within the layout space, part of the image will be cropped.
•
The factory setting is On. To print the entire image, change this setting to Off.
•
If you set the
[Cropping]
setting to Off, set the
[Borderless]
setting to Off, also.
Cropping: On
Cropping: Off
1. Insert a USB flash drive in the USB slot.
2. Press
a
or
b
to select
[JPEG Print]
. Press
OK
.
3. Press
a
or
b
to select
[Select Files]
. Press
OK
.
4. Press
d
or
c
to display the photo you want to print.
5. Enter the number of copies using the dial pad.
6. Press
OK
.
7. Press
a
or
b
to select the following:
a. Select
[Cropping]
. Press
OK
.
b. Select
[On]
(or
[Off]
). Press
OK
.
8. Press
Inicio Color (Color Start)
.
Related Information
•
Print Photos from a USB Flash Drive on the Brother Machine
Related Topics:
•
239
Summary of Contents for DCP-T520W
Page 23: ...Home Paper Handling Paper Handling Load Paper Load Documents 17 ...
Page 33: ...2 1 Related Information Load Paper in the Paper Tray 27 ...
Page 107: ... Compatible USB Flash Drives 101 ...
Page 127: ... WIA Driver Settings Windows 121 ...
Page 226: ...Related Information Configure your PC Fax Address Book Windows 220 ...
Page 317: ...Related Information Brother Web Connect 311 ...
Page 378: ...Related Topics Error and Maintenance Messages 372 ...
Page 419: ...Related Topics Telephone and Fax Problems Other Problems 413 ...
Page 440: ...Related Topics Cancel a Print Job Windows 434 ...
Page 446: ... Other Problems Prevent Smudged Printouts and Paper Jams Windows Print Settings Windows 440 ...
Page 475: ...Related Information Settings and Features Tables 469 ...
Page 501: ...MEX LTN ENG Version 0 ...


