


NOTE
There are no user-serviceable parts inside the device. Do not open the enclosure, unless you are installing an RPS17 Power
Supply Unit (PSU) as shown in
on page 72 or removing an RPS17 as shown in
on page 73.
Desktop installation
Complete the following steps to install on a desktop or other flat surface.
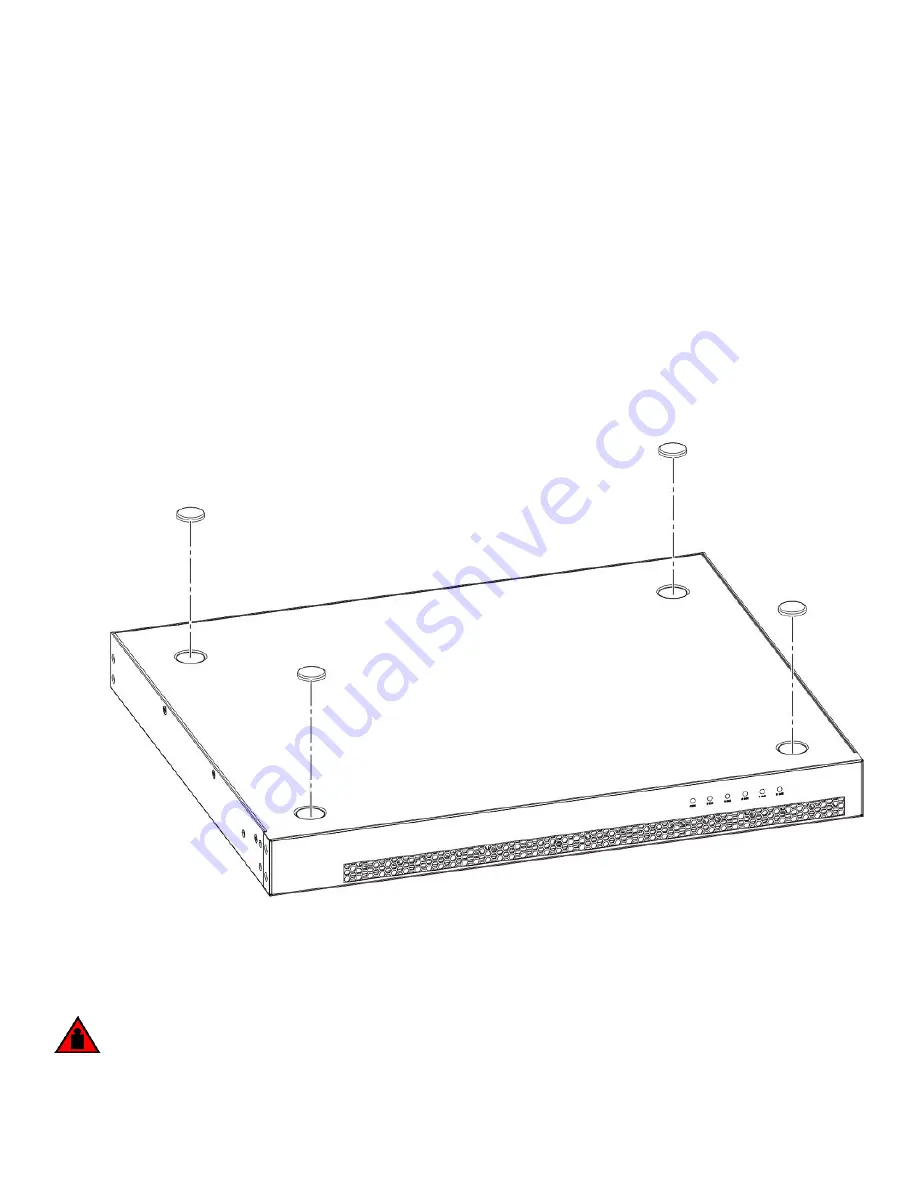
1.
Attach the four adhesive feet to the bottom of the device.
NOTE
The process is the same for multiple devices.
FIGURE 47 Attaching the adhesive feet to the device
2. Set the device on a flat surface near an AC power source, making sure there is the specified amount of space on all sides of the
device for proper airflow.
Mounting an external power supply in a rack (two-post)
DANGER
Make sure the rack housing the device is adequately secured to prevent it from becoming unstable or falling over.
Installing the EPS4000
Brocade ICX 7250 Switch Hardware Installation Guide
70
53-1003898-02
Summary of Contents for ICX 7250
Page 10: ...Preface Brocade ICX 7250 Switch Hardware Installation Guide 10 53 1003898 02 ...
Page 12: ...About This Document Brocade ICX 7250 Switch Hardware Installation Guide 12 53 1003898 02 ...
Page 22: ...Overview Brocade ICX 7250 Switch Hardware Installation Guide 22 53 1003898 02 ...
Page 80: ...Installing the EPS4000 Brocade ICX 7250 Switch Hardware Installation Guide 80 53 1003898 02 ...
Page 92: ...Configuring the Device Brocade ICX 7250 Switch Hardware Installation Guide 92 53 1003898 02 ...
Page 114: ...Regulatory Statements Brocade ICX 7250 Switch Hardware Installation Guide 114 53 1003898 02 ...


