1
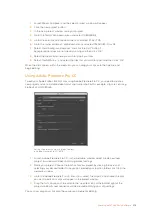
Launch Media Composer and the ‘select project’ window will appear.
2
Click the ‘new project’ button.
3
In the ‘new project’ window name your project.
4
Go to the ‘format’ drop down menu and select 1080i/59.94.
5
Go to the ‘color space’ drop down menu and select YCbCr 709.
6
Go to the ‘raster dimension’ drop down menu and select 1920x1080. Click OK.
7
Select ‘tools>background services’ and click the ‘start’ button if
background services are not already running and then click ‘OK.’
8
Select the media bin where you wish to import your files.
9
Select ‘file>AMA link...’ and select the files that you wish to import and then click ‘OK.’
When the clips appear within the media bin you can drag your clips onto the timeline and
begin editing.
Using Adobe Premiere Pro CC
To edit your Apple ProRes 422 HQ clips using Adobe Premiere Pro CC, you need to create a
new project and set a suitable video format and frame rate. For this example, clips are set using
ProRes 422 HQ 1080p25.
Setting the project name and project options
in Adobe Premiere Pro CC, (2014)
1
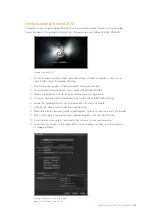
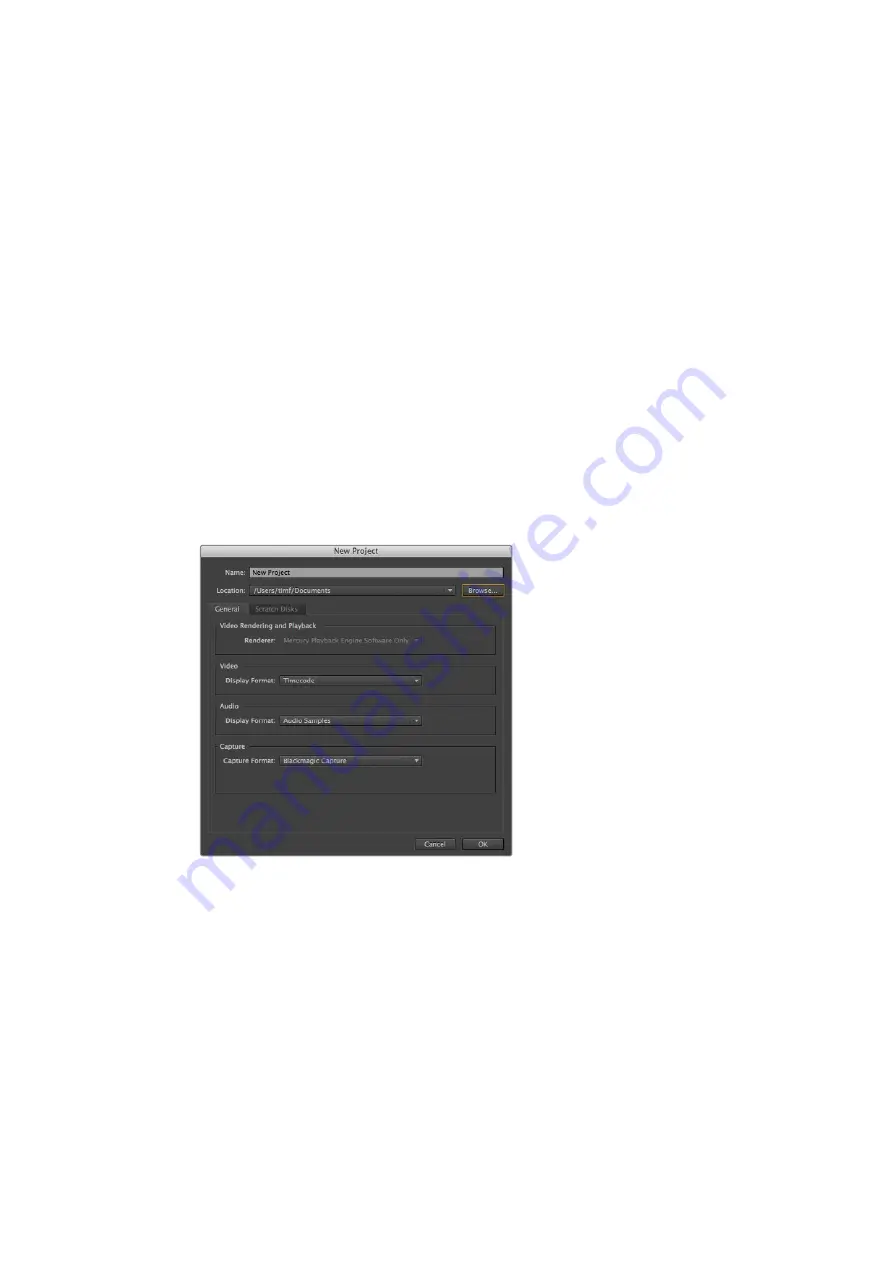
Launch Adobe Premiere Pro CC. In the ‘welcome’ window select ‘create new/new
project’. A window will open containing project settings.
2
Name your project. Choose the location for your project by clicking ‘browse’ and
selecting your desired folder. Once you’ve selected your location folder click OK in the
welcome window.
3
Go to the Adobe Premiere Pro CC ‘menu’ bar, select ‘file/import’ and choose the clips
you want to edit. Your clips will appear in the project window.
4
Drag the first clip you wish to edit onto the ‘new item’ icon at the bottom right of the
project window. A new sequence will be created matching your clip settings.
You can now drag your clips onto the sequence timeline for editing.
218
Working with Third Party Software

