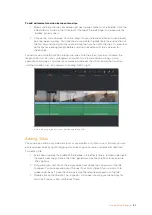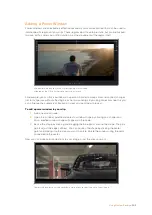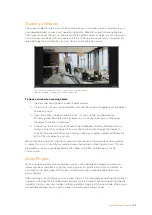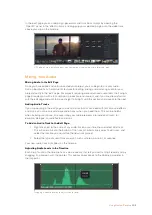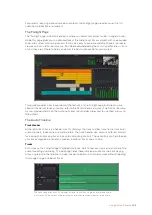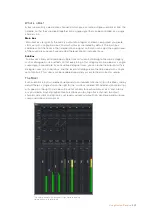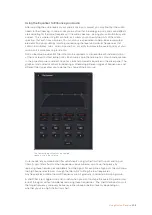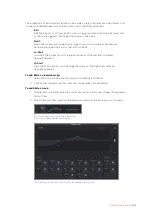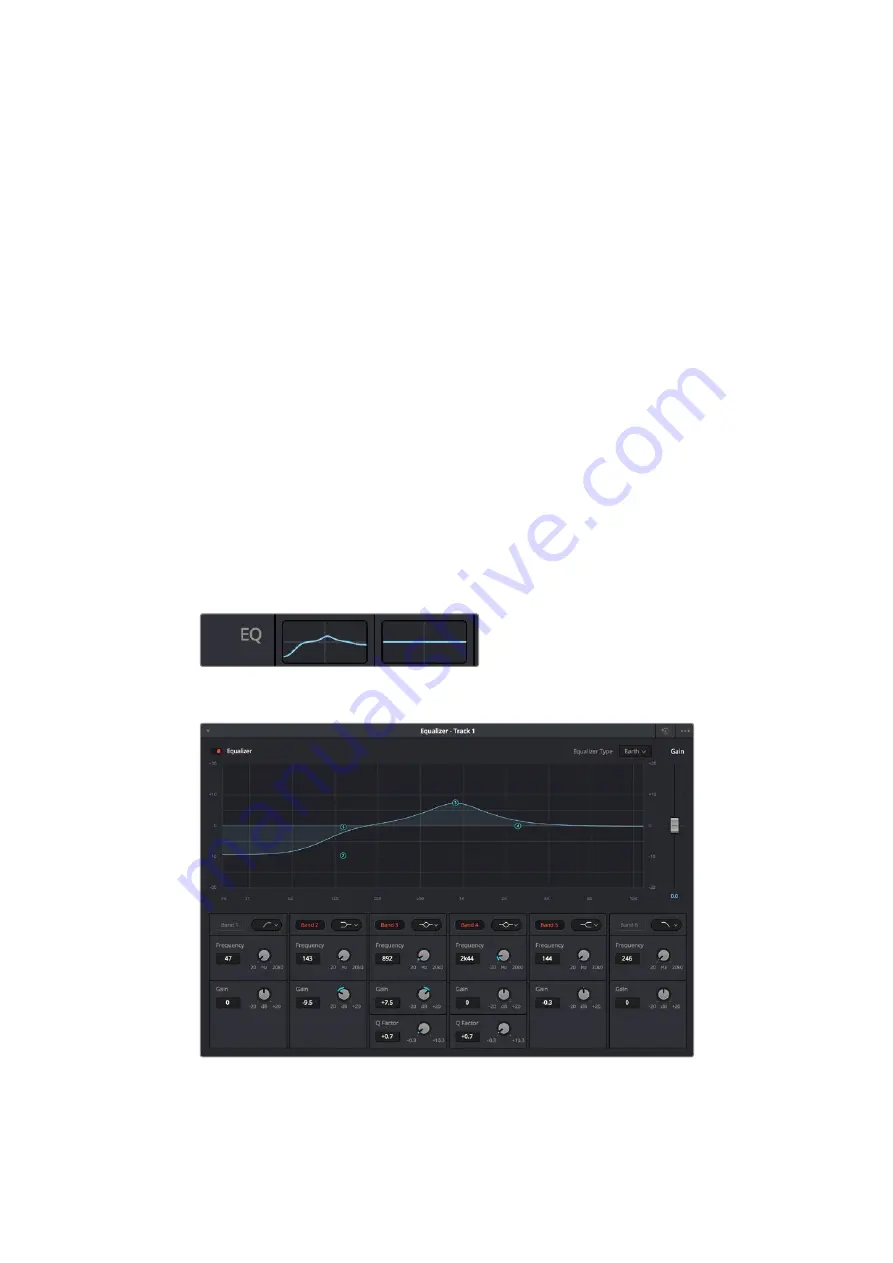
The middle sets of band controls let you make a wide variety of equalization adjustments, and
can be switched between lo-shelf, bell, notch, and hi-shelf filtering options.
Bell
Bell filters boost or cut frequencies around a given center point of the bell curve, and
as the name suggests the shape of the curve is like a bell.
Notch
Notch filters allow you to specifically target a very narrow range of frequencies.
For example, removing a mains hum at 50 or 60Hz.
Lo-Shelf
Low shelf filters boost or cut the target frequency at the low end, and every
frequency below it
Hi-Shelf
High shelf filters boost or cut the target frequency at the high end, and every
frequency above it
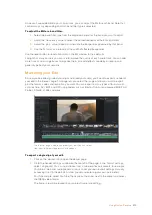
To add EQ to an individual clip:
1
Select the clip in the timeline that you want to add the EQ filter to.
2
Click on the inspector and then click the ‘clip equalizer’ enable button.
To add EQ to a track:
1
Double-click in the EQ section for one of your tracks in the mixer to open the equalizer
for that track.
2
Select the band filter type from the drop down menu for the band you want to adjust.
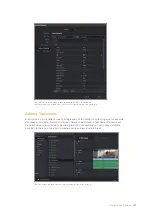
The EQ section in the mixer panel indicating an
EQ curve has been applied to track one
The 6 Band parametric equalizer that can be applied to every track
209
Using DaVinci Resolve

