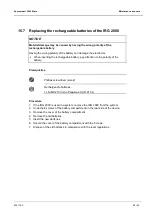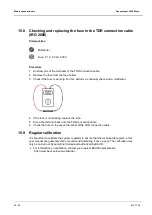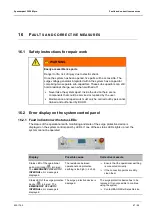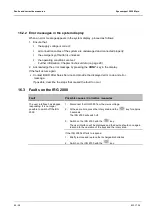
Acoustic pin-pointing
Syscompact 2000 M pro
74 / 98
822-175-2
13.3.3 Procedure
On the system control panel
1. Press the
MENU
key on the display.
2. Select the
SURGE MODE
menu item and press the
ENTER
key.
3. Release the high voltage: Press the
key for at least one second.
The system status changes to the
Ready to switch on
operating state. The red indicator
light flashes for approx. 6 seconds.
4. Switch on the high voltage by pressing the
key within 6 seconds (while the red
indicator light flashes).
The system status changes to the
In operation
operating state. The set parameters appear
on the display.
5. Press the
START
key.
6. If required, use the arrow keys to change the surge sequence to a single surge or 10
pulses/min.
7. If required, use the ( / ) HV adjustment keys to change the surge voltage.
8. Connect the UL 30 universal receiver to the ground microphone.
9. Locate the cable fault with the universal receiver and the ground microphone.
If the breakdown noise can be heard clearly, use the acoustic signal to guide yourself
during the pin-pointing.
If the conditions are not suitable for a pure acoustic pin-pointing, you can also measure the
magnetic signal. Follow the instructions of the user manual for the BAUR UL 30 universal
receiver.
10. If you want to stop the acoustic pin-pointing, press the
STOP
key in the display.
11. Deactivate the high-voltage release by pressing the
key.
DANGER
Dangerous voltage on the test object and other live machine parts.
Danger to life,
risk of injury from high electric voltage.
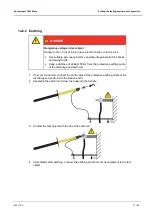
12. Before touching test object, discharge, earth and short-circuit the same: at the connection
point and at the far end.
You may touch the plant parts that were under voltage only if they are visibly earthed and
short-circuited.
Summary of Contents for Sys compact 2000 M pro
Page 97: ......

