7. Advanced
5. Press
ENTER
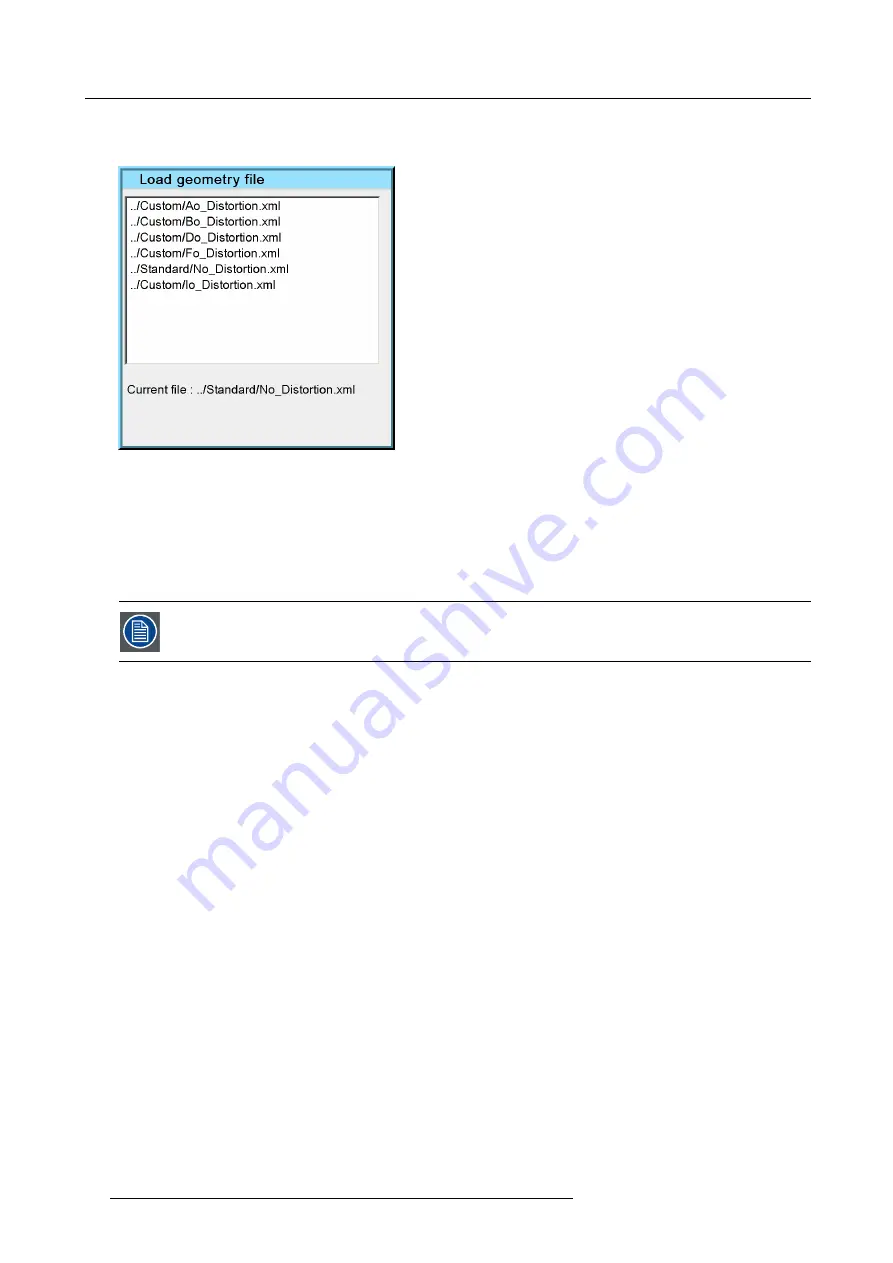
A dialog box is displayed
Image 7-44
6. Use the cursor key
↑
and
↓
to select the desired geometry
fi
le
7. Press
ENTER
Tip:
When starting a new geometry setup it is advised to select the “No_Distortion”
fi
le.
The
fi
le is loaded and the geometry settings are adapted.
7.5.6
Edit
The images below show adjustments performed on a hatch pattern generated internally by the projector (see
internal patterns).
Overview
•
Accessing the Geometry Edit menu
•
•
•
•
•
•
•
•
7.5.6.1
Accessing the Geometry Edit menu
How to access the Geometry Edit menu ?
1. Press
MENU
to activate the Tool bar
2. Press
→
to select
Geometry
3. Press
↓
to Pull down the Geometry menu
4. Press
↓
or
↑
to select
Edit
5. Press
→
to open the Edit menu
74
R59770066 SIM 7Q SERIES 08/12/2014
Summary of Contents for R92112011
Page 8: ...Table of contents 4 R59770066 SIM 7Q SERIES 08 12 2014...
Page 14: ...2 Packaging 10 R59770066 SIM 7Q SERIES 08 12 2014...
Page 38: ...4 Installation 34 R59770066 SIM 7Q SERIES 08 12 2014...
Page 52: ...5 Setup 48 R59770066 SIM 7Q SERIES 08 12 2014...
Page 82: ...7 Advanced Image 7 50 Image 7 51 Image 7 52 78 R59770066 SIM 7Q SERIES 08 12 2014...
Page 139: ...7 Advanced Image 7 157 R59770066 SIM 7Q SERIES 08 12 2014 135...
Page 168: ...7 Advanced 164 R59770066 SIM 7Q SERIES 08 12 2014...
Page 184: ...8 Maintenance 180 R59770066 SIM 7Q SERIES 08 12 2014...
Page 190: ...10 Environmental information 186 R59770066 SIM 7Q SERIES 08 12 2014...
Page 196: ...C GLD alignment 192 R59770066 SIM 7Q SERIES 08 12 2014...
Page 200: ...D Image files 196 R59770066 SIM 7Q SERIES 08 12 2014...
Page 202: ...Glossary 198 R59770066 SIM 7Q SERIES 08 12 2014...
Page 206: ...Index Z zoom 41 locking 41 202 R59770066 SIM 7Q SERIES 08 12 2014...
Page 208: ...List of tables 204 R59770066 SIM 7Q SERIES 08 12 2014...


