


First installation
38
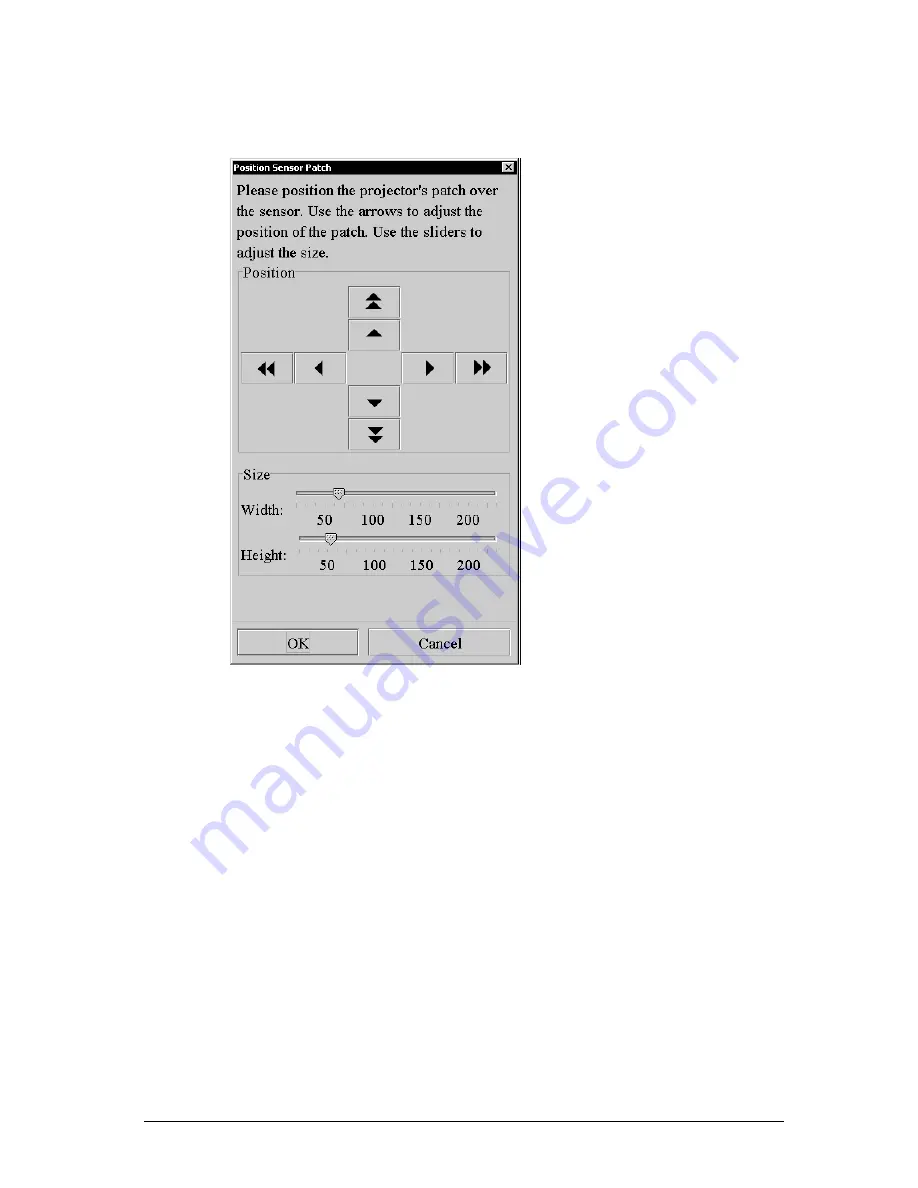
6 Position sensor patch
This screen appears only in case of a Dicom Theater application.
After a projector is found to add to the configuration, the projector
projects a black square. This is the patch for the optical sensor (the patch
will turn white afterwards). It appears default in the upper right corner of
the projected image.
You will have to attach the optical sensor on the place where the patch is
projected (see the Dicom Theater System Manual).
If necessary you can adjust the patch position and size. Use the arrows to
adjust the patch position. Use the sliders to adjust the size of the patch.
When done, click OK.
Note: When you plug in the optical sensor to the PC USB bus for the first
time, you will be asked to install a driver. You can find the driver on the
Dicom Theater application CD-ROM, in the folder Drivers > IGuard.
Summary of Contents for MediCal Pro
Page 1: ...Installation User Manual MediCal Pro...
Page 2: ...www barco com B4100132 02 July 2004...
Page 9: ...Introduction 9 INTRODUCTION...
Page 18: ...Introduction 18...
Page 19: ...First installation 19 FIRST INSTALLATION...
Page 65: ...65 USING MEDICAL PRO...
Page 104: ...104 About Displays the details of this version of MediCal Pro...
Page 105: ...105...
Page 106: ...106 GLOSSARY...
Page 110: ...110...


