


Installing Avaya IP Agent for PC-based configurations
40 Avaya IP Agent Installation and User Guide
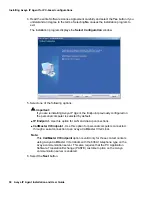
●
Custom
- This option installs the basic options in English as well as in any language
you choose. Selecting this option and then the
Next
button will display the
Select
Language Components
window where you specify the software language
components to install. Proceed to the next step.
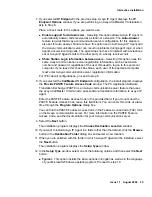
13. Indicate the language components to install by selecting the check box next to the
option.
When selecting the language components to install, ensure that the
Space Required
does not exceed the
Space Available
, which is indicated at the bottom of the window.
14. Select the
Next
button.
The installation program displays the
Select Program Folder
window.
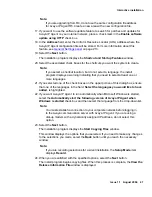
15. Use the
Select Program Folder
window to specify the folder name that will appear in
the Start Menu. Select one of the following methods:
●
Accept the default Avaya IP Agent folder name that appears in the
Program
Folders
field.
●
Enter a different folder name in the
Program Folders
field.
●
Select an existing folder in the
Existing Folders
field in which to install the Avaya IP
Agent Start menu shortcuts.
16. Select the
Next
button.
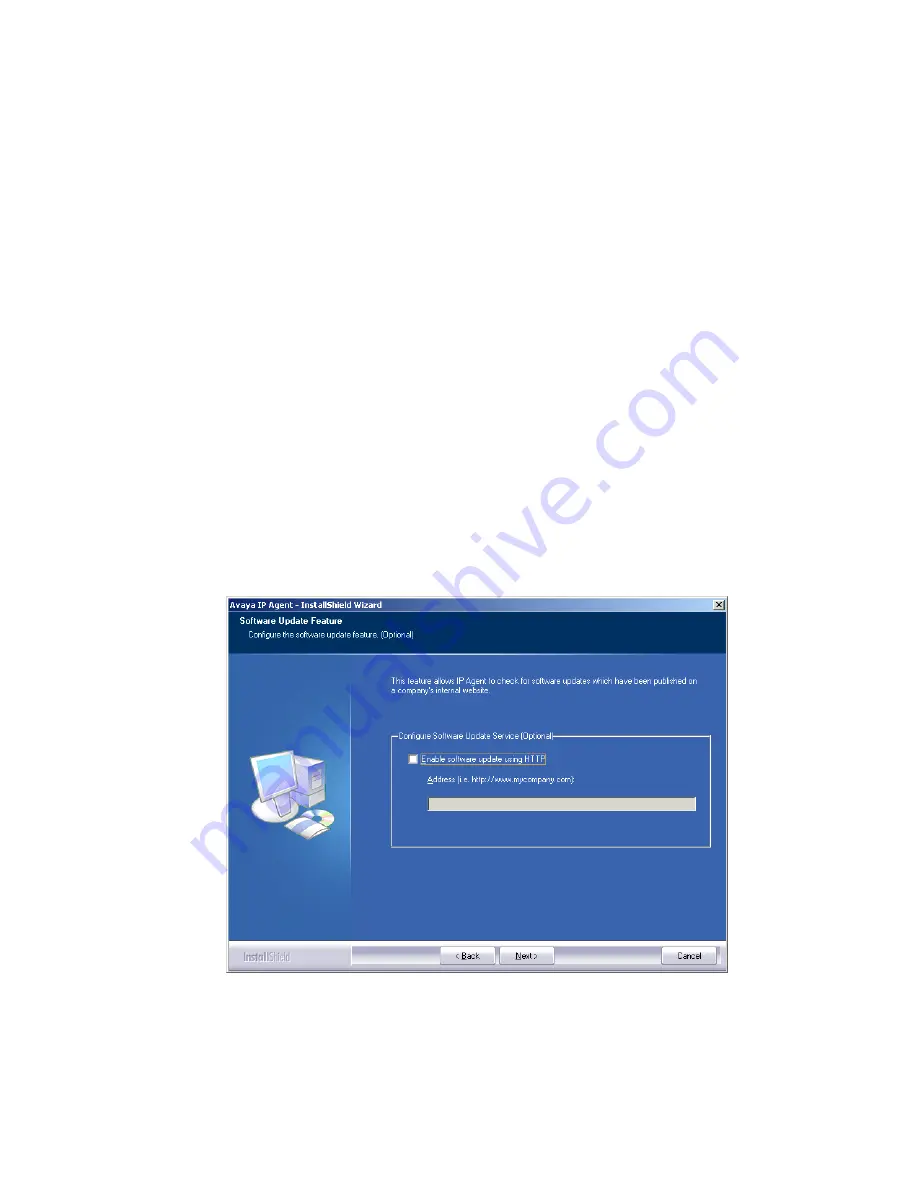
The installation program displays the
Software Update Feature
window.
Summary of Contents for IP Agent
Page 1: ...Avaya IP Agent Release 5 0 Installation and User Guide Issue 1 2 April 2005 ...
Page 26: ...Introduction 26 Avaya IP Agent Installation and User Guide ...
Page 166: ...Using VuStats 166 Avaya IP Agent Installation and User Guide ...
Page 178: ...Using a Public Directory with Avaya IP Agent 178 Avaya IP Agent Installation and User Guide ...
Page 194: ...Screen pops 194 Avaya IP Agent Installation and User Guide ...
Page 244: ...Dialog Reference 244 Avaya IP Agent Installation and User Guide ...
Page 252: ...Language support 252 Avaya IP Agent Installation and User Guide ...
Page 268: ...Troubleshooting 268 Avaya IP Agent Installation and User Guide ...
Page 286: ...286 Avaya IP Agent Installation and User Guide ...


