


By associating views through a single component, the BOM is managed
accurately and semi-automatically. You can manage component attributes
through the BOM editor or directly on the component from the
Mechanical Browser.
Browser Restructure and Ghost Components
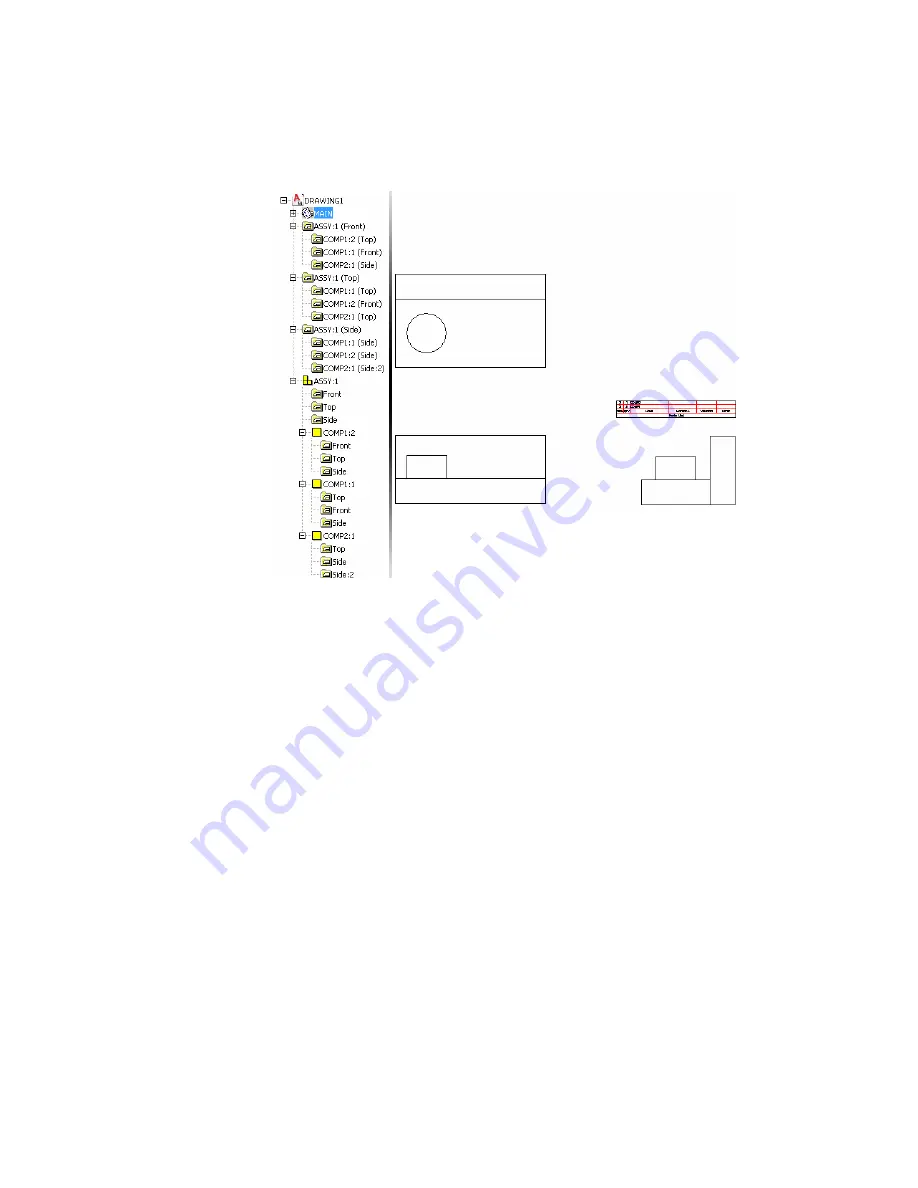
In the next exercise you restructure COMP1:1 and COMP2:1 to be parts of an
assembly named SUB-ASSY. To do this, you must create SUB-ASSY first.
To create a component
1
Right-click a vacant area in the Mechanical Browser and choose New
➤
Component.
2
Respond to the prompts as follows:
Enter new component name <COMP3>:
Enter
SUB-ASSY,
press
ENTER
Enter new view name <Top>:
Press
ENTER
76 | Chapter 4 Using Mechanical Structure
Summary of Contents for 057A1-09A111-1001 - AutoCAD LT 2009
Page 1: ...AutoCAD Mechanical 2009 User s Guide January 2008 ...
Page 10: ...2 ...
Page 50: ...42 ...
Page 58: ...50 ...
Page 106: ...98 ...
Page 157: ...This is the end of this tutorial chapter Inserting Fits Lists 149 ...
Page 158: ...150 ...
Page 174: ...166 ...
Page 179: ...3 In the Select a Screw dialog box select Socket Head Types Inserting Screw Connections 171 ...
Page 180: ...4 Select ISO 4762 and Front View 172 Chapter 9 Working with Standard Parts ...
Page 188: ...4 Select ISO 10642 and Front View 180 Chapter 9 Working with Standard Parts ...
Page 212: ...204 ...
Page 229: ...6 In the Set Value dialog box specify Column Material Value 8 Creating Parts Lists 221 ...
Page 263: ...Save your file This is the end of this tutorial chapter Inserting Bearings 255 ...
Page 264: ...256 ...
Page 266: ...258 ...
Page 282: ...274 ...
Page 292: ...284 ...
Page 306: ...298 ...
Page 348: ...340 ...
Page 368: ...360 ...
Page 406: ...398 ...
Page 414: ......


