E 01 2
E_0
1_G
B.
fm
. 2-
18
2
Auger
2.1
Height adjustment
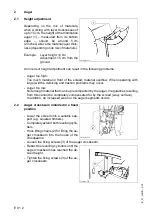
Depending on the mix of materials,
when working with layer thicknesses of
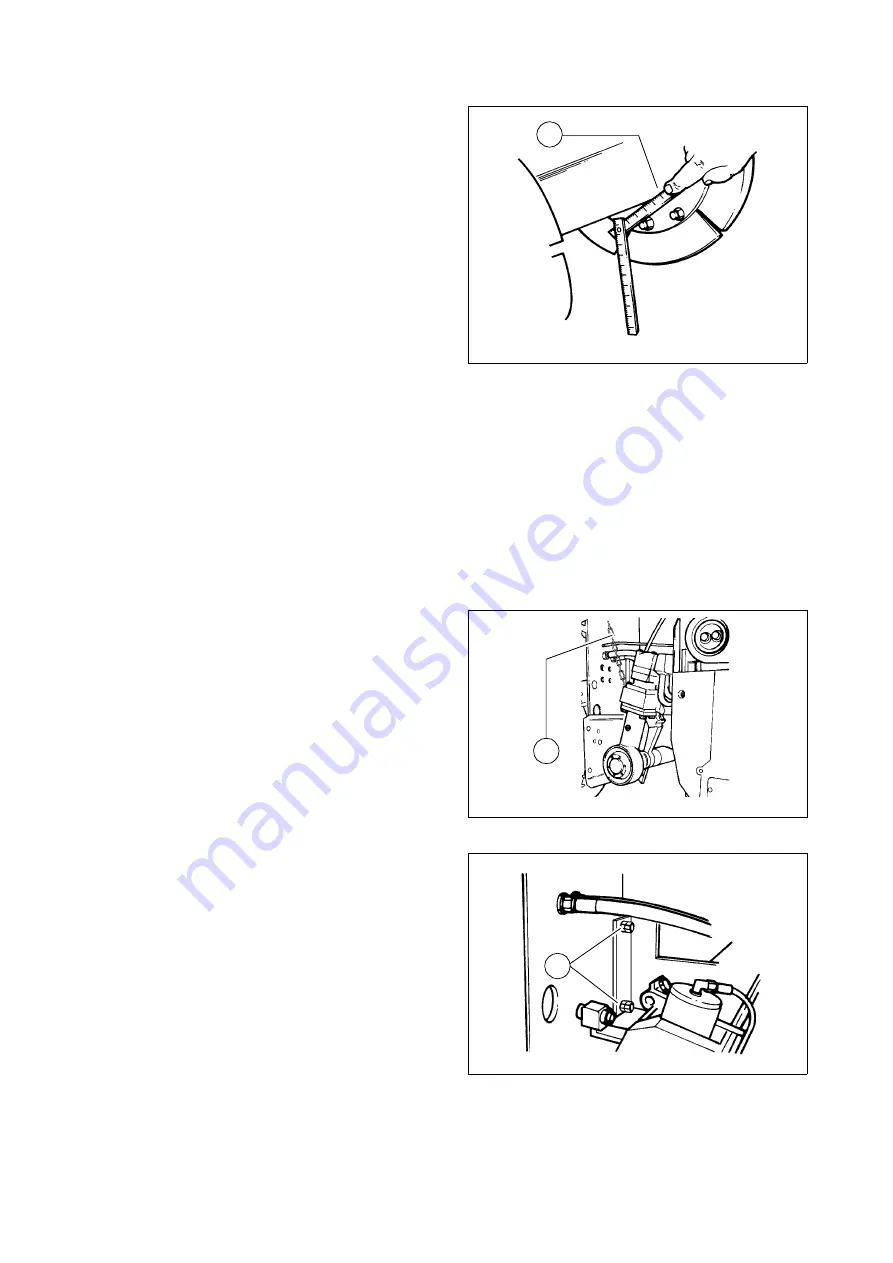
up to 15 cm, the height of the distribution
auger (1) – measured from its bottom
edge – should be around 5 cm
(2 inches) above the material layer thick-
ness (depending on its mix of materials).
Example: Layer height 10 cm
Adjustment: 15 cm from the
ground
An incorrect height adjustment can result in the following problems:
- Auger too high:
Too much material in front of the screed; material overflow. When operating with
larger widths, demixing and traction problems may occur.
- Auger too low:
Not enough material that can be precompacted by the auger. Irregularities resulting
from this cannot be completely compensated for by the screed (wavy surface).
In addition, an increased wear on the auger segments occurs.
2.2
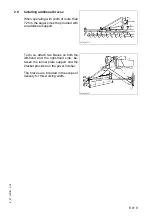
Auger crossbeam installed in a fixed
position
- Lower the screed onto a suitable sup-
port (e.g. squared timbers).
- Completely extend both levelling cylin-
ders.
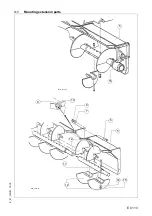
- Hook lifting chains (2) for lifting the au-
ger crossbeam into the hooks of the
crossbeams.
- Loosen the fixing screws (3) of the auger crossbeam.
- Retract the levelling cylinders until the
auger crossbeam has reached the de-
sired height.
- Tighten the fixing screws (3) of the au-
ger crossbeam.
F0130_A1.TIF
1
F0131_A1.TIF
2
F129_A1.TIF
3
Summary of Contents for DYNAPAC Svedala Demag DF 115 C
Page 2: ...VALUE QUALITY THE ORIGINAL Your Authorized Dynapac Dealer...
Page 10: ......
Page 18: ......
Page 20: ......
Page 44: ......
Page 58: ......
Page 62: ...D 1 4 4 D_1 4_01_GB fm 4 22 Element2_konv_Kette_635 bmp 9 12 9a 5 8 14 A 6 7 13...
Page 64: ...D 1 4 6 D_1 4_01_GB fm 6 22 Element2_konv_Kette_635 bmp 9 12 9a 5 8 14 A 6 7 13...
Page 96: ......
Page 120: ...D 4 6 24 D_4 6_01_GB fm 24 38 2 2 Error messages...
Page 121: ...D 4 6 25 D_4 6_01_GB fm 25 38...
Page 122: ...D 4 6 26 D_4 6_01_GB fm 26 38...
Page 123: ...D 4 6 27 D_4 6_01_GB fm 27 38...
Page 124: ...D 4 6 28 D_4 6_01_GB fm 28 38...
Page 125: ...D 4 6 29 D_4 6_01_GB fm 29 38 2 3 FMI codes...
Page 134: ......
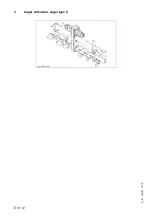
Page 146: ...E 01 12 E_01_GB fm 12 18 3 Auger extension auger type II Auger_DEM bmp...
Page 152: ......
Page 154: ......
Page 157: ...F 3 0 1 F_3 0_01_GB fm 1 4 F 3 0 Maintenance Conveyor 1 Maintenance Conveyor...
Page 161: ...F 4 1 1 F_4 1_01_GB fm 1 8 F 4 1 Maintenance Auger 1 Maintenance auger sub unit...
Page 168: ......
Page 180: ......
Page 181: ...F 6 0 1 F_6 0_01_GB fm 1 8 F 6 0 Maintenance Hydraulic system 1 Maintenance hydraulic system...
Page 220: ......
Page 221: ...F 10 0 1 F_10 0_01_GB fm 1 6 F 10 0 Checks decommissioning 1 Tests check up cleaning stopping...
Page 226: ......

