


2-3
ASUS RS300-H8-PS12
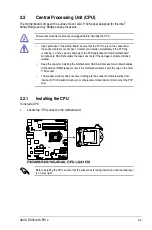
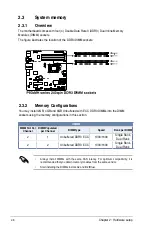
2.2
Central Processing Unit (CPU)
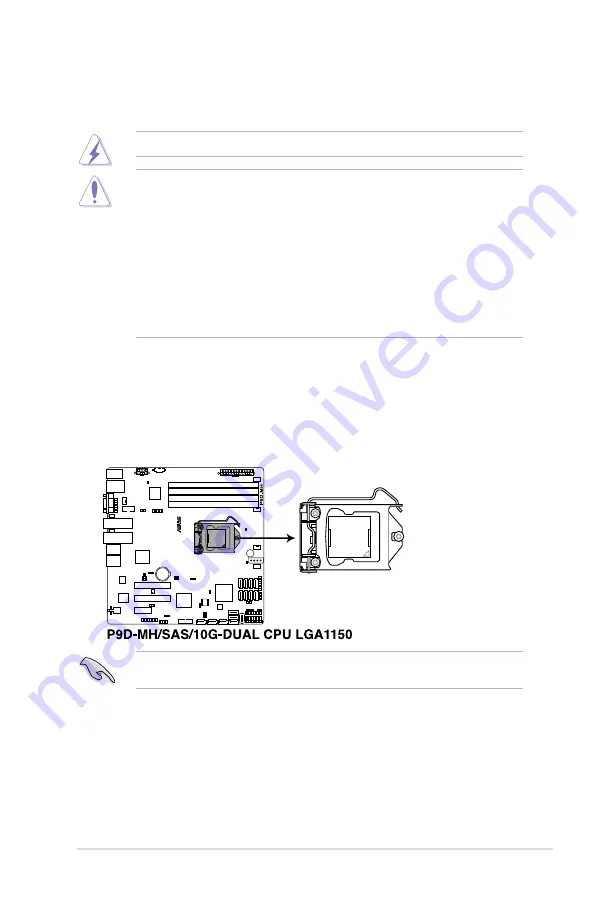
The motherboard comes with a surface mount LGA 1150 Socket designed for the Intel
®
Sandy Bridge and Ivy Bridge series processors.
2.2.1
Installing the CPU
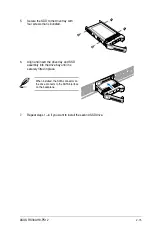
To install a CPU
1.
Locate the CPU socket on the motherboard.
Ensure that all power cables are unplugged before installing the CPU.
•
Upon purchase of the motherboard, ensure that the PnP cap is on the socket and
the socket contacts are not bent. Contact your retailer immediately if the PnP cap
is missing, or if you see any damage to the PnP cap/socket contacts/motherboard
components. ASUS shoulders the repair cost only if the damage is shipment/transit-
related.
•
Keep the cap after installing the motherboard. ASUS will process Return Merchandise
Authorization (RMA) requests only if the motherboard comes with the cap on the LGA
1150 socket.
•
The product warranty does not cover damage to the socket contacts resulting from
incorrect CPU installation/removal, or misplacement/loss/incorrect removal of the PnP
cap.
Before installing the CPU, ensure that the socket box is facing toward you and the load lever
is on your right.
Summary of Contents for RS300-H8-PS12
Page 1: ...1U Rackmount Server RS300 H8 PS12 User Guide ...
Page 12: ...xii ...
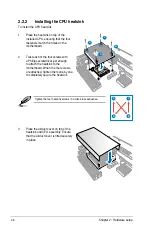
Page 29: ...2 7 ASUS RS300 H8 PS12 4 Secure the airduct cover to the motherboard with a screw ...
Page 72: ...Chapter 4 Motherboard information 4 24 ...
Page 110: ...5 38 Chapter 5 BIOS setup ...
Page 148: ...6 38 Chapter 6 RAID configuration ...
Page 188: ...7 40 Chapter 7 Driver installation 8 When done click Finish ...
Page 192: ...A 4 Appendix ...


