PiCUS TMSO Manual
48
XVIII.
If you want to delete an existing sensor, open its data window, click on the
PAPER
BASKET
icon in the upper right corner and confirm.
XIX.
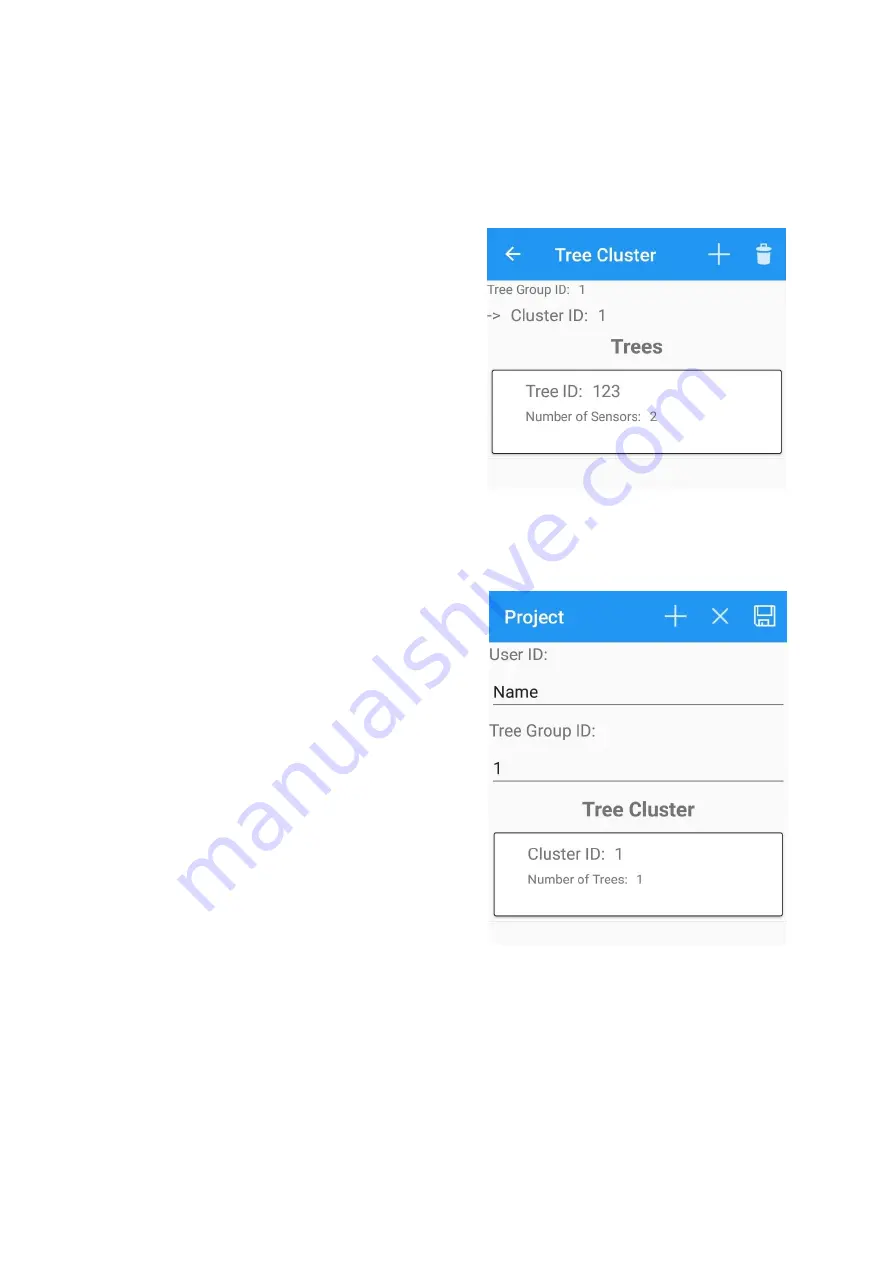
The data of this tree is now complete. Leave the data window of the tree by clicking
on the
ARROW
symbol at the top left. This returns you to the data window of the
cluster.
XX.
In the tree list below, the newly created
tree with its sensors is now displayed.
NOTE!
If you want to view the entered data of the
tree and its sensors again or change
them, simply click on this list entry to
switch back to the data window of the
tree.
XXI.
If you want to add another tree to this
cluster, go to this tree and repeat the
steps from point X.
XXII.
If you want to delete an existing tree
(including all attached sensors), open its
data window, click on the
PAPER
BASKET
icon in the upper right corner
and confirm.
XXIII.
Once you have added all the trees to this cluster according to your plan, leave the
data window of the cluster by clicking on the
ARROW
symbol at the top left. This
returns you to the project window.
XXIV.
The cluster list now shows the cluster just
created with its trees.
NOTE!
If you would like to view or change the
entered data of the cluster and its trees
and sensors again, simply click on this list
entry to switch back to the data window of
the cluster.
XXV.
If you want to add another cluster to the
project, repeat the steps from point VI.
XXVI.
If you want to delete an existing cluster
(including all attached trees and sensors),
open its data window, click on the
PAPER
BASKET
icon in the upper right corner and
confirm.
XXVII.
When you have finished entering all
project data, save the project by clicking
on the
DISCETT
symbol in the upper right
corner.
This takes you back to the main menu.
XXVIII.
If, on the other hand, you want to end
project editing and discard / delete all data, click on the
X
symbol in the top right-hand
corner and confirm.
XXIII.
XX.
XXVI.
XXVII.
XXVIII.
XXIV.


