


Programming
78
NetLinx Studio - Instruction Manual
Macros
Select
Edit > Macros
to open the
Macros
sub-menu. Use the options in this menu to create and manage macros for use
in Editor windows. Alternatively, use the toolbar buttons in the Macros toolbar to access these functions.
NetLinx Studio Macros Files use the file extension *.NSM.
See the
Working with Macros
section on page 103 for details.
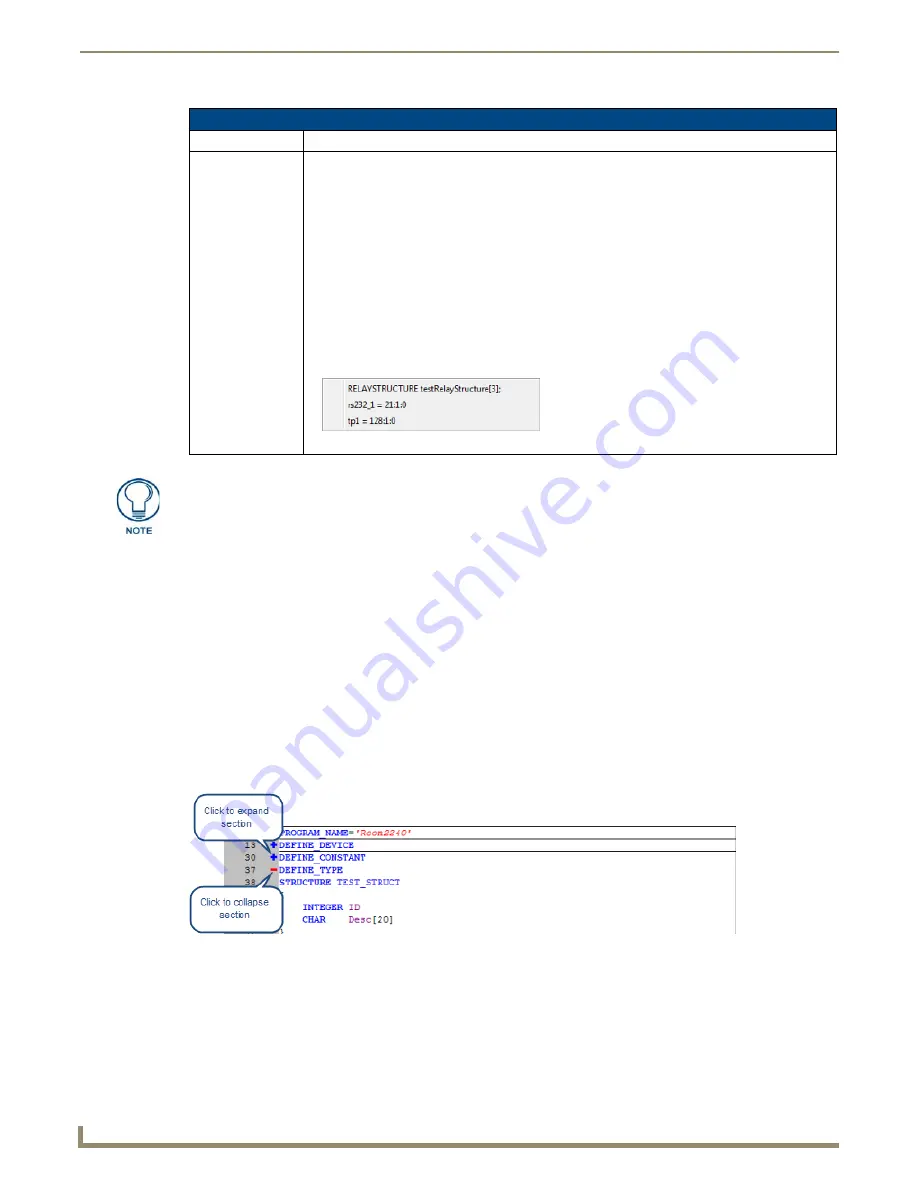
Expand / Collapse All Fold Levels
Fold levels
can be used to simplify the view in the Editor windows by allowing you to "fold" each major section of the
code so that only the header row is visible. This way, you only see the section(s) that you are actually working in. Fold
levels can be collapsed and expanded, in much the same way as the tree structures that occur in the Workspace Bar.
Fold levels that are collapsed are indicated by a blue plus sign (+) to the left of the line containing that
section's header row.
Fold levels that are expanded are indicated by a red minus sign (-) to the left of the line containing that
section's header row.
To use fold levels, you must first select the
Enable Code Folding
option in the
Editor - Display and Indentions
tab of the
Preferences
dialog (by default, this option is disabled).
Advanced Edit Sub-Menu Option
Action
Description
Clipboard Buffers
Select this option to access a listing of the contents of the clipboard text buffer. Use this option to
copy multiple selections from the Source to clipboard memory as separate items that you can
selectively paste from the clipboard.
• You can copy and paste across files
• You can have up to 30 clip-board buffer items.
• The maximum display width is 80 characters.
• Clipboard items are not saved when the application terminates.
To use the Clipboard Text Buffer:
1) Highlight a selection of code in an Editor window and press Ctrl+C.
2) Highlight another selection of code press Ctrl+C to copy this selection to the clipboard as well.
3) Place the cursor in the location that you want to paste one of the copied items.
4) Select C
lipboard Text Buffer
to access a list of items in the Clipboard Text Buffer. An example
Clipboard Buffer menu is shown below: :
5) Click an item in the list to paste it into the active Editor window, at the cursor location.
None of these commands have default keyboard hotkeys assigned. To assign
hotkeys, use the Keyboard tab of the Customize dialog (select Advanced Editor
from the Category drop-down list).
FIG. 141
Code Folding
Summary of Contents for NetLinx Studio
Page 40: ...Working with Projects 28 NetLinx Studio Instruction Manual...
Page 148: ...Communication Settings 136 NetLinx Studio Instruction Manual...
Page 160: ...Working with Online Devices 148 NetLinx Studio Instruction Manual...
Page 178: ...File Transfer Operations 166 NetLinx Studio Instruction Manual...
Page 208: ...Tools Menu Options 196 NetLinx Studio Instruction Manual...
Page 229: ...Setting Program Preferences 217 NetLinx Studio Instruction Manual...


