Appendix A – DGX Configuration Software
173
Instruction Manual – Enova DGX 8/16/32/64 Digital Media Switchers
To use DGX Configuration Software with the Enova DGX Switcher:
1.
Ethernet connection
– Attach an RJ-45 crossover cable or a straight-through patch cable to one of the two RJ-45
ports on the left rear of the enclosure (do
not
use the LAN 100/1000 port on the right). The maximum length for the
cable is 100 feet (30.5 meters).
Or
Serial connection (DB-9)
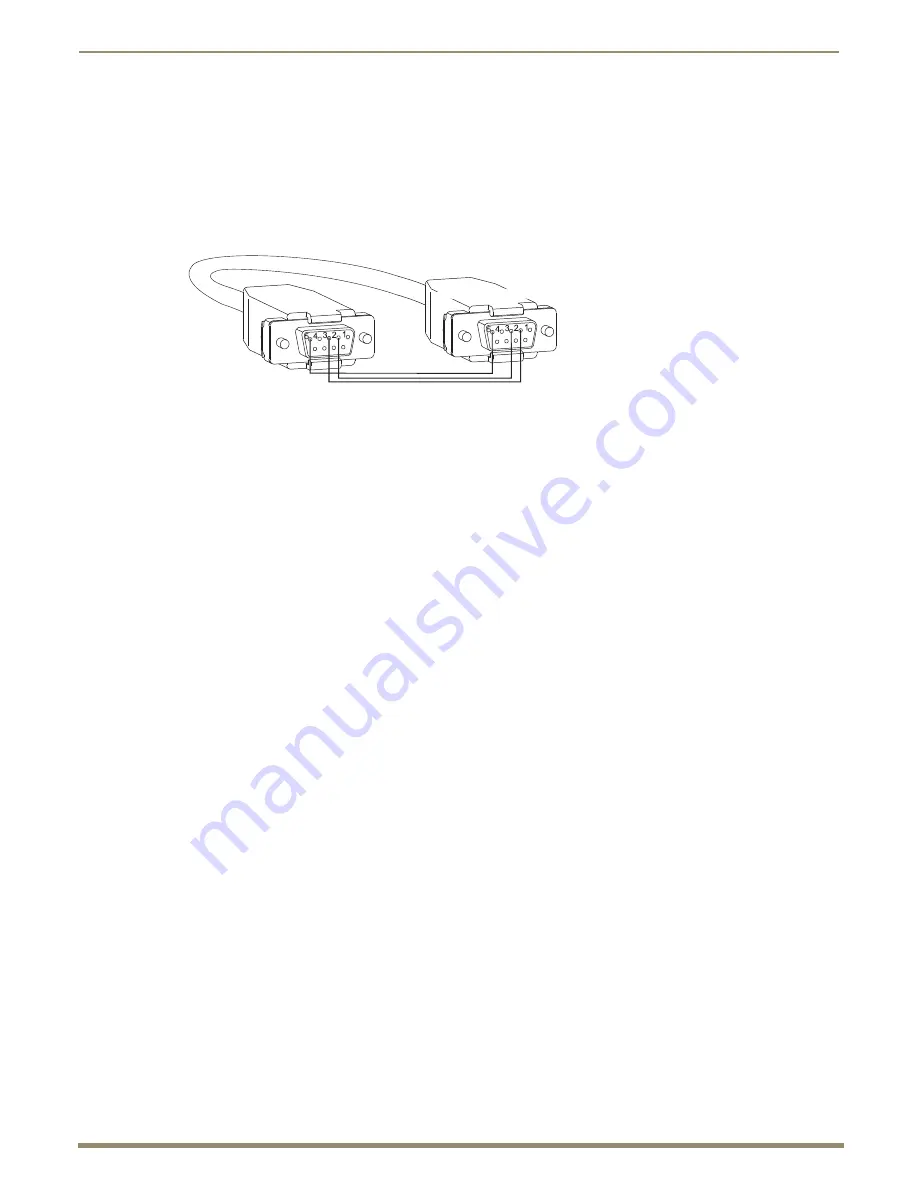
– Attach a null modem serial cable without hardware flow control to the serial Control
port (DB-9 connector) on the enclosure. Use a serial cable that matches the RS-232 pin diagram in FIG. 102. Enova
DGX equipment uses pins 2, 3, and 5 only.
2.
Ethernet connection
– Attach the open end of the RJ-45 cable to the PC where the DGX Configuration Software
was installed.
Or
Serial connection
– Attach the open end of the serial cable (DB-9) to the PC where the DGX Configuration
Software was installed.
3.
Apply power to the enclosure.
4.
On the PC, open the DGX Configuration Software.
5.
If changing the type of communication is necessary:
Ethernet connection
– From the Communication menu, select Ethernet and then select Change Settings to select
the NIC Card setting.
Or
Serial connection (DB-9 only)
– From the Communication menu, select Serial Port and then select Change
Settings to change the serial port and/or the baud rate for the PC’s serial port. The baud rate for the PC
must
match
the baud rate for the enclosure. The recommended (default) baud rate setting for serial communication with an
Enova DGX Switcher is 9600.
6.
Select the desired tab in the interface (defaults to the Scaler Mode tab).
For information on the tabbed views see:
Scaler Mode – page 174
Scaler Override – page 176
EDID Programmer – page 181
HDCP Settings – page 186
Terminal – page 187
FIG. 102
RS-232 pinout for null modem serial cable
Enova DGX: DB-9
PC: DB-9


