Creating Snapshots
To create Snapshots first set the Snapshot Scope, as described on the preceding page then press the CREATE
SNAP key on the console surface.
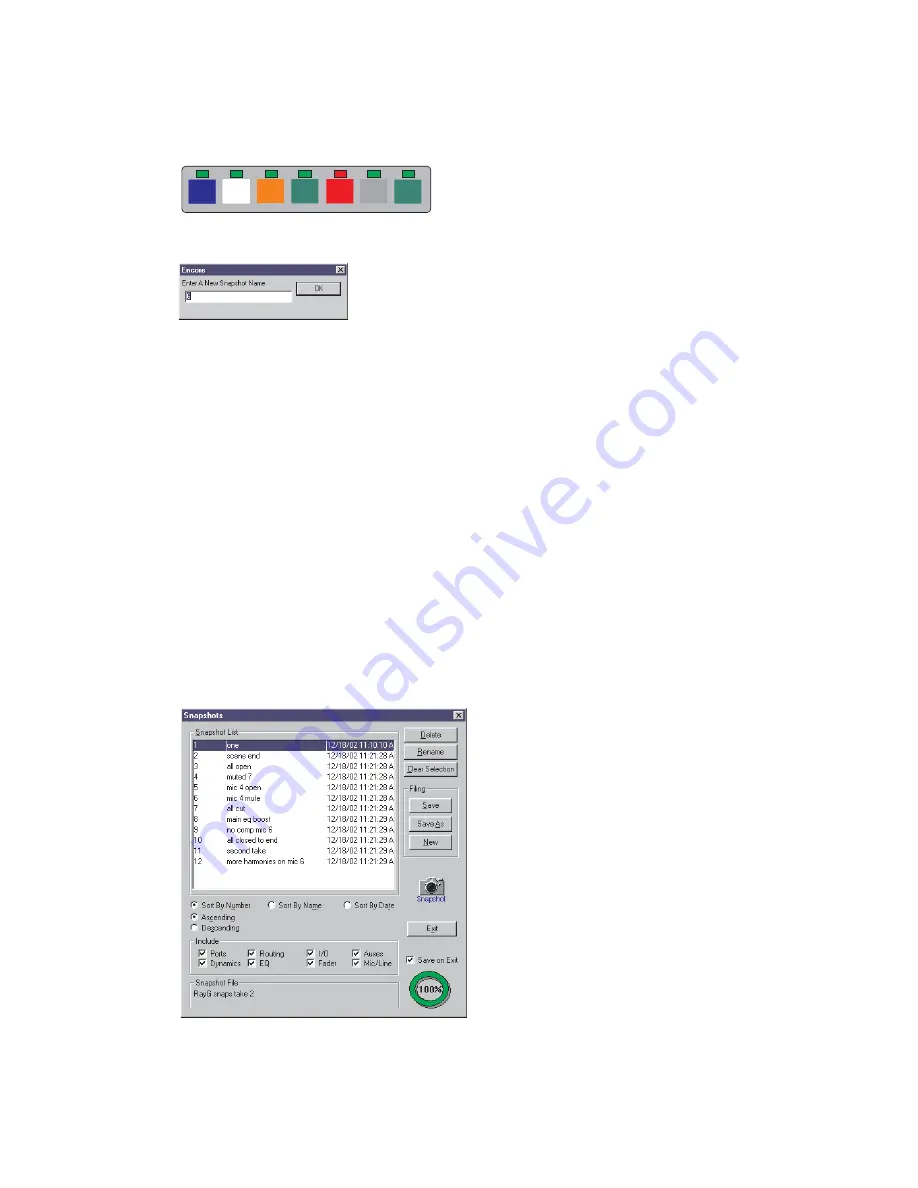
The Capture Snapshot dialogue box will be displayed.
The default name will be the next available number in the list. The user can keep this name or type in a name for
the Snapshot with the Encore keyboard, and press Enter.
The Snapshot will be added to the list (in alphabetical order) in the Snapshot System dialogue box.
A new Snapshot will be taken on each subsequent press of the CREATE SNAP key or each time the Create button
is clicked.
The Snapshot Scope and settings to controls can be modified as required between taking each Snapshot.
To end Snapshot creation press the CLEAR key.
The console will return to normal operation and the LED above the CREATE SNAP key will cease flashing.
The Snapshot System dialogue box will no longer be displayed.
Recalling Snapshots
Recalling a Snapshot has two stages: setting the Snapshot Scope and recalling the Snapshot.
To recall a Snapshot press the RECALL SNAP key in the Master Automation section and set the Snapshot Scope
as previously.
The LED above the RECALL SNAP key will flash.
To limit the data restored by the Snapshot click the Include check boxes for items not required in the Snapshot
System dialogue box.
Tools Menu
Snapshot Scope
Issue 4
Page 24:43
SHIFT
CLEAR
COPY
PATH
EDIT
KEEP
DESK
RECALL
SNAP
CREATE
SNAP


