
70
Aibot X6 V2, Accessories
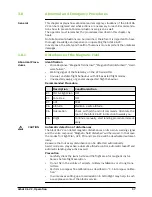
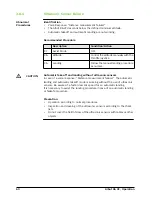
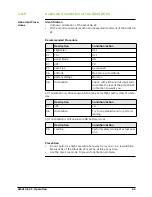
5.3
Camera Connection
Installation
To connect a standard camera to your Aibot X6 V2, there are three different
options available:
1) Camera Connection Cable
2) Camera Connection Cable with a hot-shoe adapter for georeferencing
3) IR-Trigger Cable with hot-shoe adapter, wireless connection for georefer-
encing
Installation
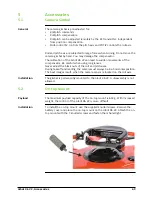
Attach the 14-pin connection cable to your connection port at the bottom of
the Aibot X6 V2 for regular use or on the top with On-top camera mount.
Connect your camera using a standard camera connection connector to the
standard camera port. If you are using the IR-Trigger Cable, make sure that the
IR-Diode is placed in front of the IR-Receiver from your camera. Connect the
hot-shoe adapter to your camera if available. Refer to AiProFlight user manual
for further information about georeferencing images.
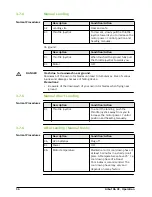
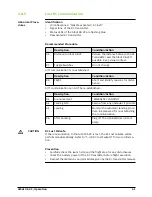
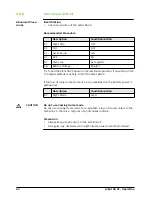
5.4
Live Video Package
Installation
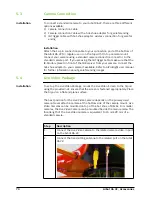
To set up the Live Video Package, mount the Live Video Screen to the tripod
using the provided nut. Ensure that the screen is fastened appropriately. Place
the tripod on a flat and plane surface.
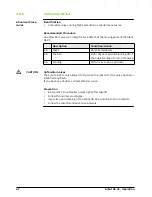
The best position for the Live Video Camera depends on the primary used
camera. Never attach a camera at the bottom side of the camera mount. Live
Video Cameras can be mounted on top of the hot shoe of DSLRs. For smaller
cameras, the Live Video Camera can be mounted beside the main camera. The
focal length of the Live Video Camera is equivalent to 24
mm-28
mm of a
standard camera.
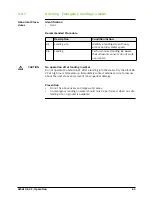
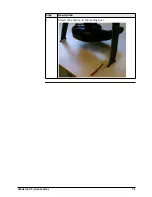
Step
Description
1.
Connect the Live Video Camera to the related camera video-in port
on the Aibot X6 V2.
2.
Connect the transmitting antenna to the related port on the Aibot
X6 V2:


