48
To clear an event:
1. Click on the
down arrow
button in the event number [“Select 1-20”]
field, and select the event number.
2. Click on the
down arrow
button in the
Month
field.
3. Click on
Clear
.
4. Click on
Set Vacation Schedule
.
To override an event, if you have signage or other units
that will operate during a vacation period:
1. In the
Thermostats below on Vacation Schedule
column, click
on each thermostat address that you wish to override. Notice that,
when you click on an address, it moves to the
Override Vacation
2. Click on
Confirm Override
.
To print the Vacation event schedule:
1. Click on the
button.
Allocating Thermostats to Specific Units for use
with ZonexCommander (Plus) only
The ZONED UNITS screen is only applicable to
ZonexCommander (Plus)
software. It is used to configure, allocate and display thermostats assigned
to their specific
RMOD
controllers. Each Command Center can support
up to four
RMODs
. The
RMODs
are designated as Units #92 – #95.
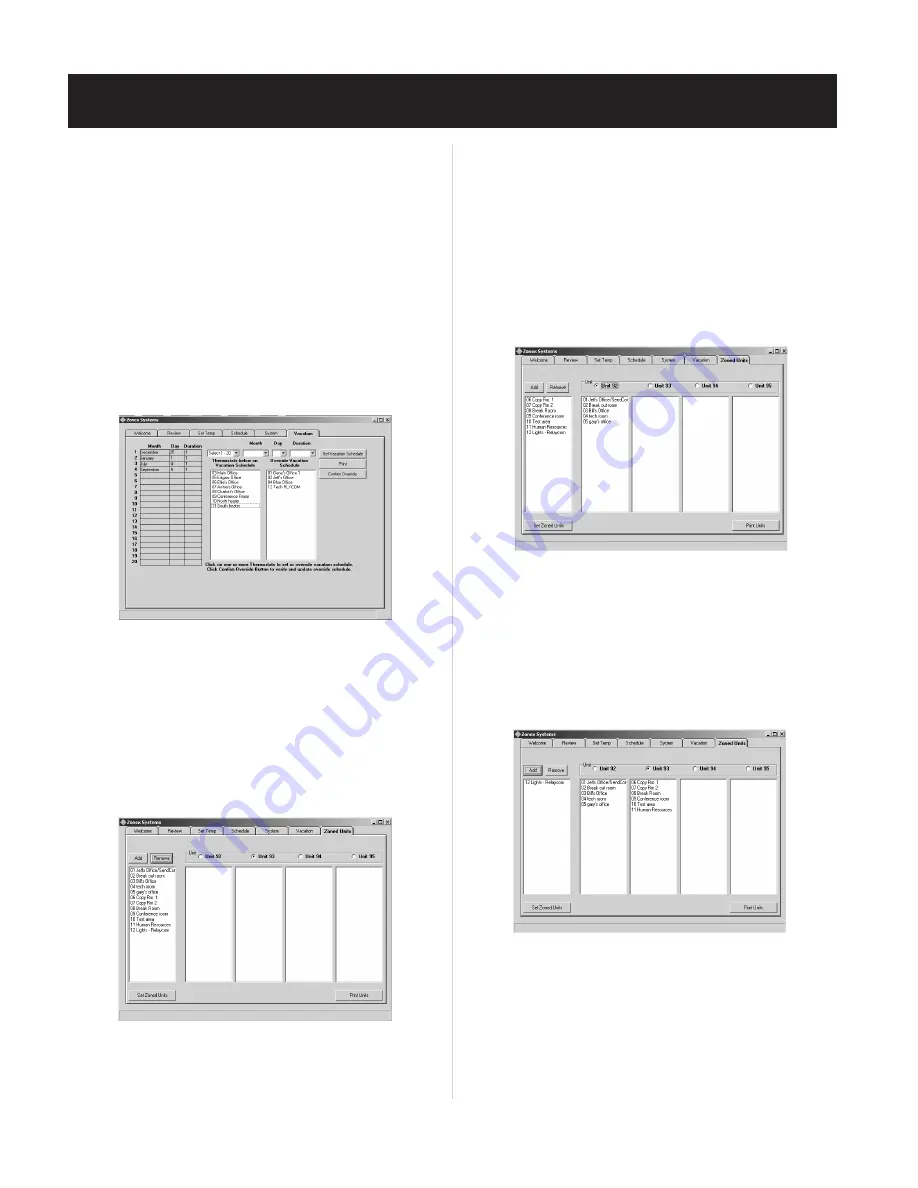
1. Click on the ZONED UNITS Tab.
2. Verify that all thermostat/device address numbers appear in the
3. Select the
RMOD
#92 radio button, and highlight the thermostat
address numbers to be assigned to that
RMOD
(one or more addresses
may be highlighted).
NOTE: When
DIGICOM
,
DIGIHP
thermostats or
RLYCOM
devices
are part of the installation, they must be addressed above #05 (5).
4. Click on Add.
5. It is important to confirm that the correct thermostats are assigned to
6. Repeat steps 1-5 to allocate thermostats to each RMOD.
7. If an address has been assigned in error, simply highlight the address
number and click on the Remove button. This returns the thermostat
to the Add/Remove column. Reassign the address to the appropriate unit.
8. After all addresses have been assigned to the corresponding RMOD,
click on the Set Zoned Units button on the lower left of the screen.
9. Repeat these procedures for each RMOD #93, #94 and #95 when
10. When the hourglass returns to the arrow cursor on the ZONED UNITS
screen, close the
ZonexCommander (Plus)
program on the computer;
and recycle power on the Command Center and
RMOD(s)
.
11. Bring up the
ZonexCommander (Plus)
program again, and direct-
connect to the system.
12. Go the the REVIEW screen, and verify all termostats are indicating
temperatures.
SYSTEM START-UP PROCEDURE
Schedule
column
(see Fig. 27)
.
Fig. 27
ZONED UNITS Screen –
Fig. 28
Fig. 28
Fig. 29
Fig. 30
that
RMOD
(see Fig. 29)
.
applicable
(see Fig. 30)
.
Add/Remove left column
(see Fig. 28)
.
Содержание ZonexCommander
Страница 13: ...13 ZONEXCOMMANDER WIRING OVERVIEW ROOFTOP UNITS UP TO 20 PER COMMAND CENTER...
Страница 15: ...15 ZONEXCOMMANDER PLUS COMPONENT SELECTION GUIDE...
Страница 53: ......


